Growing
How to Grow Mushrooms on Coffee Grounds
Learn the limits of growing mushrooms on coffee grounds, including fresh handling, oyster mushroom suitability, contamination risks, and cleaner alternatives.
By MushroomScope Editorial Team · · Updated
Growing method
Start with authenticated culture
Use supplier-identified spawn or blocks and record substrate, stage, temperature, humidity, and visible changes.
Open the beginner growing hub →Food safety
Discard suspect batches
Unusual colors, slime, insects, or abnormal odor should be treated as a safety concern, not a climate tweak.
Review contamination guidance →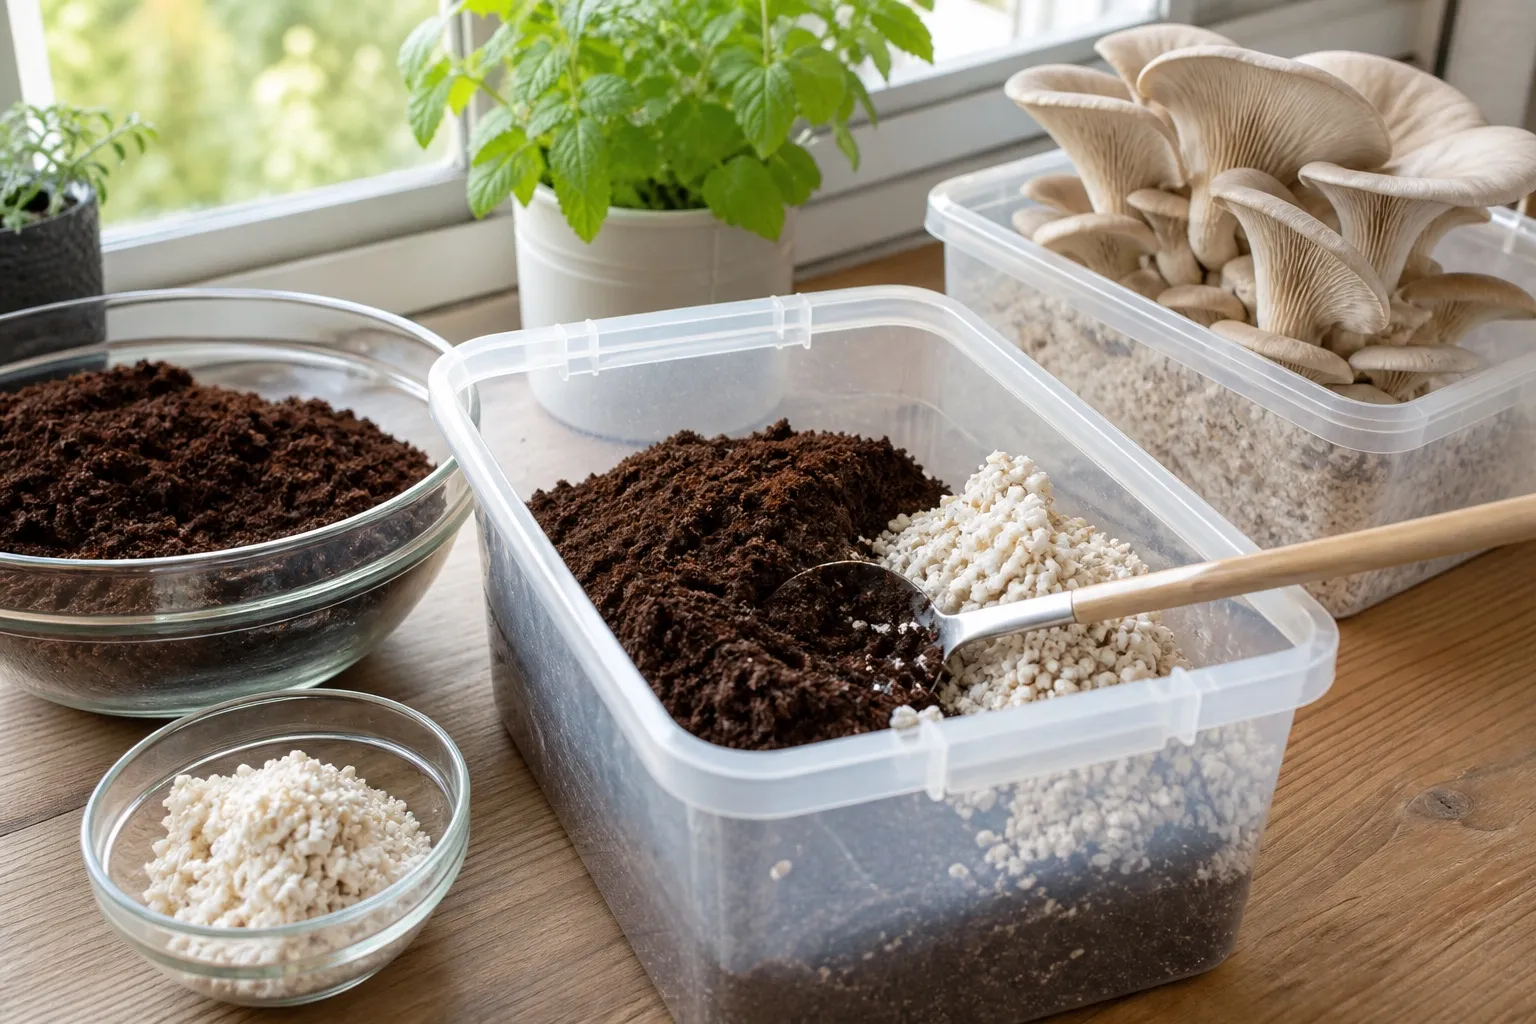
The practical answer
Growing mushrooms on coffee grounds is possible, but it is less forgiving than many tutorials suggest. Used grounds are moist, nutrient-rich, and easily contaminated. For beginners, a ready-to-fruit oyster block is usually more reliable.
If you experiment, keep it small, use authenticated oyster mushroom spawn, work cleanly, and discard suspect material. Do not try to grow culinary mushrooms on old, moldy, sour, or slimy grounds.
The appeal is obvious: coffee grounds are common, low-cost, and already look like a recycled substrate. The risk is also obvious once you treat them as a food-crop material. They are wet, fine, warm after brewing, handled in kitchens or cafes, and rich enough for many organisms besides oyster mushroom mycelium. A successful project depends on controlling those risks, not just mixing grounds and spawn.
This guide is conservative because contaminated home grows can create unsafe food decisions. The goal is not to discourage learning. It is to help beginners choose experiments that produce useful information and to stop early when a batch becomes suspect.
What coffee grounds can and cannot do
Coffee grounds can contribute moisture and nutrients, but they pack tightly and can become too wet. They also have already passed through a warm, microbe-friendly process. That means freshness and handling matter.
Mixing with a structural substrate such as pasteurized straw may improve air spaces, but it also adds another process variable. The mushroom substrate guide explains why hydration, structure, and treatment are linked.
Why oyster mushrooms are the usual candidate
Oyster mushrooms are often suggested for coffee-ground projects because they are vigorous decomposers and are commonly available as cultivated spawn. That does not mean every oyster strain will thrive in every coffee-ground setup. Spawn age, spawn rate, ground freshness, moisture, container design, room temperature, and handling all influence the outcome.
Button mushrooms, morels, chanterelles, and many other mushrooms are not interchangeable with oyster mushrooms. A species name is not enough; cultivation method matters. If you want to grow a particular mushroom, start with a method designed for that species and a reputable supplier’s instructions.
Use spawn, not a wild mushroom cap. Pieces of grocery mushrooms or wild finds are not a reliable or safe way to start a food crop. Authenticated spawn gives the project a known culture and makes troubleshooting more meaningful.
Freshness and moisture control
Fresh grounds are safer than old grounds, but “fresh” does not make the project sterile. Collect grounds promptly after brewing, cool them cleanly, and use them soon. If grounds smell sour, look fuzzy, feel slimy, or have been stored wet for an uncertain period, discard them.
Moisture should be present but not pooled. Coffee grounds can look damp enough while still being dense and poorly aerated. If water collects at the bottom of the container, the batch is likely too wet. If the surface dries hard, colonization can slow. This is one reason small batches are better: you can learn the moisture behavior without losing much material.
Adding a structural material such as pasteurized straw may improve air spaces, but it also requires learning substrate preparation. If that feels like too much, a ready-to-fruit block is the cleaner beginner option.
Safer workflow
Collect grounds promptly after brewing, let them cool in a clean container, and inoculate soon with a generous amount of authenticated spawn. Label the batch and record dates, temperature, odor, and visible growth. Keep the container breathable according to the spawn supplier’s method.
If growth is uneven or you see green, black, pink, orange, slimy, insect-damaged, or foul-smelling material, stop. Isolate and discard the batch. The contamination guide gives a more conservative decision framework.
Small-batch method for learning
Start with a container small enough that failure is not painful. Label it before inoculation. Record the date, source of grounds, approximate amount of spawn, container type, and room conditions. Keep everything as simple as possible so a failure has a readable cause.
Do not open and stir the batch repeatedly to check progress. Repeated handling can introduce contamination and make the result harder to interpret. Observe through the container when possible. If the method requires gas exchange, follow the spawn supplier’s container guidance rather than sealing the batch airtight.
Keep coffee-ground projects away from clean cultures, finished food, and kitchen preparation areas. This is especially important if you are testing a method for the first time. A suspect batch should not be handled near healthy blocks or stored beside food.
Coffee grounds versus beginner-friendly substrates
Coffee-ground projects are appealing because the material is easy to find, but reliability is the real beginner metric. Fresh grounds can work in a small experiment, yet they are less predictable than a purchased ready-to-fruit block or a method built around pasteurized straw. If your goal is a first successful harvest, start with the controlled route and treat coffee grounds as a later learning batch.
A useful comparison is risk concentration. Coffee grounds are fine, wet, and nutrient-rich, so one handling mistake can spread quickly. Straw and sawdust-based blocks usually offer better structure and clearer supplier instructions. That structure helps air, moisture, and colonization stay more readable.
Batch log template
Record the brew date, inoculation date, spawn source, approximate ratio of spawn to grounds, container type, room temperature, visible growth, odor, moisture, and any changes you made. If a batch fails, the log tells you whether the problem was old grounds, too little spawn, excess water, or poor exchange.
Decision points during colonization
Do not judge the batch only by how quickly white growth appears. Healthy oyster mycelium should become increasingly even and should not be accompanied by sour, rotten, chemical, or strongly unpleasant odors. Fast patches of unusual color are not a sign that the batch is “extra active”; they are a reason to isolate it.
If the surface looks too wet, resist the urge to open, stir, and handle it repeatedly. Every intervention can add contamination. Instead, use the observation in your batch log and improve the next batch with fresher grounds, better drainage, more structure, or a more controlled substrate.
Contamination boundaries
A coffee-ground batch is not a place to practice optimism. Green, black, pink, orange, or fuzzy growth that does not match normal mycelium should trigger isolation. So should sour odor, slime, insects, leakage, or wet decay. Do not harvest from suspect material, and do not try to cut away a problem area for food.
The safest response is to close or contain the batch, move it away from clean projects, dispose of it responsibly, and clean reusable surfaces. Record what happened before throwing it out. The notes are valuable because they can show patterns such as grounds stored too long, too much water, low spawn rate, or poor container exchange.
Never taste a questionable crop. Cooking does not make a contaminated grow safe, and visual appearance alone cannot establish food safety.
When to abandon the coffee-ground method
If two or three small batches fail with the same symptoms, move to a more predictable learning path. A ready-to-fruit block teaches pinning, humidity, fresh air, and harvest timing without forcing you to solve substrate biology first. Pasteurized straw for oyster mushrooms is also easier to observe than dense coffee grounds.
The goal is not to prove that coffee grounds can never work. The goal is to avoid turning a low-cost material into repeated crop loss, unsafe food, or frustration. Successful growers choose the method that gives them clean learning data.
What success should look like
A successful small batch should colonize evenly, smell normal for the culture, and move to fruiting only when the supplier’s guidance and visible condition support it. Fruiting bodies should look normal for the authenticated oyster culture. Harvest should be clean, prompt, and followed by refrigeration if the mushrooms are not cooked right away.
Even with success, keep expectations modest. Coffee-ground yields can be inconsistent. Treat the project as a learning experiment rather than a dependable food source. If you want repeated harvests, move toward a more controlled substrate and a documented process.
Practical bottom line
Coffee grounds can be part of an oyster mushroom experiment, but they are not the easiest beginner substrate. Use fresh material, authenticated spawn, small batches, clean handling, and strict discard rules. If your real goal is a first reliable crop, begin with a ready-to-fruit block and return to coffee grounds after you understand healthy growth.
Fruiting and harvest
Only fruit a healthy, evenly colonized batch. Use the supplier’s fruiting conditions for the exact oyster strain. Harvest normal-looking mushrooms with clean hands or tools and refrigerate promptly.
Do not eat mushrooms from a questionable batch. Cooking does not make a contaminated or misidentified crop safe.
Frequently asked questions
Can I store coffee grounds for later?
Short storage increases risk. If you cannot use grounds promptly, a more controlled substrate is a better choice.
Can button mushrooms grow on coffee grounds?
This guide is not for button mushroom cultivation. Start with methods matched to the species and supplier instructions.
Why did my coffee-ground grow fail?
Common causes include old grounds, excess moisture, too little spawn, poor air exchange, and contamination introduced during handling.
References
- Cornell Small Farms. Specialty Mushroom Cultivation.
- Cornell Small Farms. Seven Stages of Cultivation.
- University of Maryland Extension. Learn More About Mushroom Production.
Source quality notes
MushroomScope cites sources that match the page scope, such as taxonomic databases, extension guidance, food-safety agencies, food-composition databases, and peer-reviewed or institutional health references. Sources support context and uncertainty; they do not turn an online page into specimen identification, medical advice, or a tested recipe record.
Frequently asked questions
Can you grow mushrooms on used coffee grounds?
Sometimes, especially oyster mushrooms, but used coffee grounds contaminate easily. Fresh handling, correct moisture, and authenticated spawn matter more than the idea alone.
Are moldy coffee grounds safe for mushroom growing?
No. Do not use moldy, sour, slimy, or old coffee grounds as a food-crop substrate. Start with fresh material or use a proven substrate.
Is coffee-ground growing best for beginners?
Usually not. A ready-to-fruit block or a proven pasteurized straw method is easier to control and teaches the growth stages more clearly.
Related guides
growing
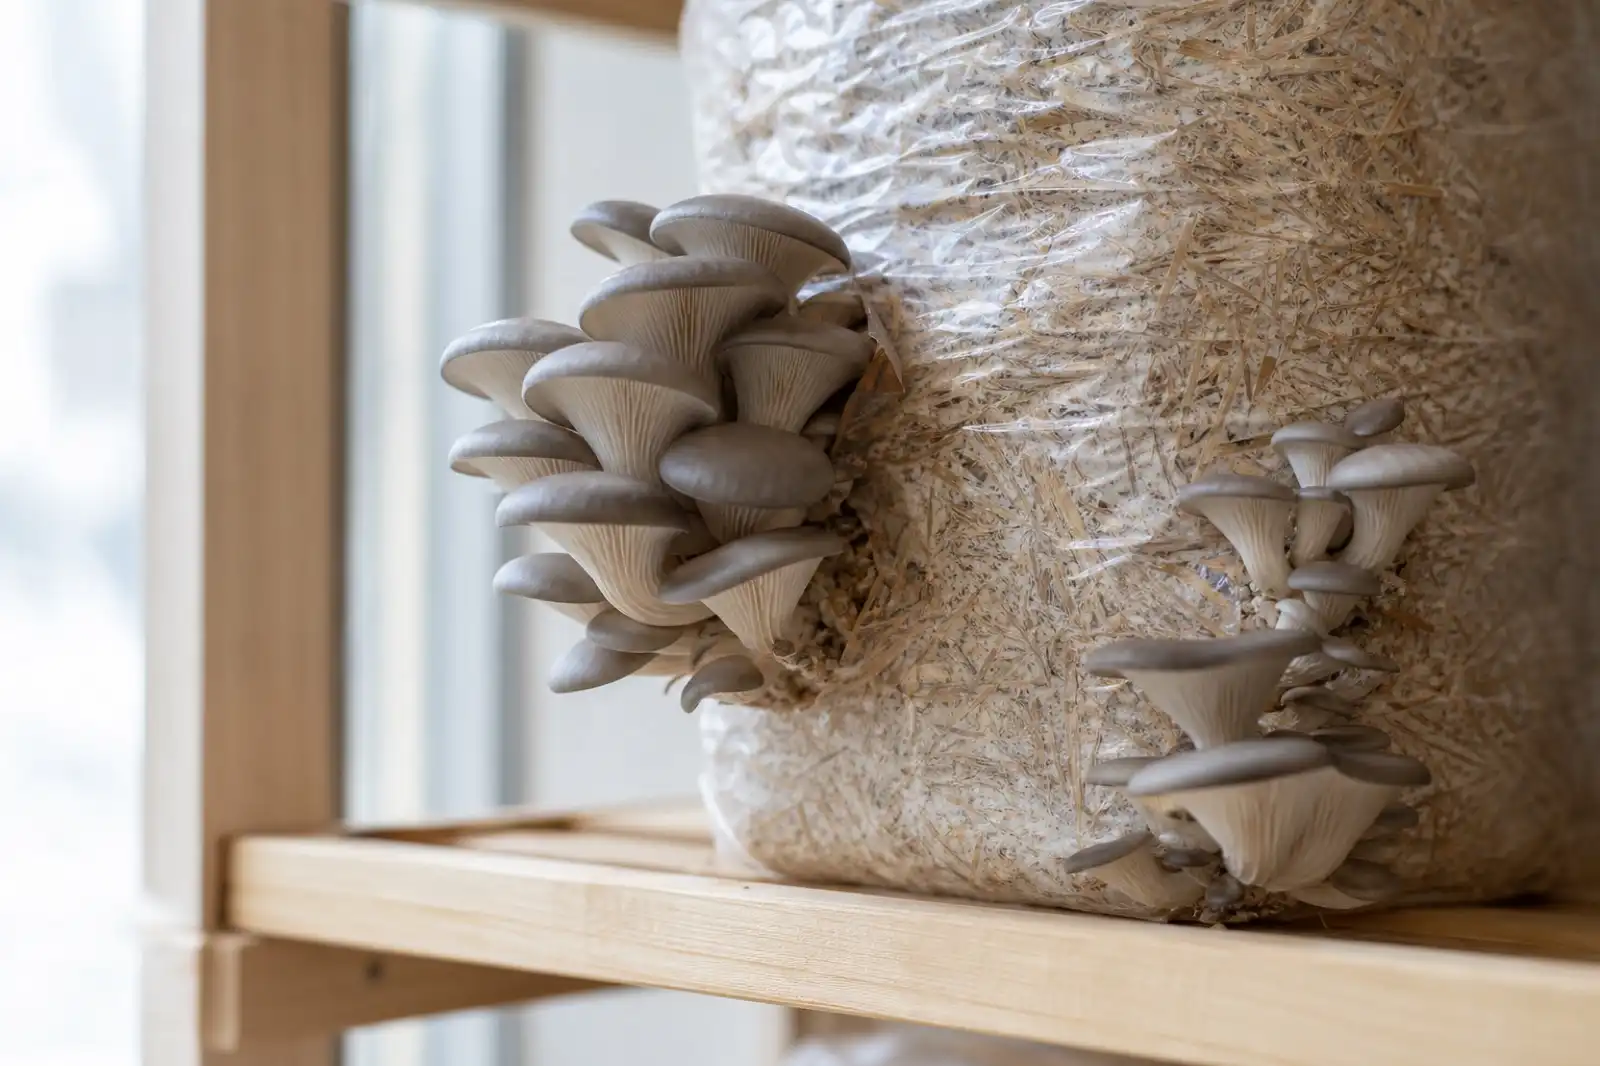
How to Grow Oyster Mushrooms at Home
Grow oyster mushrooms at home with a supplier-provided fruiting block: set up a clean observation routine, follow the culture label, and handle harvests safely.
growing
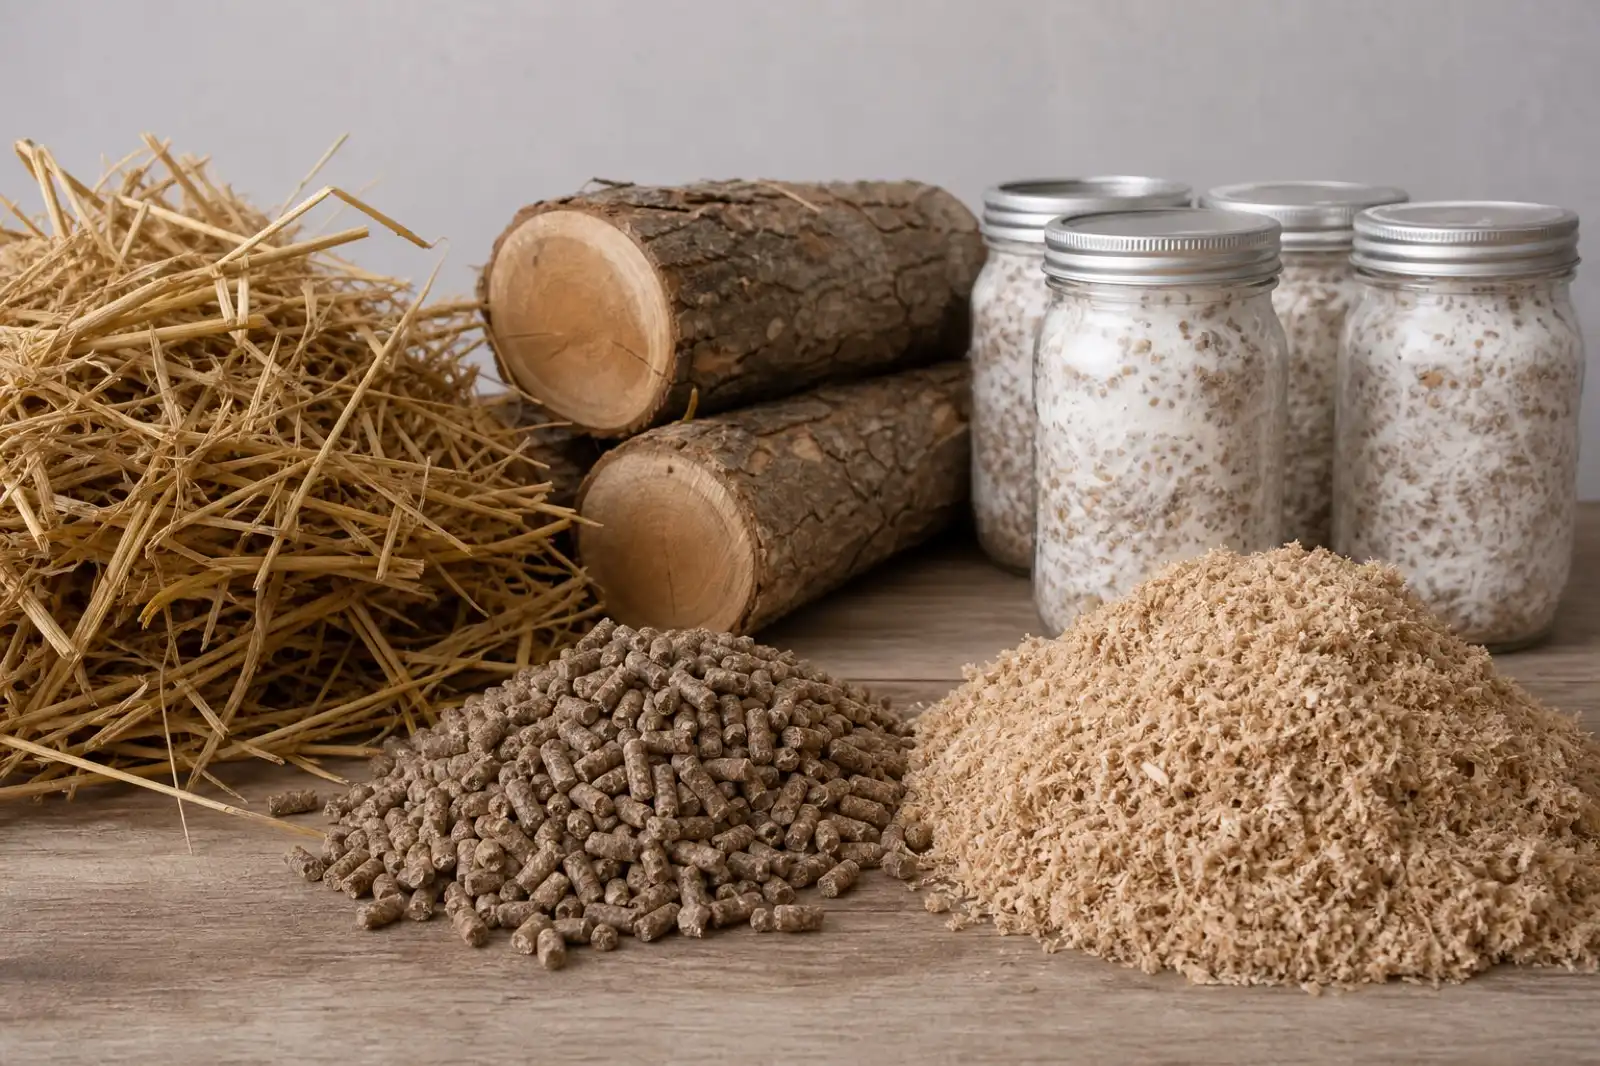
Mushroom Substrate Guide: Match Species to Method
Choose a mushroom-growing substrate by matching a labeled culture to a documented production method, site, and food-safety boundary.
growing
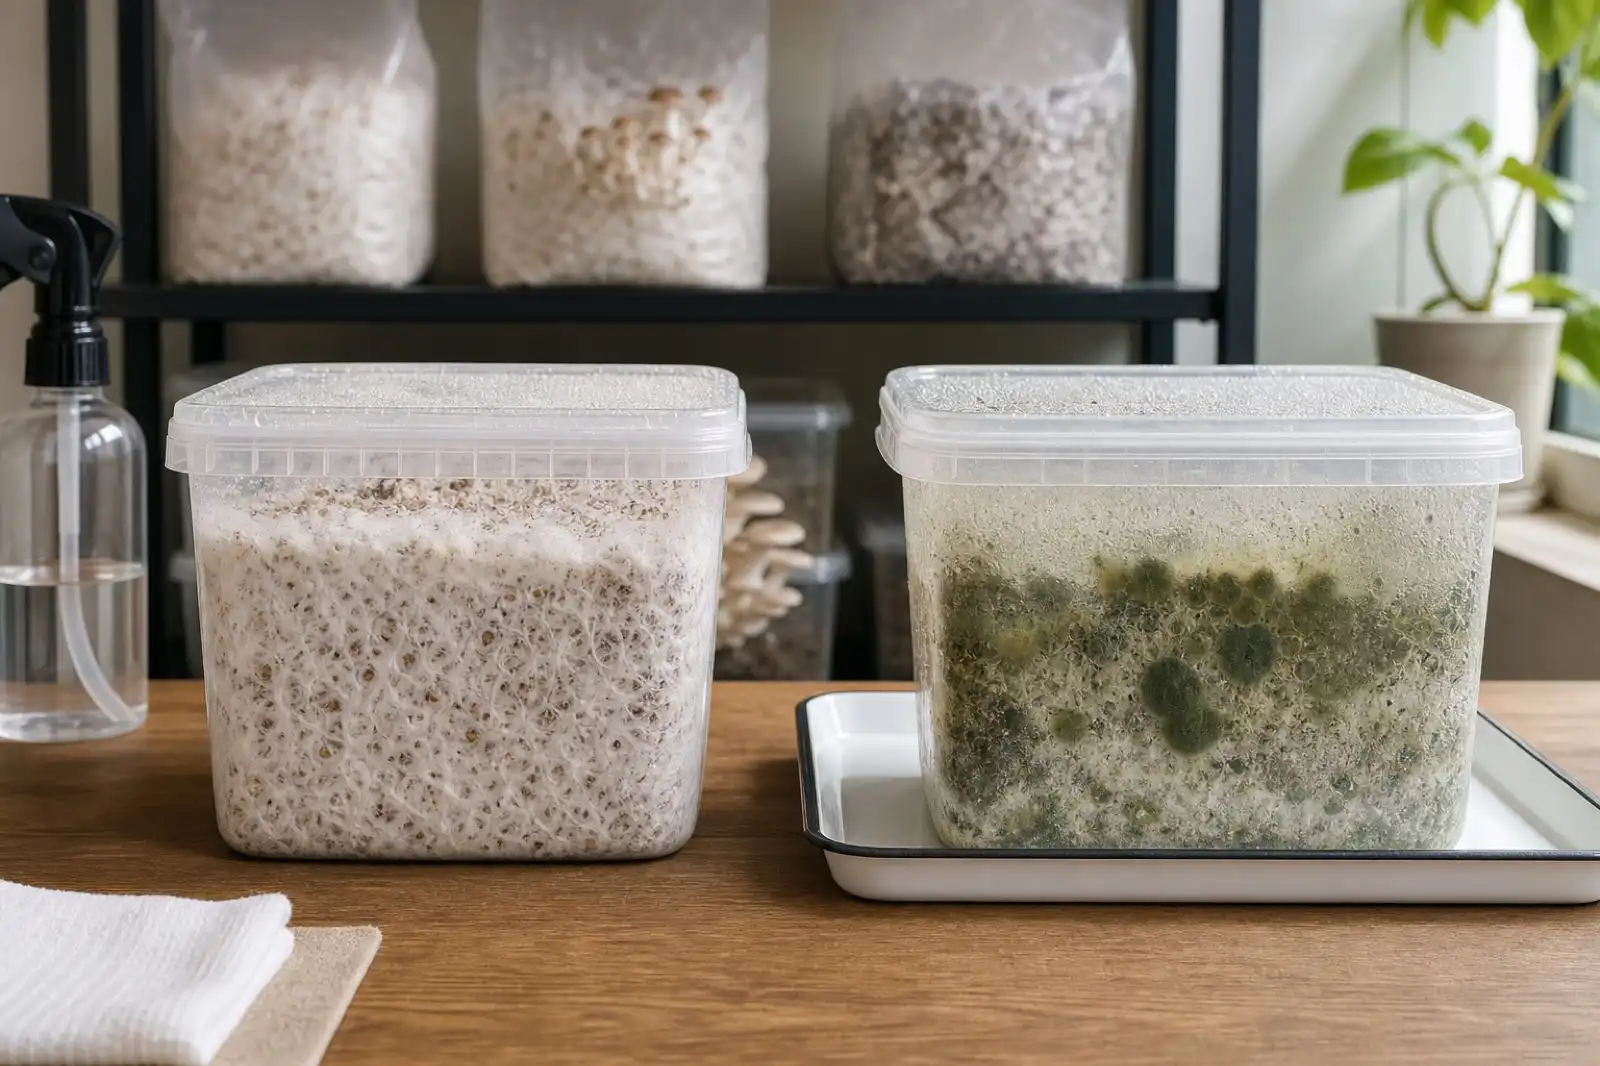
Mushroom Contamination: Isolate, Record, and Prevent Repeat Problems
Recognize mushroom contamination without relying on color alone; isolate suspect batches, avoid food salvage, document the workflow, and prevent repeat issues.
Continue exploring
Browse more practical guides in Growing or visit the mushroom encyclopedia.