Growing
How to Grow Oyster Mushrooms at Home
Grow oyster mushrooms at home with a supplier-provided fruiting block: set up a clean observation routine, follow the culture label, and handle harvests safely.
By MushroomScope Editorial Team · · Updated
Growing method
Start with authenticated culture
Use supplier-identified spawn or blocks and record substrate, stage, temperature, humidity, and visible changes.
Open the beginner growing hub →Food safety
Discard suspect batches
Unusual colors, slime, insects, or abnormal odor should be treated as a safety concern, not a climate tweak.
Review contamination guidance →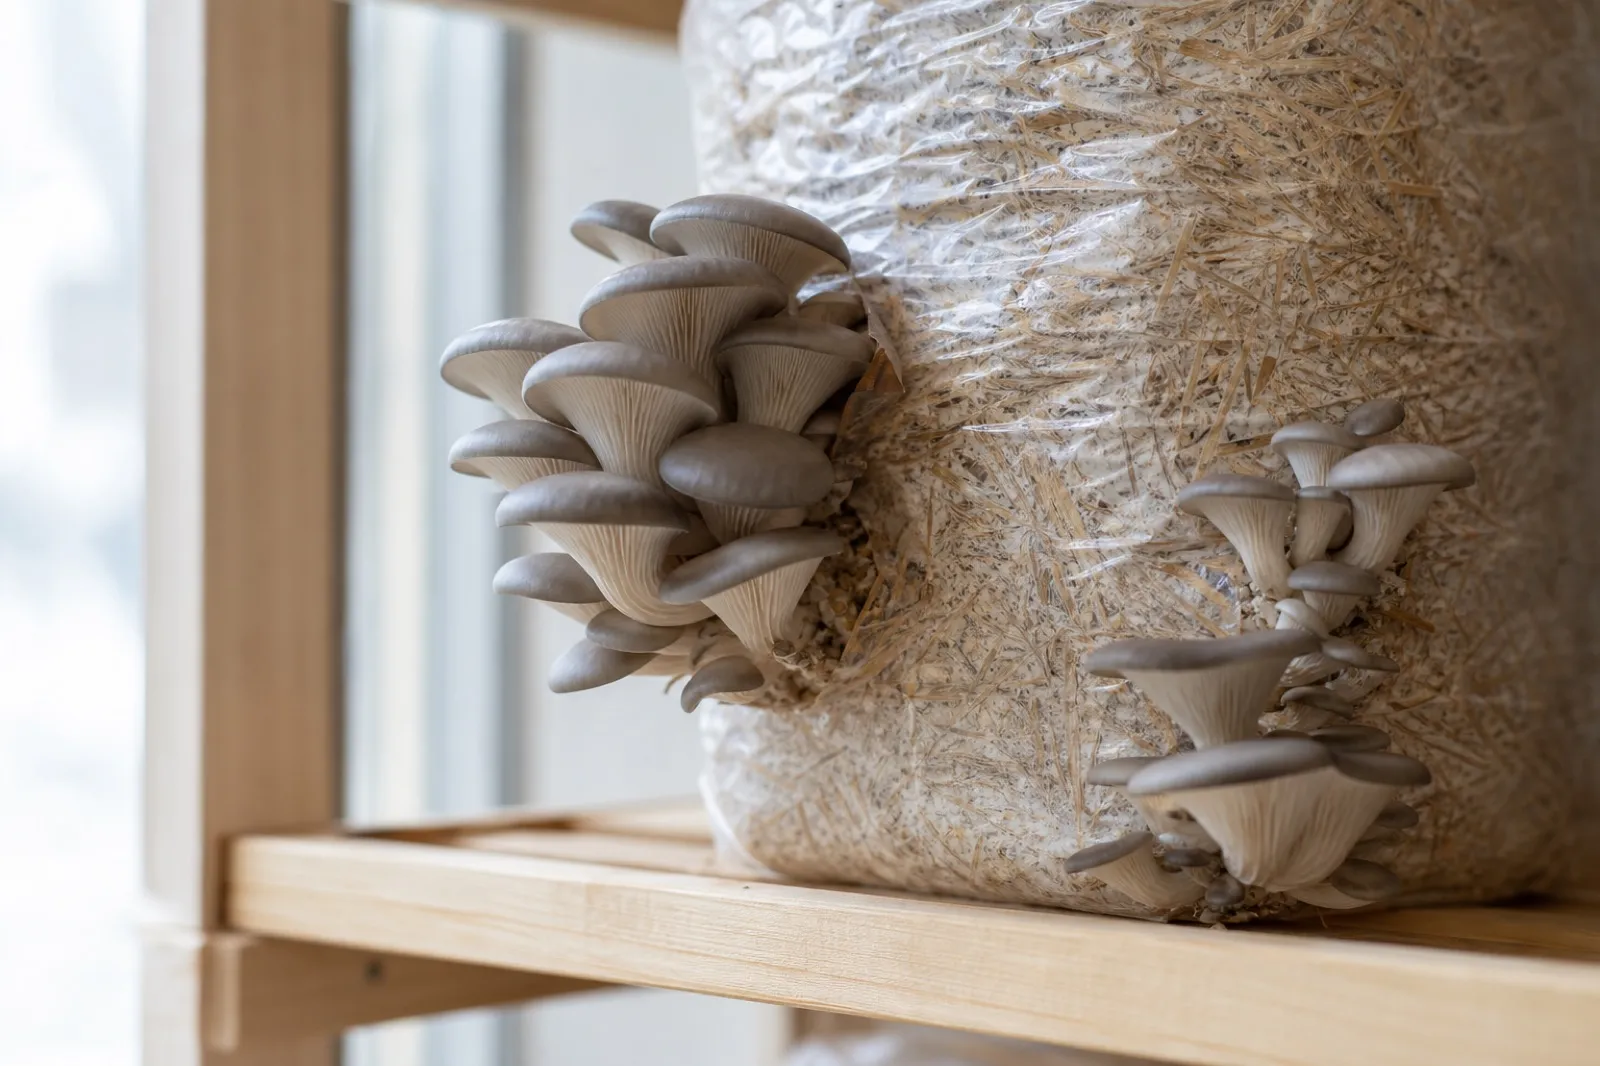
The best first project is a supplied fruiting block
For a first home oyster project, use a labeled ready-to-fruit block from a reputable supplier. This keeps the culture and substrate decisions together and lets you learn a smaller set of variables: where the block is placed, how you follow its instructions, what you observe, and how you handle a sound harvest.
If the supplied culture is a warm-fruiting coral strain, consult the pink oyster species and growing guide for color fading, fast harvest timing, and strain-specific evidence boundaries rather than applying a gray-oyster schedule by name alone.
Cornell describes spawn production and substrate preparation as specialized stages of mushroom cultivation. A supplied block deliberately removes those stages from a first attempt. It is not a shortcut to identify or grow wild mushrooms, and it does not turn a generic photo or online recommendation into instructions for a different strain.
Before opening the block, make a baseline record
Keep the supplier’s culture label, order reference when provided, arrival date, storage guidance, and fruiting instructions in one place. Note the packaging condition without handling the block more than necessary. A simple log gives you a baseline if the crop responds poorly or the supplier needs to troubleshoot with you.
| Record | Why it matters |
|---|---|
| Culture and supplier | Connects the block to the right fruiting guidance |
| Arrival and setup dates | Keeps observations tied to a real timeline |
| Each adjustment | Avoids changing air, water, and light all at once |
| Harvest date and storage | Supports food handling after a normal crop |
Place the block where it can follow its own documented light and fresh-air guidance, without using a food-preparation counter or an improvised sealed container. Keep it away from raw animal foods, dirty tools, and any suspicious growing material.
Follow the culture’s conditions, not universal numbers
Oyster mushrooms are a group of cultivated strains, not a single home-growing setting. Temperature, humidity, light, and fresh-air exchange interact with the block, the room, and the supplier’s production method. Cornell’s indoor-cultivation overview likewise treats substrate, inoculation, incubation, and fruiting as distinct stages rather than one universal recipe.
Use the supplier’s stage-specific instructions. If a block needs an adjustment, change one documented variable, date the change, and observe its result before changing another. More water does not automatically solve a fruiting problem, and more air can dry a block. The fruiting conditions guide explains why those signals must be read together.
Place an oyster block for side-fruiting and observation
Follow the supplier’s directions for where and how to open the package. Many commercial oyster blocks are designed to fruit from a specified slit or exposed face, but the opening method belongs to that product—not to a generic rule copied from another kit. Do not remove all packaging or cut additional openings unless the supplier instructs you to do so. Packaging can help manage moisture and define where clusters emerge.
Give the intended fruiting face enough clear space for a cluster to expand without pressing against a wall, bag, appliance, or dirty surface. Keep it out of direct sun and away from heating or cooling vents that create abrupt temperature changes or drying airflow. A bathroom or kitchen is not automatically suitable merely because it can feel humid; assess cleanliness, standing water, food-preparation traffic, ventilation, and the supplier’s stated conditions together.
Position the block so you can see the opening without rotating or squeezing it every day. Frequent handling adds no useful control. Keep the supplier label visible, and place any sensor near the crop without letting mist strike it directly. Record the actual location of the sensor because a reading at the far side of a room may not describe the air around the fruiting face.
Read oyster cluster development without a fixed calendar
Oyster mushrooms commonly develop as clusters, with several stems sharing a compact attachment area. That growth form makes the whole cluster—not one isolated cap—the useful observation unit. Photograph the same cluster from the front and side at regular intervals. Note when pins first become visible, whether the cluster expands evenly, and whether surfaces remain intact and normally colored for the supplied strain.
Do not promise yourself a harvest on a date taken from another kit review. Block age, shipping, culture, substrate, handling, and room conditions can shift the sequence. The supplier’s stated timeline is a checkpoint: if development falls outside it, send the supplier the dated record rather than repeatedly changing the setup.
Cap shape and color can change as a cluster develops, and the crowded stems may not resemble a market tray of separated mushrooms. Use the supplier’s illustrated maturity cues for its strain. Appearance does not override a new foul odor, slime, pest activity, leaking substrate, or unexplained growth elsewhere on the block.
Use a daily log that separates observations from actions
A short log makes troubleshooting more precise:
- Record date and approximate time, then photograph before touching or misting.
- Note visible pins, cluster size, surface condition, condensation pattern, and any insects or unexpected growth.
- Record temperature and humidity as trends, including sensor location.
- Write down the routine action required by the supplier.
- If you make a non-routine adjustment, record the reason and change only one supported variable.
- Recheck after a consistent interval instead of reacting to every short-term reading.
Separate facts from interpretations. “Cap edge looks drier than yesterday after the block was moved near a vent” is reviewable; “needs more humidity” is already a diagnosis. The first statement allows you or the supplier to compare a sequence. The second can lead to extra water without considering airflow, temperature, or measurement error.
Observe a response without pretending to diagnose it
Visible changes are useful notes, not remote diagnoses. Long stems, small caps, cracking, slow pins, or drying can have more than one cause. Write down what you see, the block’s history, and the one change you made. Then compare that record with the supplier’s guidance.
Keep the response focused on the supplied culture. Do not use appearance to identify a wild mushroom, infer that a questionable block is edible, or copy the treatment from another grower’s different substrate. The grain spawn guide explains why a labeled culture and production method need to travel together.
Oyster clusters can release visible spores as they mature. Do not deliberately inhale spores or place your face close to a fruiting cluster. Follow the supplier’s ventilation and harvest guidance, and avoid locating a mature block in a sleeping area or other continuously occupied, poorly ventilated space. If a person develops breathing difficulty, severe symptoms, or persistent irritation, stop exposure and seek appropriate medical advice; this guide cannot diagnose an allergy or respiratory condition.
Condensation is also easy to misread. Droplets on a bag or chamber wall show that moisture condensed at that surface; they do not directly prove that the fruiting surface has the correct moisture or that fresh-air exchange is adequate. Likewise, a high hygrometer number does not establish crop safety. Use the visual record, the instrument trend, and the supplier’s instructions together.
Harvest only a known, sound crop
Harvest according to the supplier’s maturity cues for the particular oyster culture. Use clean hands or a clean tool and place the crop in a clean container. Prompt refrigeration, separation from raw animal foods, and a harvest-date note are practical food-handling steps for a normal crop. For storage limits and handling details, use the homegrown mushroom storage guide.
Penn State’s mushroom food-safety resources emphasize sanitation and documented controls in production. FDA produce guidance also supports clean handling and keeping produce apart from raw animal foods. Neither source says that ordinary kitchen hygiene can make an unknown or suspicious culture safe.
Prepare for harvest before the cluster reaches its cue
Read the harvest instructions while the cluster is still developing. Clean the intended tool if one is required, prepare a clean food-safe container, and clear refrigerator space before harvesting. Keep raw meat, poultry, seafood, dirty soil, compost, and spent substrate away from the harvest area. If several blocks are running, label the container with the culture, block, and date.
Remove the cluster by the method the supplier specifies, taking care not to scatter substrate debris across ready-to-eat food or clean utensils. Do not mix damaged, spoiled, or questionable material into the sound portion for appearance’s sake. Oyster mushrooms are perishable produce and should be cooled promptly; a room-temperature display is not a storage plan.
Cooking instructions belong to the recipe used for a confirmed cultivated harvest. Do not sample a raw piece as an identity or quality test, and remember that an authenticated cultivated species can still be unsuitable for someone with an allergy or intolerance. Introduce any unfamiliar food cautiously and obtain medical care for serious reactions.
Evaluate a later flush as a new observation period
Some suppliers provide instructions for resting, rehydrating, or attempting another flush. Use only the method supplied for the particular block. Keep the first harvest date, handling notes, and post-harvest block condition in the log, then begin a new observation period rather than assuming the next cluster will follow the same schedule or yield.
Later production is not a reason to retain a block indefinitely. Stop when the supplier’s supported cycle is complete or when pests, persistent foul odor, slime, leaking material, or unexpected growth makes the block questionable. Declining yield alone and a food-safety concern are different branches; neither should be solved by improvising an unverified soak, additive, or surface treatment.
Dispose of a normal spent block according to supplier and local waste or compost guidance. Isolate suspect material before moving it through living or food areas, and clean reusable nonporous items appropriately. Do not reuse questionable substrate as food-growing material simply because some mushroom growth remains visible.
Stop and separate a questionable block
Treat unexpected growth, slime, insects, leaking packaging, persistent foul odor, or missing culture identity as a boundary, not as a cosmetic defect. Keep the block away from healthy cultures and food areas, record the issue, and contact the supplier. Do not trim, rinse, cook, or taste material from an uncertain block.
For broader contamination containment and recordkeeping, see the mushroom contamination guide. If you decide to move beyond a supplied fruiting block, begin with a documented system in the mushroom substrate guide rather than combining advice from unrelated methods.
References
Source quality notes
MushroomScope cites sources that match the page scope, such as taxonomic databases, extension guidance, food-safety agencies, food-composition databases, and peer-reviewed or institutional health references. Sources support context and uncertainty; they do not turn an online page into specimen identification, medical advice, or a tested recipe record.
Frequently asked questions
What is the easiest way to grow oyster mushrooms at home?
A labeled ready-to-fruit oyster block is the clearest first project because the supplier has already matched the culture and substrate. It lets you practice observation and harvest handling without also trying to prepare substrate or produce spawn.
How often should I mist an oyster mushroom fruiting block?
Use the supplier's instructions and the block's response instead of a universal schedule. Record one change at a time; extra water cannot correct insufficient air exchange, and a wet surface alone does not diagnose the cause of poor fruiting.
When should I harvest oyster mushrooms from a block?
Harvest according to the supplier's maturity cues for that strain, using clean hands or tools and a clean container. Cool a known sound harvest promptly and keep it separate from raw animal foods and questionable cultivation material.
Can I eat mushrooms from a block with mold or a bad smell?
No. Isolate a block with unexpected growth, slime, pests, leakage, persistent foul odor, or unclear culture history. Do not trim, wash, cook, or taste material in an attempt to make an uncertain crop safe.
Related guides
mushrooms
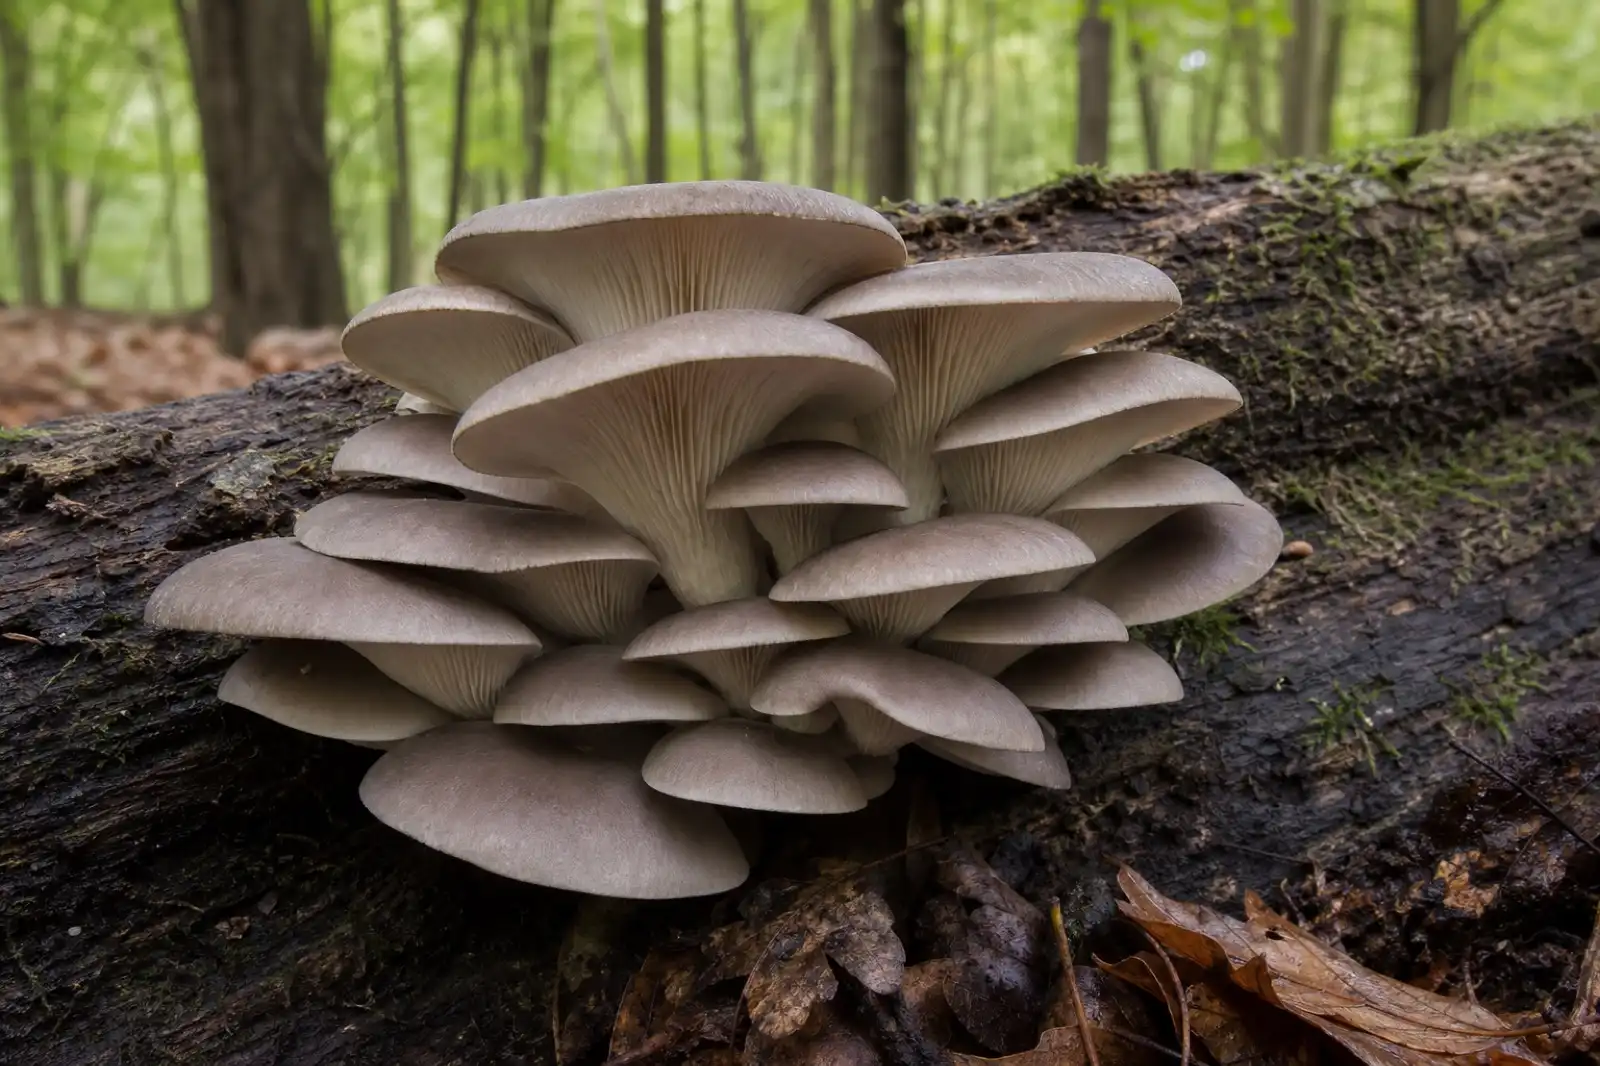
Pleurotus ostreatus: Oyster Mushroom Identification and Growing Guide
A careful guide to Pleurotus ostreatus identification, habitat, home cultivation, nutrition, lookalikes, food safety, and research limitations.
growing
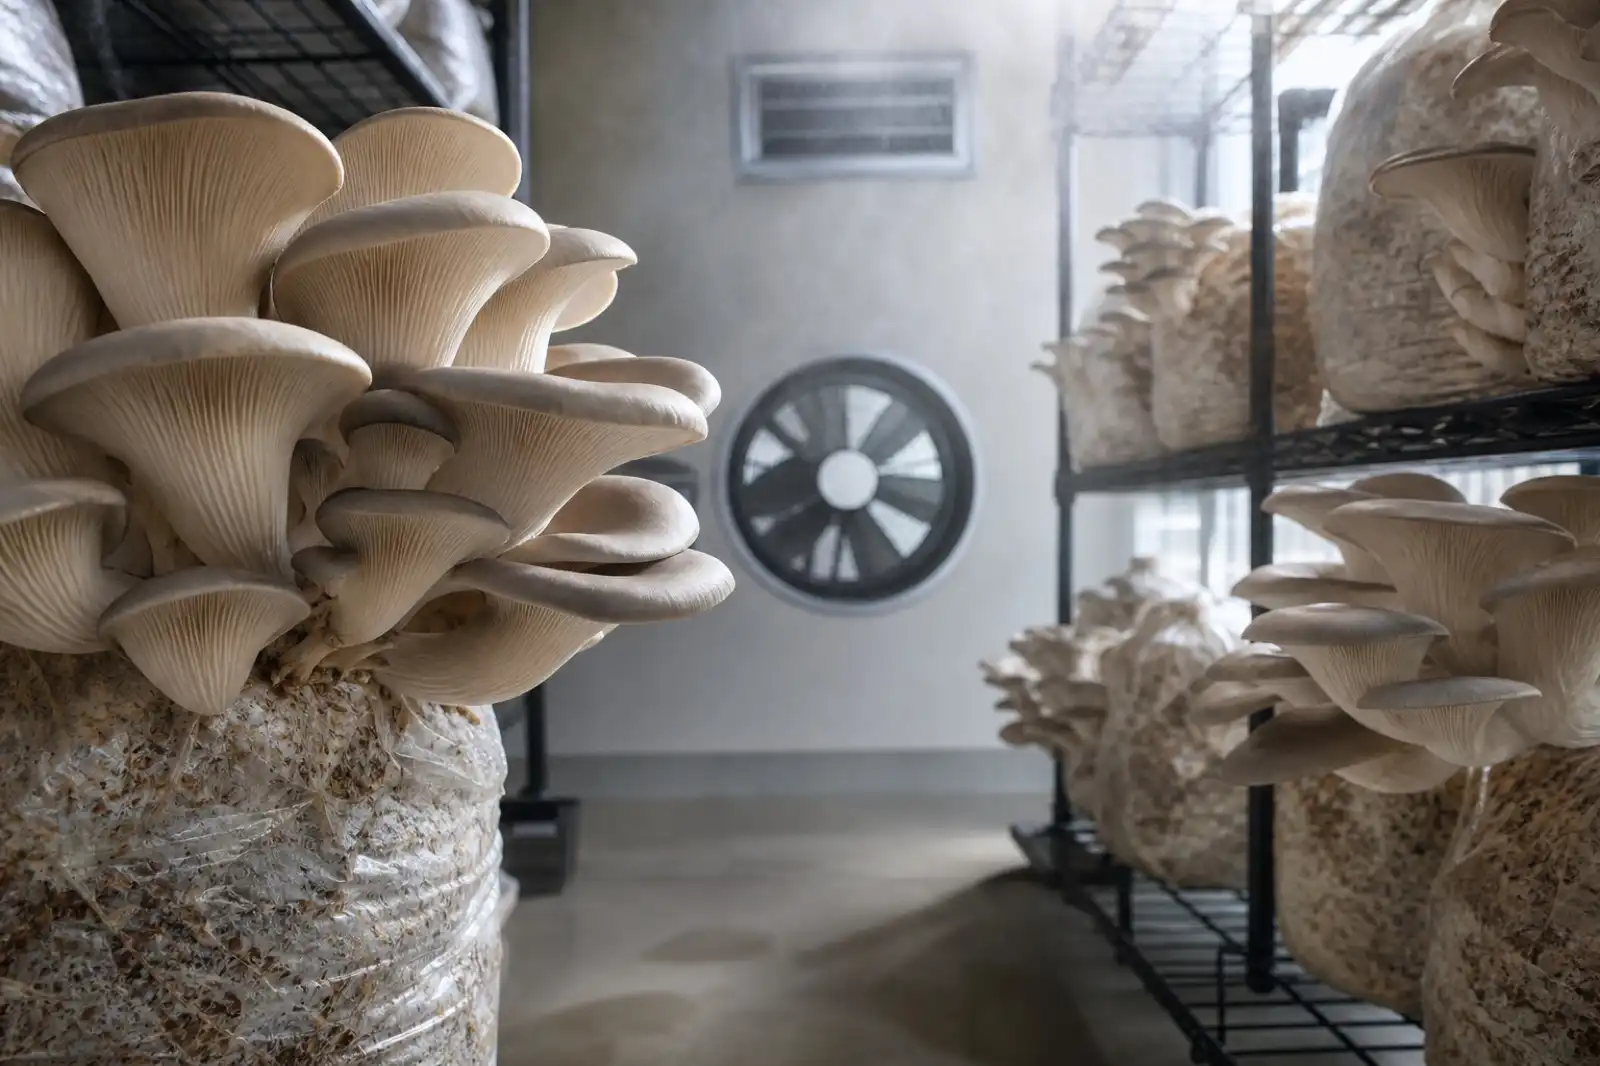
Mushroom Fruiting Conditions: Humidity, Air, Light, and Temperature
Use humidity, fresh air, light, and temperature as a linked observation system for authenticated cultivated mushroom blocks—not a universal settings chart.
growing
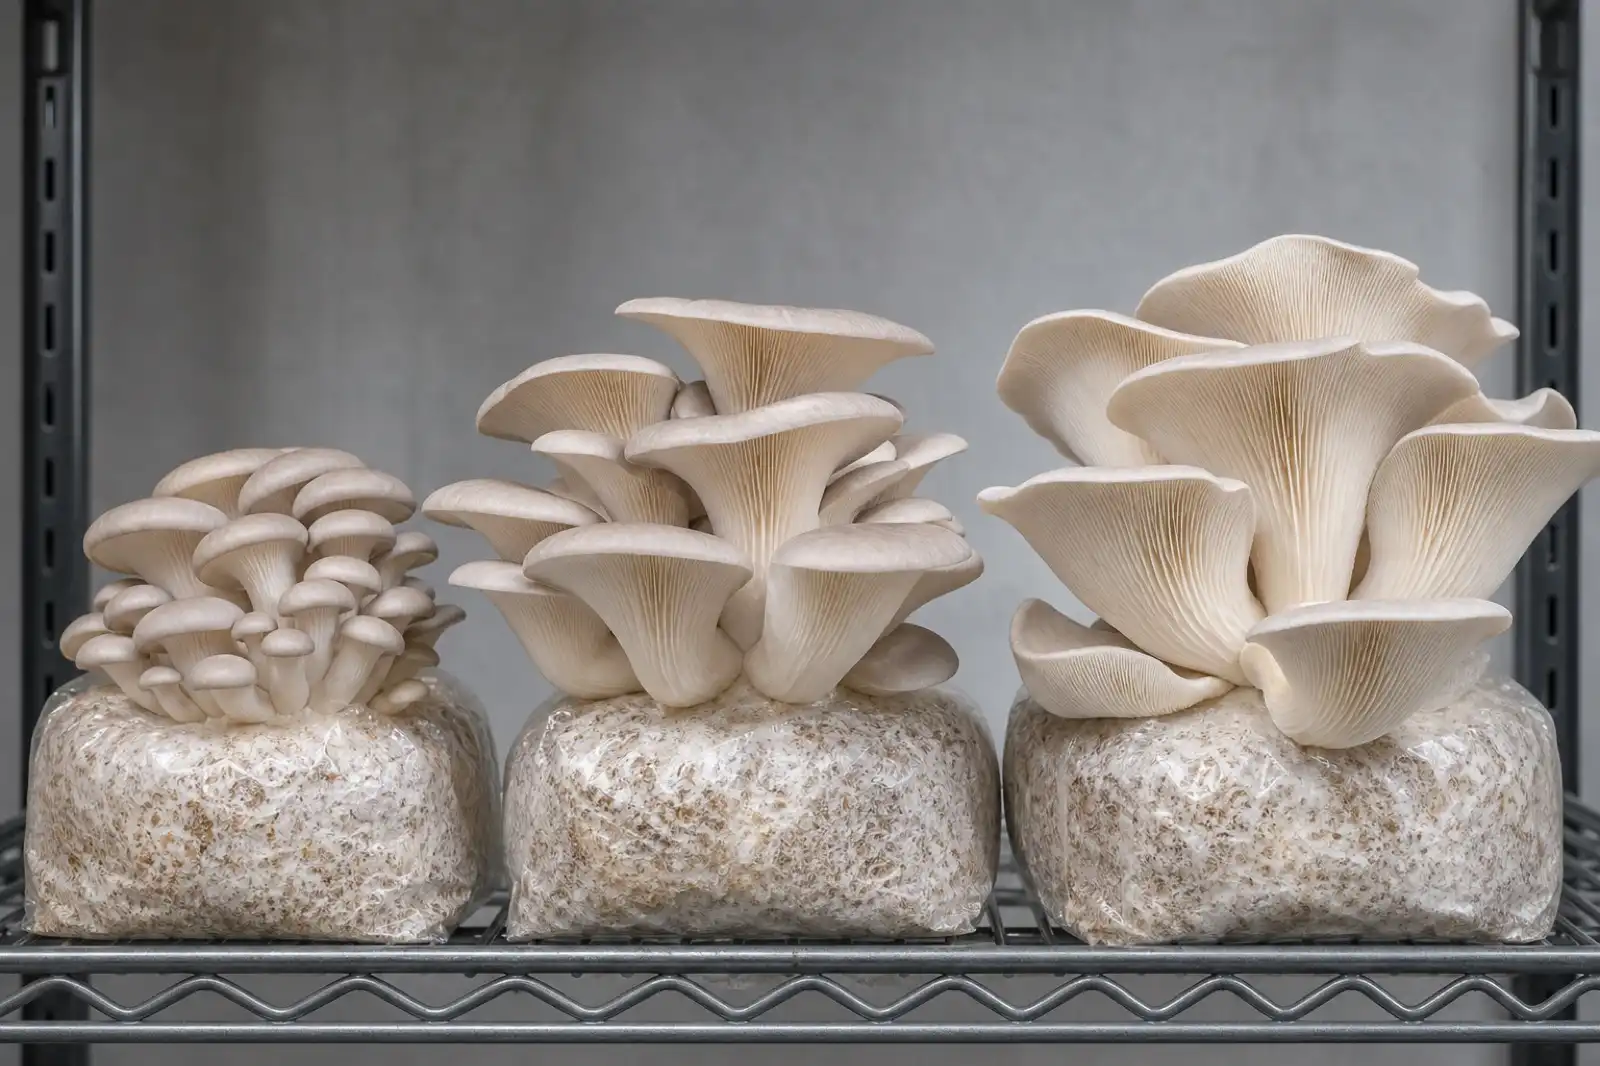
When to Harvest Cultivated Mushrooms
Learn when to harvest cultivated oyster, lion's mane, shiitake, and other mushrooms using species-specific maturity cues, clean handling, and prompt cooling.
Continue exploring
Browse more practical guides in Growing or visit the mushroom encyclopedia.