Growing
Mushroom Fruiting Conditions: Humidity, Air, Light, and Temperature
Use humidity, fresh air, light, and temperature as a linked observation system for authenticated cultivated mushroom blocks—not a universal settings chart.
By MushroomScope Editorial Team · · Updated
Growing method
Start with authenticated culture
Use supplier-identified spawn or blocks and record substrate, stage, temperature, humidity, and visible changes.
Open the beginner growing hub →Food safety
Discard suspect batches
Unusual colors, slime, insects, or abnormal odor should be treated as a safety concern, not a climate tweak.
Review contamination guidance →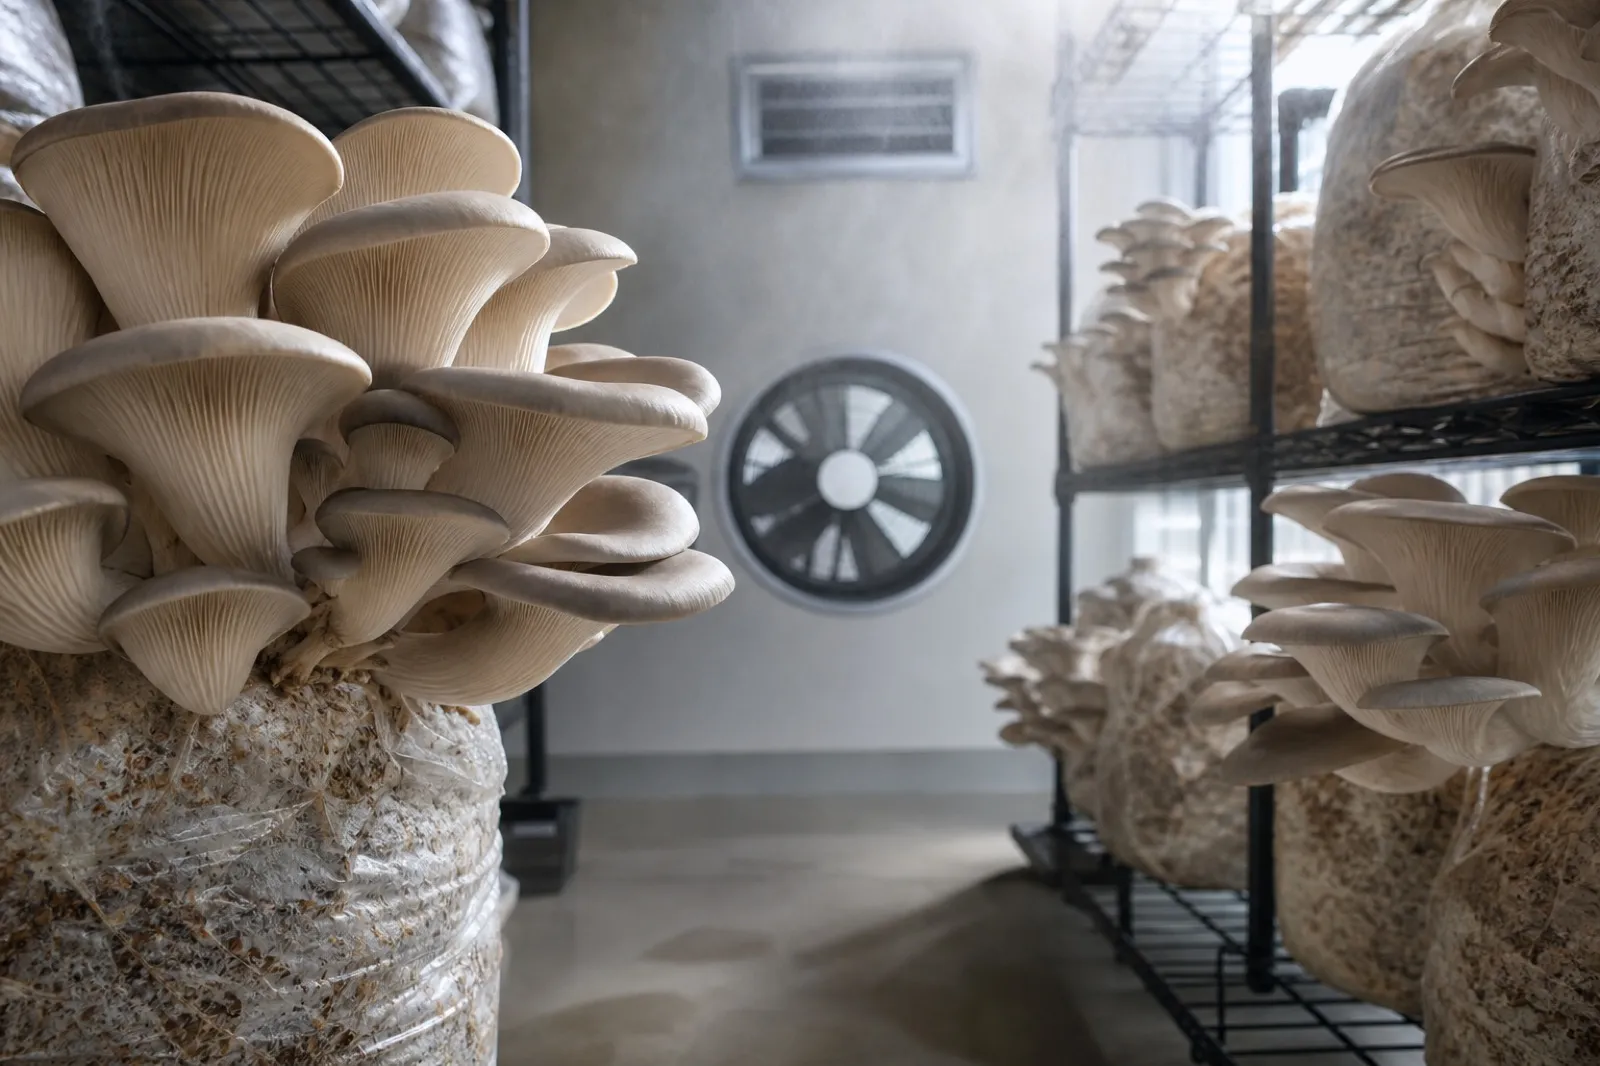
August 2026 growing note: This page now anchors the new practical guides on building a simple fruiting chamber and growing mushrooms on coffee grounds. Use it as the environmental decision guide before changing a setup.
The practical answer: fruiting is a linked system, not four magic numbers
Humidity, fresh air, light, and temperature all matter, but they do not work as independent dials. A wetter surface can coexist with inadequate air exchange; stronger airflow can accelerate moisture loss; a room thermometer may not describe the interior of a fruiting block. The useful home workflow is therefore not “find the perfect chart.” It is: start with an authenticated culture, follow its stage-specific supplier guidance, establish a baseline, and make one documented adjustment at a time.
This guide is for cultivated gourmet mushrooms from a reputable supplier—especially ready-to-fruit blocks. It does not provide an identification method for wild fungi or a universal fruiting recipe for every oyster, shiitake, lion’s mane, or button-mushroom strain. Cornell’s cultivation material and University of Maryland Extension both frame mushroom production as a staged process; the details depend on crop and production system.
Start by naming the batch
Before trying to “fix” the environment, label what you are actually growing. A useful batch record includes:
| Record | Why it changes the decision |
|---|---|
| Culture and supplier | A common name alone may not describe the strain or its instructions. |
| Substrate and block size | A compact sawdust block and a larger straw system exchange heat and moisture differently. |
| Stage | Colonization and fruiting are different management phases. |
| Room location | A shelf near a window, HVAC vent, or exterior wall can behave differently from the center of the room. |
| What you changed | One dated change makes the next response interpretable. |
For a first crop, a ready-to-fruit block plus the supplier’s instructions is the lower-complexity route. Preparing substrate and inoculating it adds decisions about heat treatment, hydration, and clean handling before fruiting conditions even enter the picture. See growing oyster mushrooms at home for a block-based workflow, and use the mushroom growing temperature guide to keep room and substrate readings separate.
Read the four conditions together
Humidity: preserve a suitable surface without creating standing water
Humidity affects evaporation from pins and fruit bodies, but a humidity reading is only one part of the picture. The supplier’s guidance for the exact culture comes first. If the surface looks dry, verify that the culture is healthy and that airflow is not stripping moisture away before adding water. Avoid turning the block, tray, or enclosure into a wet reservoir; standing water can damage quality and complicate sanitation. For initiation-stage diagnosis, the pinning conditions guide separates culture readiness, opening geometry, crop-zone readings, surface wetness, and spatial failure patterns.
Use a hygrometer to track change over time, not to chase a number copied from another species. Note where it sits, whether the room was recently vented, and whether your water method changed. A reading from across the room is not automatically the microclimate at the fruiting surface.
Fresh air: exchange is not the same as a fan pointed at the crop
Growing cultures need a supplier-appropriate exchange of air. A fan that dries one side of a block is a different intervention from a room that trades stale air for fresh air more evenly. When a healthy crop appears stretched, cramped, or slow, do not diagnose the cause from one feature alone. Check the named culture’s instructions, review the room’s airflow pattern, and make a single documented adjustment.
More misting cannot compensate for inadequate exchange, and sealing a grow space to retain moisture can make the air problem worse. Balance is the target: enough exchange for the culture’s stage without creating an avoidable drying draft.
Light: an orientation cue, not a heat lamp
For species whose supplier recommends light during fruiting, indirect light helps establish a usable day-night signal. It should not become a heat source or a reason to put a block in direct sun. Record whether the block is near a window, under a room light, or in a shaded enclosure; those placements also change temperature and drying.
If the supplier does not specify a light program, do not invent one from another species’ advice. The culture label is more precise than an internet-wide rule.
Temperature: record what and where you measured
Room air, the surface of a block, and the interior of an active substrate are different observations. Stage also changes the question: a colonization recommendation is not necessarily a fruiting recommendation. Use the supplier’s range for the exact named culture and log the measurement location and time. The batch-log temperature guide explains why one generic temperature chart can hide those differences.
Avoid rapid swings as a casual troubleshooting tactic. For a healthy batch, change one environmental input only when it is supported by the supplier’s instructions, then wait long enough to observe the crop before changing something else.
A conservative adjustment sequence
When a healthy, supplier-identified block is not responding as expected, work in this order:
- Confirm the stage. Check whether the supplier says the block is ready to fruit; do not use a fixed day count as proof.
- Re-read the exact instructions. Match the named culture, substrate, and method instead of a generic species chart.
- Log the baseline. Record room temperature, humidity trend, light placement, air-exchange method, and the visible response.
- Look for safety flags first. Unexpected pigment, slime, insects, foul odor, or wet decay is not a climate adjustment exercise. Isolate the material.
- Make one change. For a clearly healthy crop, adjust one supplier-supported condition and record when and how.
- Observe, then decide. Compare the next response with the baseline. If it fails, begin with a clean, documented later batch rather than layering on several changes.
This sequence protects the useful part of home growing: learning what a named culture did in a named environment. It also avoids using a photo, a single symptom, or a generic setting as a false diagnosis.
Symptom-to-action matrix for healthy vs. suspect crops
| Observation | First response | Do not assume |
|---|---|---|
| Surface seems drier after a ventilation change | Check the supplier’s humidity and exchange guidance; log the timing and make one moisture-management change if appropriate. | That more spraying alone will solve it. |
| One side dries faster | Review direct drafts, sunlight, and placement; rotate only if the supplier’s setup allows it and document the change. | That the humidity gauge describes every side of the block. |
| Pins or fruit bodies look different from expectation but the block otherwise appears healthy | Recheck species, strain, stage, and supplier guidance before changing one condition. | That one visible feature identifies a single cause. |
| Unexpected mold-like growth, slime, insects, or abnormal odor | Isolate it, stop treating it as food, and review the clean workflow for future batches. | That trimming, washing, or cooking proves it safe. |
For a broader clean-workflow review, see mushroom growing troubleshooting. That page can help organize observations, but it cannot identify contamination from a photograph or make a suspect crop edible.
Harvest and food-safety boundary
Harvest only a normal-looking crop from an authenticated culture using the supplier’s maturity cues. Use clean hands or tools, avoid soaking the harvested mushrooms, and cool culinary crops promptly. Penn State’s mushroom food-safety resources provide useful production-hygiene context, but a home workflow is not a substitute for food-safety controls.
Do not taste a suspect block or fruit body. Do not treat a climate change as a remedy for unusual growth. If a culture produces an unexpected mushroom, do not eat it based on resemblance to the intended crop; seek local, qualified identification help where appropriate.
Frequently asked questions
Can I fruit mushrooms in a sealed tote?
Only if the exact culture and method provide a safe, workable exchange plan. A sealed tote may retain moisture, but moisture retention does not replace fresh-air management. Start with the supplier’s instructions for the named block rather than assuming a container design works for every crop.
Should I mist mushrooms directly?
Use the culture supplier’s recommended water method. Direct misting, room humidification, and moisture retained by an enclosure can have different effects. Avoid standing water and do not use more water as a response to an unexplained color, odor, or slimy area.
Why do I need a batch log for one home grow?
A small record separates memory from observation. It captures the culture, stage, conditions, and one change you made, which makes the next crop easier to assess. It also helps prevent multiple uncontrolled changes from being mistaken for a reliable technique.
Validate changes over more than one observation
After adjusting air, humidity, light, or temperature, define when the crop will be checked again and what response would count as improvement. Preserve sensor location and avoid changing another control during that interval. One attractive fruit body is not enough to validate a chamber; compare morphology, contamination, yield, and consistency across batches.
Compare the chamber with an empty-system test
Before loading a valuable block, run the clean empty chamber through a normal cycle. Map minimum and maximum temperature and humidity at several shelf positions, inspect condensation and drainage, verify timers after a power interruption, and confirm air does not blow directly on the fruiting opening. Correct unsafe water or electrical behavior before cultivation.
References
- Cornell Small Farms. Specialty Mushroom Cultivation. Cultivation resources and production context.
- Cornell Small Farms. Seven Stages of Cultivation. Stage-dependent production concepts.
- University of Maryland Extension. Learn More About Mushroom Production (Fungiculture). Extension overview of mushroom production systems.
- Penn State Extension. Mushroom Food Safety. Food-safety and preventive-control context.
Last substantive editorial update: August 12, 2026. Supplier documentation should be rechecked for every new culture or method.
Source quality notes
MushroomScope cites sources that match the page scope, such as taxonomic databases, extension guidance, food-safety agencies, food-composition databases, and peer-reviewed or institutional health references. Sources support context and uncertainty; they do not turn an online page into specimen identification, medical advice, or a tested recipe record.
Frequently asked questions
What conditions trigger mushroom fruiting at home?
There is no single trigger that applies to every cultivated mushroom. Use the exact culture supplier’s instructions for the named species, strain, substrate, and stage, then record room conditions and the fruit-body response rather than copying a generic settings chart.
Should I increase humidity when pins look dry?
Check whether the culture is healthy and whether the supplier guidance calls for a change before adjusting anything. Improve moisture management in one measured step while preserving fresh-air exchange; repeatedly soaking a block can create standing water without solving the cause.
Can I eat mushrooms from a block with unusual color or odor?
No. Isolate a block with unexpected growth, slime, insects, or an abnormal odor and do not try to trim, wash, or cook it into a food crop. A photo or a surface change cannot establish contamination identity or food safety.
Related guides
growing
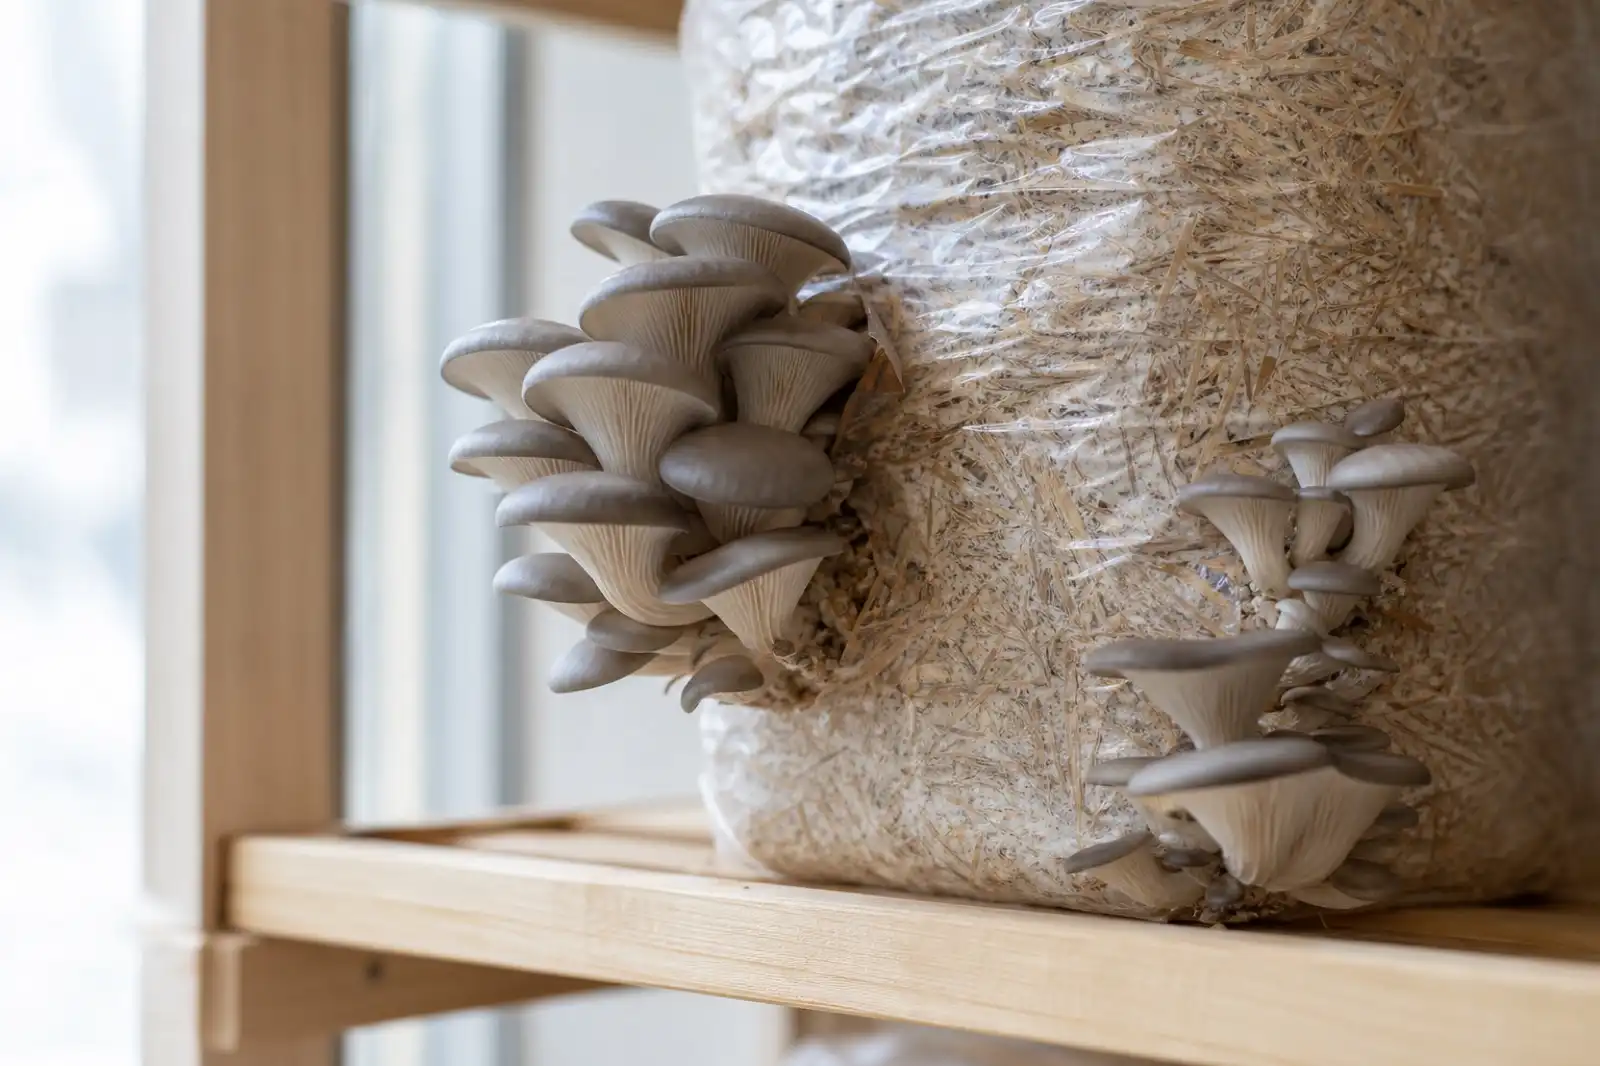
How to Grow Oyster Mushrooms at Home
Grow oyster mushrooms at home with a supplier-provided fruiting block: set up a clean observation routine, follow the culture label, and handle harvests safely.
growing
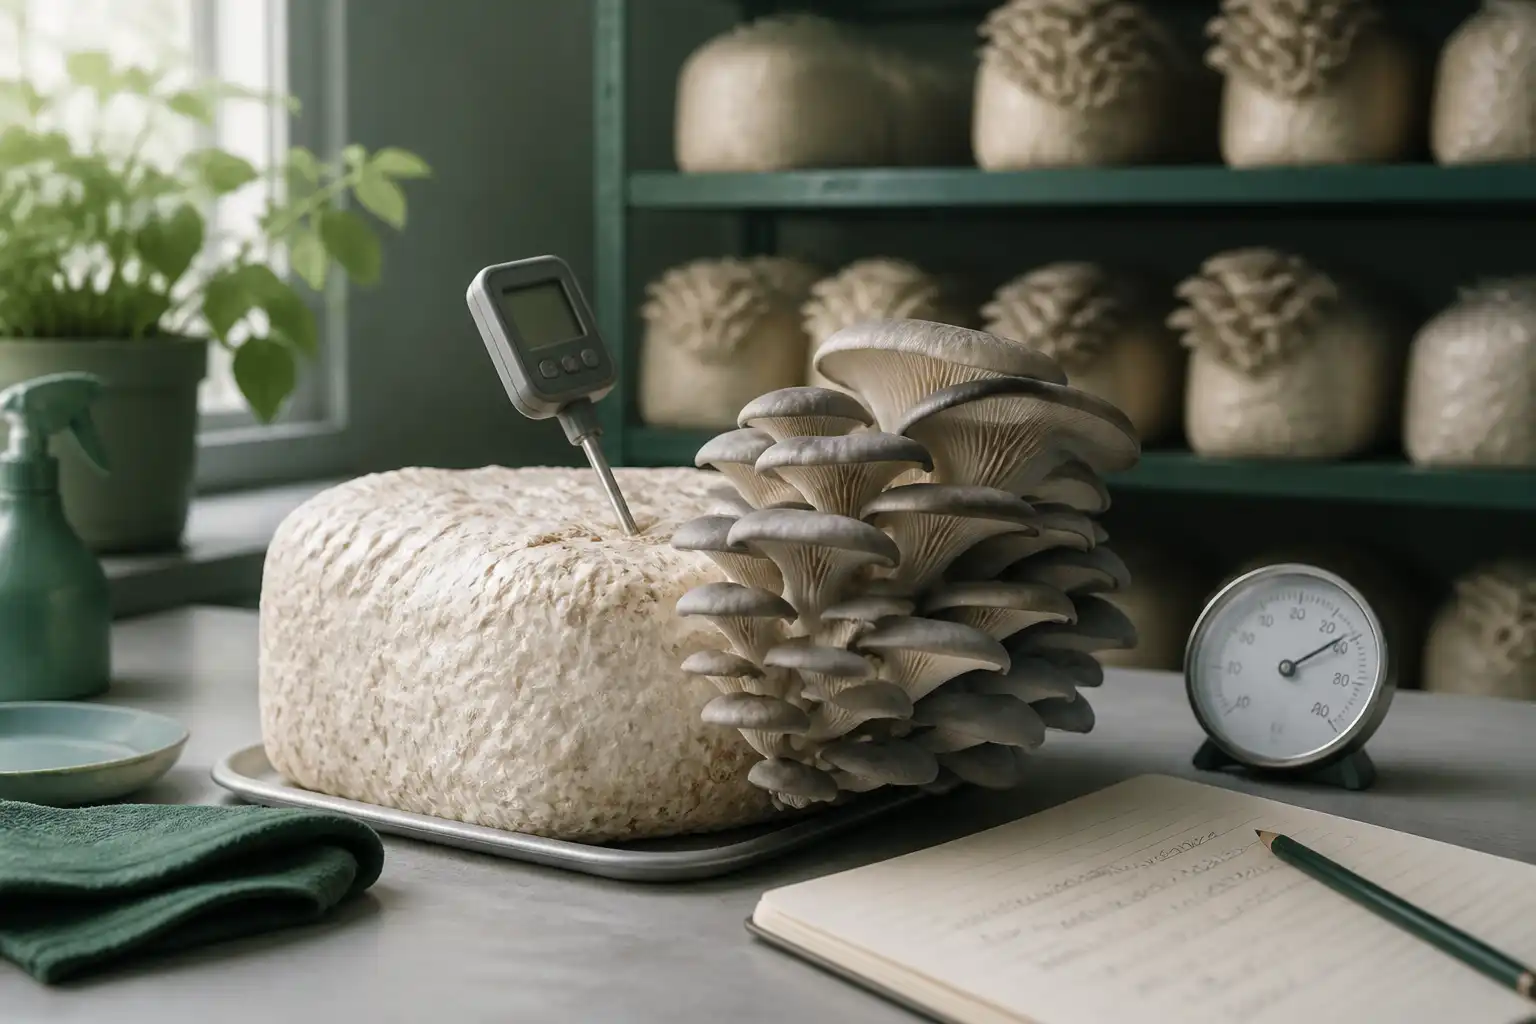
Mushroom Growing Temperatures: Use a Batch Log, Not a Generic Chart
Set and troubleshoot mushroom growing temperatures with a species- and batch-specific log instead of copying universal incubation or fruiting numbers.
growing
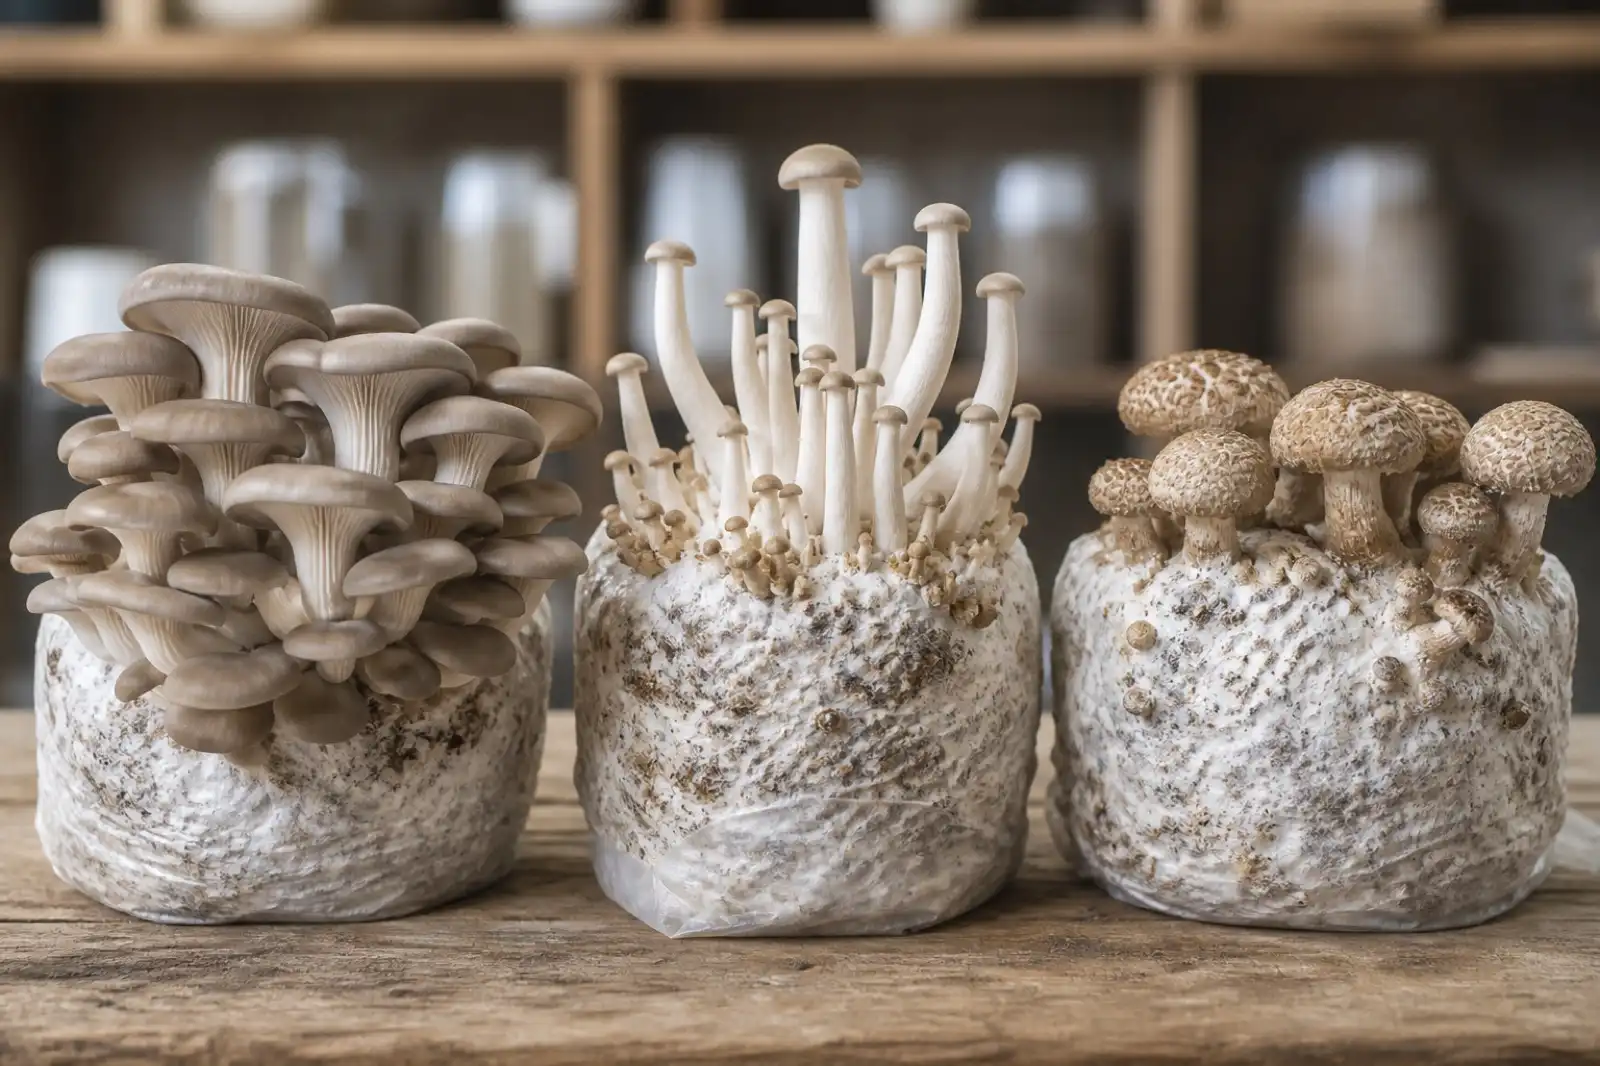
Mushroom Growing Troubleshooting: A One-Variable Logbook Method
Troubleshoot a home mushroom grow by separating contamination, moisture, fresh-air, temperature, and harvest-handling observations.
Continue exploring
Browse more practical guides in Growing or visit the mushroom encyclopedia.