Growing
How to Build a Simple Mushroom Fruiting Chamber
Build a simple mushroom fruiting chamber for authenticated blocks with materials, setup steps, humidity and air guidance, and safety limits.
By MushroomScope Editorial Team · · Updated
Growing method
Start with authenticated culture
Use supplier-identified spawn or blocks and record substrate, stage, temperature, humidity, and visible changes.
Open the beginner growing hub →Food safety
Discard suspect batches
Unusual colors, slime, insects, or abnormal odor should be treated as a safety concern, not a climate tweak.
Review contamination guidance →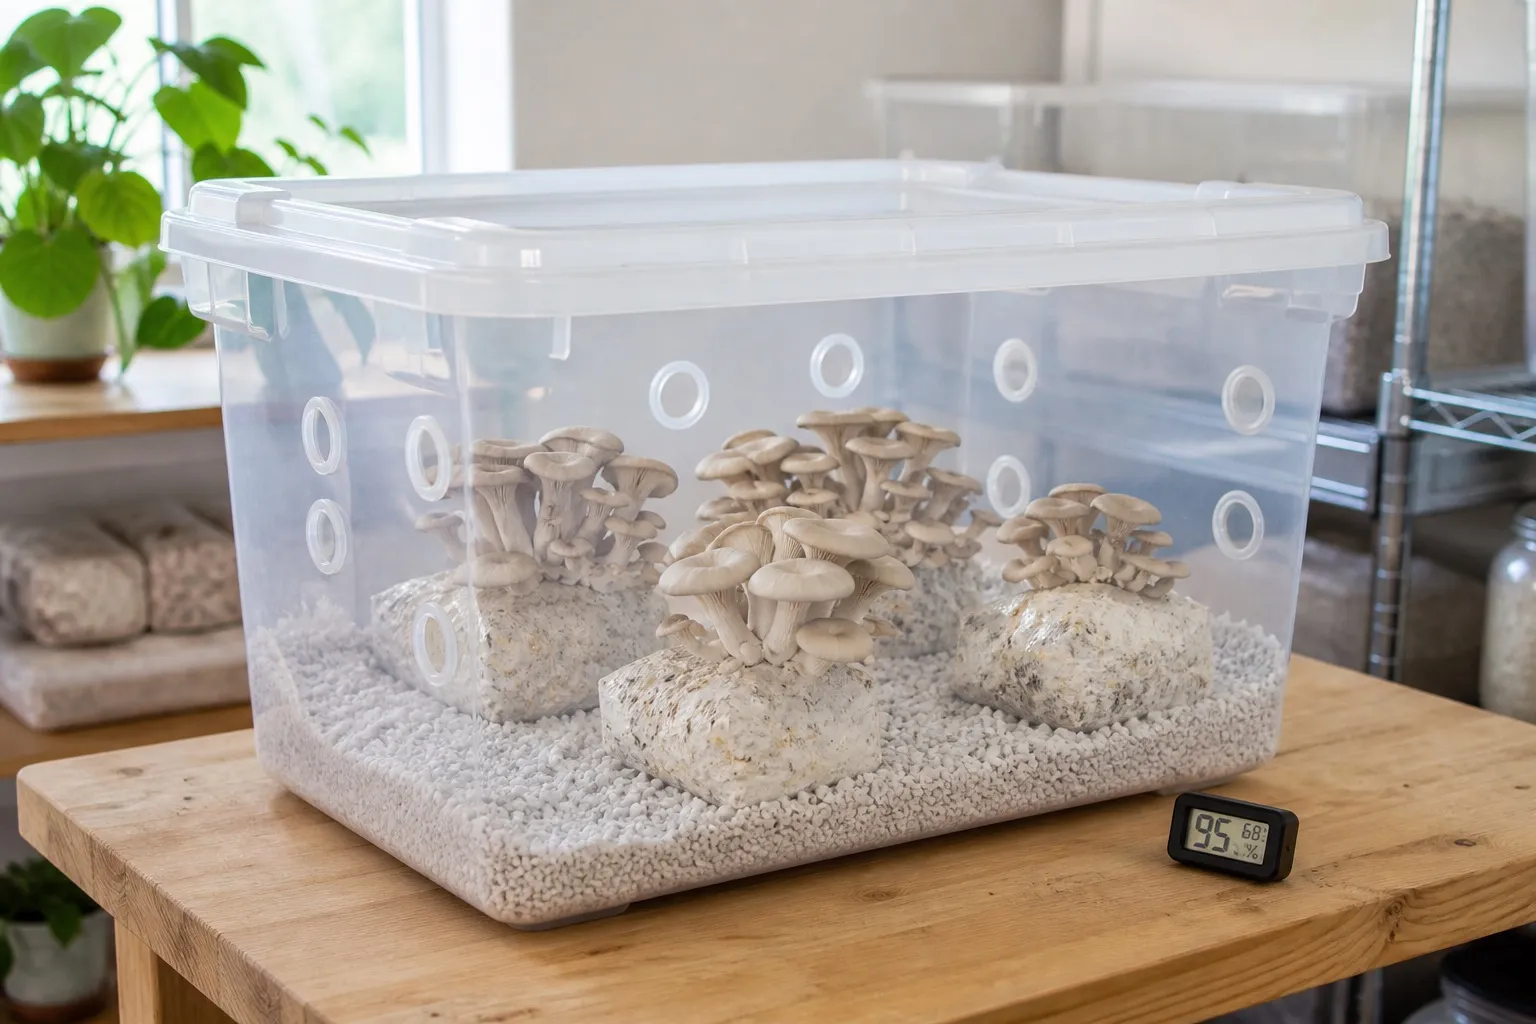
The practical answer
A simple fruiting chamber is not a magic box. It is a cleanable microclimate that helps a supplier-identified mushroom block hold moisture while still receiving appropriate fresh air. Start with an authenticated ready-to-fruit block and its instructions; the chamber should support that guidance rather than replace it.
This guide is for culinary mushroom blocks from reputable suppliers. It does not identify wild mushrooms, and it does not make contaminated material safe to eat.
The safest beginner mindset is to treat the chamber as one part of a documented system. The culture, substrate, supplier instructions, room conditions, handling, and harvest practices all matter. A beautiful container cannot fix a weak culture, an overheated block, an old substrate, or contamination introduced earlier.
For a first project, avoid building a complicated automated system before you know what a healthy crop looks like. A clear tote, clean tray, simple label, thermometer, and written log can teach more than a fogger, fan, and timer that are adjusted every few hours.
Materials
Use a clear plastic tote, clean shelf enclosure, or other washable container that fits the block without pressing against developing mushrooms. Add a clean tray or liner, a thermometer, a hygrometer for trend tracking, a label, and the supplier instructions. A small spray bottle or room humidification method can help, but water management should not create puddles.
Choose a location away from direct sun, heat vents, kitchens with heavy grease, and dusty storage areas. Indirect room light is usually enough when the supplier recommends light for fruiting.
The chamber should be easy to clean and easy to observe. Transparent sides help you notice drying, abnormal wetness, insect activity, or changes in mushroom shape without opening the setup constantly. Smooth plastic is usually easier to wipe than rough wood or fabric. Avoid containers that previously held chemicals, strong fragrances, or non-food materials that could leave residues.
Size matters. The block should have room for mushrooms to expand without rubbing the lid or sides. At the same time, an oversized chamber may be harder to keep evenly humid in a dry room. Choose something slightly larger than the block and expected fruiting area, then adjust future builds after observing a real batch.
Labeling is part of the equipment, not paperwork afterthought. Record supplier, species or culture name, arrival date, setup date, and any instructions that came with the block. If a batch performs poorly, this record helps you separate chamber issues from culture or shipping issues.
Setup steps
- Read the exact block instructions before opening anything.
- Wash hands and clean the tote, tray, and work surface.
- Label the batch with species, supplier, arrival date, and setup date.
- Place the block where it can fruit without touching dirty surfaces.
- Record temperature, humidity trend, light, and airflow before making changes.
- Follow the supplier’s opening, cutting, misting, and harvest directions.
For environmental decision-making, use the deeper mushroom fruiting conditions guide. For a first crop, growing oyster mushrooms at home is a practical companion.
Choosing a location
A good chamber location is stable, observable, and away from obvious contamination sources. Avoid placing the setup beside a trash bin, pet area, compost bucket, raw-food preparation zone, or dusty storage shelf. Also avoid direct sun. A clear chamber can heat quickly in sunlight, and heat stress can damage a block even when the room feels comfortable.
Airflow around the chamber matters too. A strong vent, fan, or open window may dry one side of the block. A sealed closet may limit air exchange. The goal is not a perfectly sterile room; it is a reasonable, cleanable place where the chamber can be observed without extreme swings.
If you share a living space, choose a spot that other people will not accidentally move, open, spray, or contaminate. Label it clearly. A simple sign saying “food crop project—do not open” can prevent curious handling.
Managing humidity and air
Humidity and air exchange have to be read together. A sealed chamber may look humid but still have poor exchange. A fan may add fresh air but dry one side of the block. Keep notes, change one variable at a time, and judge the response over time.
Do not mist aggressively to solve every problem. If you see unusual color, slime, insects, wet decay, or an abnormal odor, treat that as a safety concern. Isolate the material and review your process with a future batch.
Reading the crop response
Use the mushrooms themselves as the final signal, not the gadget reading alone. A hygrometer can drift, and the reading changes depending on whether the sensor is near wet plastic, the block surface, or an air opening. Healthy development is usually more useful than chasing a perfect number.
Long, thin stems and small caps can suggest that the setup needs more appropriate fresh-air exchange, but the response depends on species and strain. Dry, cracked surfaces can point toward excessive evaporation. Wet, slimy surfaces or sour odors are not normal climate cues; treat them as contamination warnings rather than misting problems.
What not to automate too early
Beginners often add fans, foggers, lights, timers, and sensors before understanding the basic crop response. Automation can help a stable process, but it can also hide mistakes. A small passive chamber with a batch log teaches more than a complicated system changed every few hours.
If you do automate later, add one device at a time and record the reason. The goal is repeatability: same culture type, same room, same chamber, same opening routine, and a clear note about what changed between batches.
Match chamber volume to crop and evaporation
Measure the usable chamber dimensions and leave clearance around the fruiting face. A block pressed against wet plastic experiences a different boundary layer from one with open space, while a very large empty tote can be slow to recover after opening. Record where water is added, where droplets collect, and which surface dries first. These observations are more useful than copying a hole count from a chamber with different volume, room airflow, or crop load.
Run the chamber empty for a day before loading a valuable block. Log room and chamber temperature, visible condensation, water accumulation, and recovery after the normal opening routine. Then repeat after loading because a respiring, evaporating crop changes the system. If the lid, floor, or electrical parts collect water, redesign the arrangement rather than accepting puddles as evidence of adequate humidity.
Choose passive or powered exchange deliberately
A passive tote is simple to clean and has few failure modes, but it depends strongly on room air movement and the operator’s routine. A fan can make exchange more repeatable, yet it can create a direct drying jet, pull unfiltered dust toward the crop, or run continuously after a sensor failure. Select the least complex design that maintains the authenticated crop’s protocol and can be observed safely.
For powered equipment, keep mains connections, adapters, and non-rated electronics outside wet zones. Provide drip loops, stable mounting, and a safe way to isolate power before cleaning. Do not route condensation toward sockets or place a household extension connection beneath a fog outlet. If you cannot separate water from electricity, use a passive setup or obtain qualified help rather than improvising.
Protect the room around the chamber
The chamber is not isolated from the home. Watch nearby walls, window frames, shelving, and textiles for persistent condensation or mold, and measure room humidity away from the enclosure. A design that fruits mushrooms while keeping the room chronically damp is not successful. Reduce moisture release, improve appropriate room ventilation, or stop the project until the building can remain dry.
Keep a seven-day commissioning sheet with morning and evening observations, openings, water additions, sensor location, crop appearance, and any adjustment. Change only one operating variable between observation periods. At the end, write a repeatable routine and a shutdown trigger. This turns the build from a collection of parts into a controlled household process.
Cleaning and reset routine
Cleanliness in this context means reducing unnecessary contamination and protecting food handling. Wash hands before touching the chamber or harvest. Keep the exterior and surrounding surface clean. Remove old liners after a batch, wash reusable parts according to the material, and let them dry before storage.
Do not reuse material from a suspect block. If a batch develops unusual color, slime, insects, leakage, or strong off odor, isolate it and clean the area after disposal. Trying to rescue a suspect block inside the same chamber can spread contamination and create unsafe food decisions.
Between batches, write down what changed. Did the chamber dry too quickly? Was the block pressed against the lid? Did you mist too often? Did you forget the supplier’s opening instructions? A reset note turns a failed batch into useful learning data.
Beginner troubleshooting boundaries
Some problems are environmental, and some are safety problems. Slow pinning in an otherwise normal block might lead you to review temperature, humidity trend, light, or fresh-air exchange. Strange colors, rotten smell, insects, slime, or wet decay should lead you to isolation, not experimentation.
Avoid changing every condition at once. If a healthy block seems dry, adjust moisture support and observe. If stems are stretching, review fresh-air exchange. If the room is too hot or cold for the supplier’s range, move the chamber to a more stable location. Each change should have a date and reason in the log.
If the same problem repeats across batches, compare the records before buying more equipment. Repeated drying, repeated wet spots, or repeated abnormal odors usually point to a process pattern that a new gadget will not automatically solve.
Harvest and post-harvest handling
A chamber guide should include the food side of the process. Harvest only normal-looking mushrooms from a known, healthy, authenticated culture. Use clean hands or clean tools. Place harvested mushrooms into a clean food-safe container, not onto the chamber lid or a dirty table. Refrigerate promptly and label the harvest date if you are not cooking immediately.
Do not taste mushrooms from a suspect block to “see if they are okay.” Do not trim away odd areas and eat the rest. Food safety decisions should be conservative because contamination and misidentification cannot be solved by optimism.
Harvest boundary
Harvest only normal-looking mushrooms from the authenticated culture using supplier maturity cues. Use clean hands or tools, avoid soaking the harvest, and refrigerate culinary mushrooms promptly. Do not taste mushrooms from a suspect block.
Frequently asked questions
Do I need holes in the chamber?
It depends on the chamber design and culture instructions. Some setups use passive openings; others rely on brief airing or a different exchange method. The important point is controlled fresh air without a drying blast.
Can I reuse a fruiting chamber?
Yes, if it is washable and undamaged. Clean and dry it between batches, discard old liners, and do not reuse material from a suspect crop.
Is a hygrometer required?
It is useful as a trend tool, not as a guarantee. Record where the sensor sits and compare readings with the visible condition of a healthy crop.
Plan shutdown and cleaning before the first crop
Design the chamber so trays, humidification parts, sensors, and fans can be removed without spreading water or spores through the room. Document power isolation, drainage, cleaning product, contact time, drying, and filter replacement. If standing water, electrical damage, persistent mold, or unsafe household humidity develops, stop the chamber and correct the system before adding another block.
References
- Cornell Small Farms. Specialty Mushroom Cultivation.
- Cornell Small Farms. Seven Stages of Cultivation.
- Penn State Extension. Mushroom Food Safety.
Source quality notes
MushroomScope cites sources that match the page scope, such as taxonomic databases, extension guidance, food-safety agencies, food-composition databases, and peer-reviewed or institutional health references. Sources support context and uncertainty; they do not turn an online page into specimen identification, medical advice, or a tested recipe record.
Frequently asked questions
Can one fruiting chamber work for every mushroom?
No. A chamber only manages the local environment. The culture, substrate, stage, and supplier instructions determine whether the setup is appropriate.
Does a fruiting chamber prevent contamination?
No. It can help manage humidity and airflow, but it does not rescue contaminated material or replace clean sourcing and handling.
Should a fruiting chamber be sealed?
Usually not completely. Retaining moisture is useful, but mushrooms also need stage-appropriate fresh-air exchange according to the culture supplier.
Related guides
growing
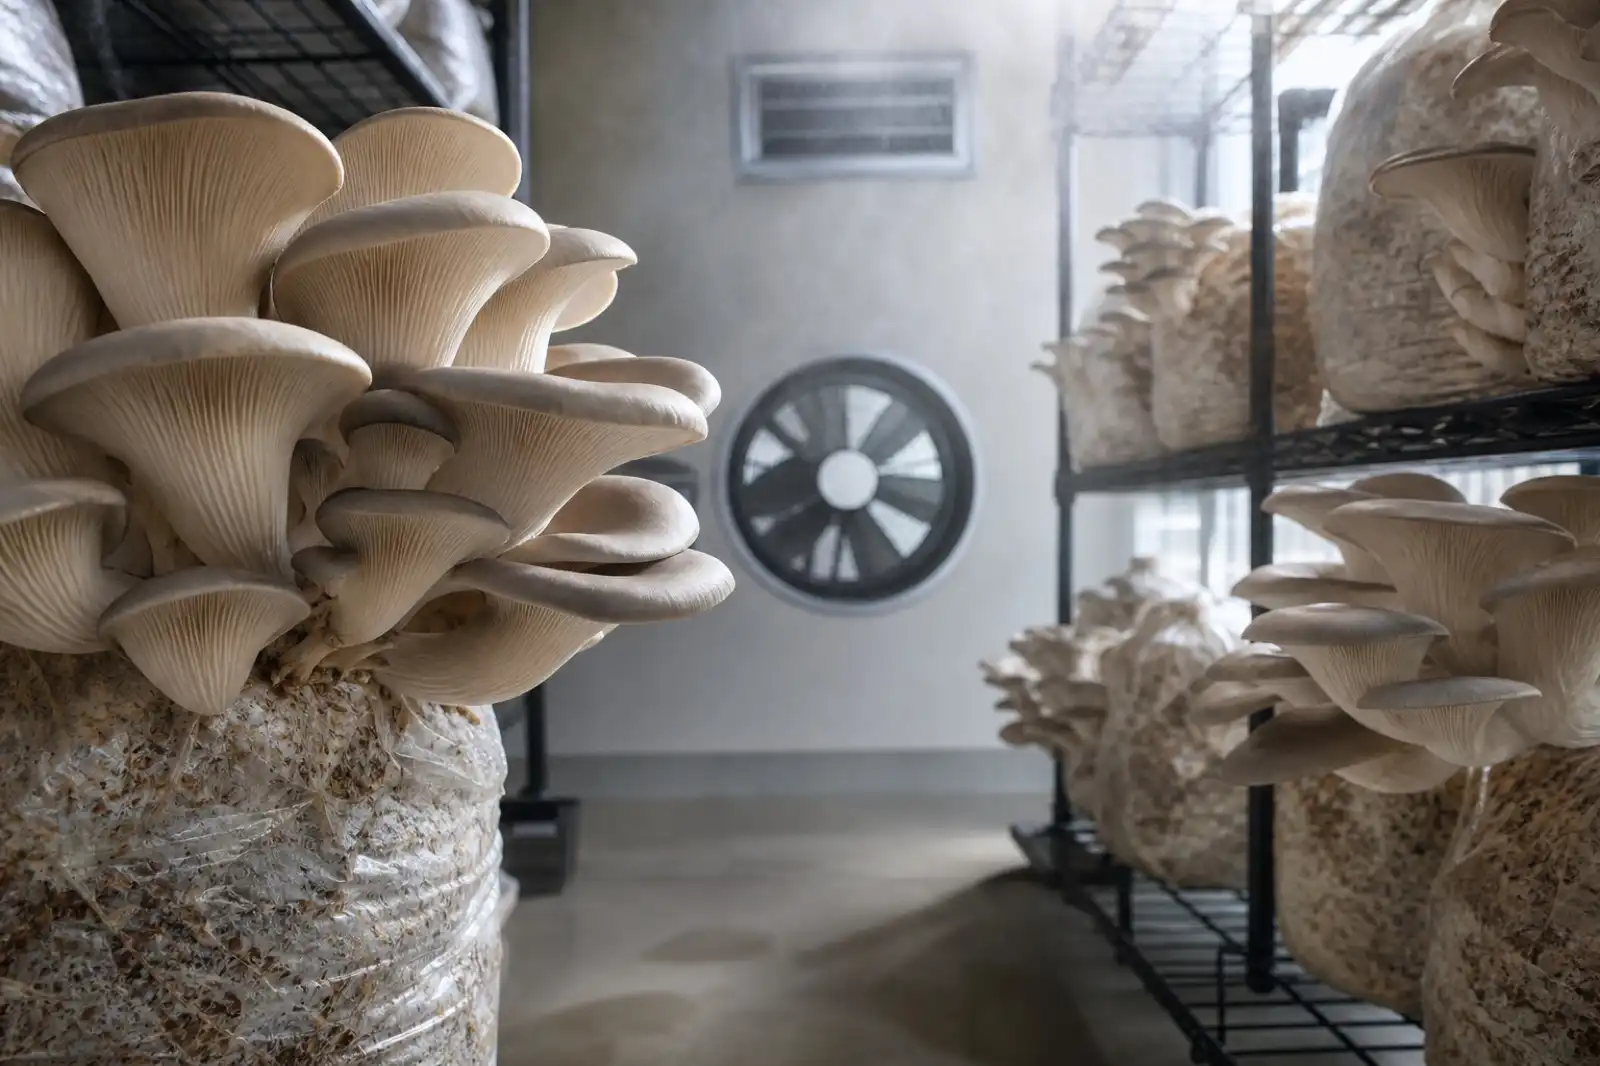
Mushroom Fruiting Conditions: Humidity, Air, Light, and Temperature
Use humidity, fresh air, light, and temperature as a linked observation system for authenticated cultivated mushroom blocks—not a universal settings chart.
growing
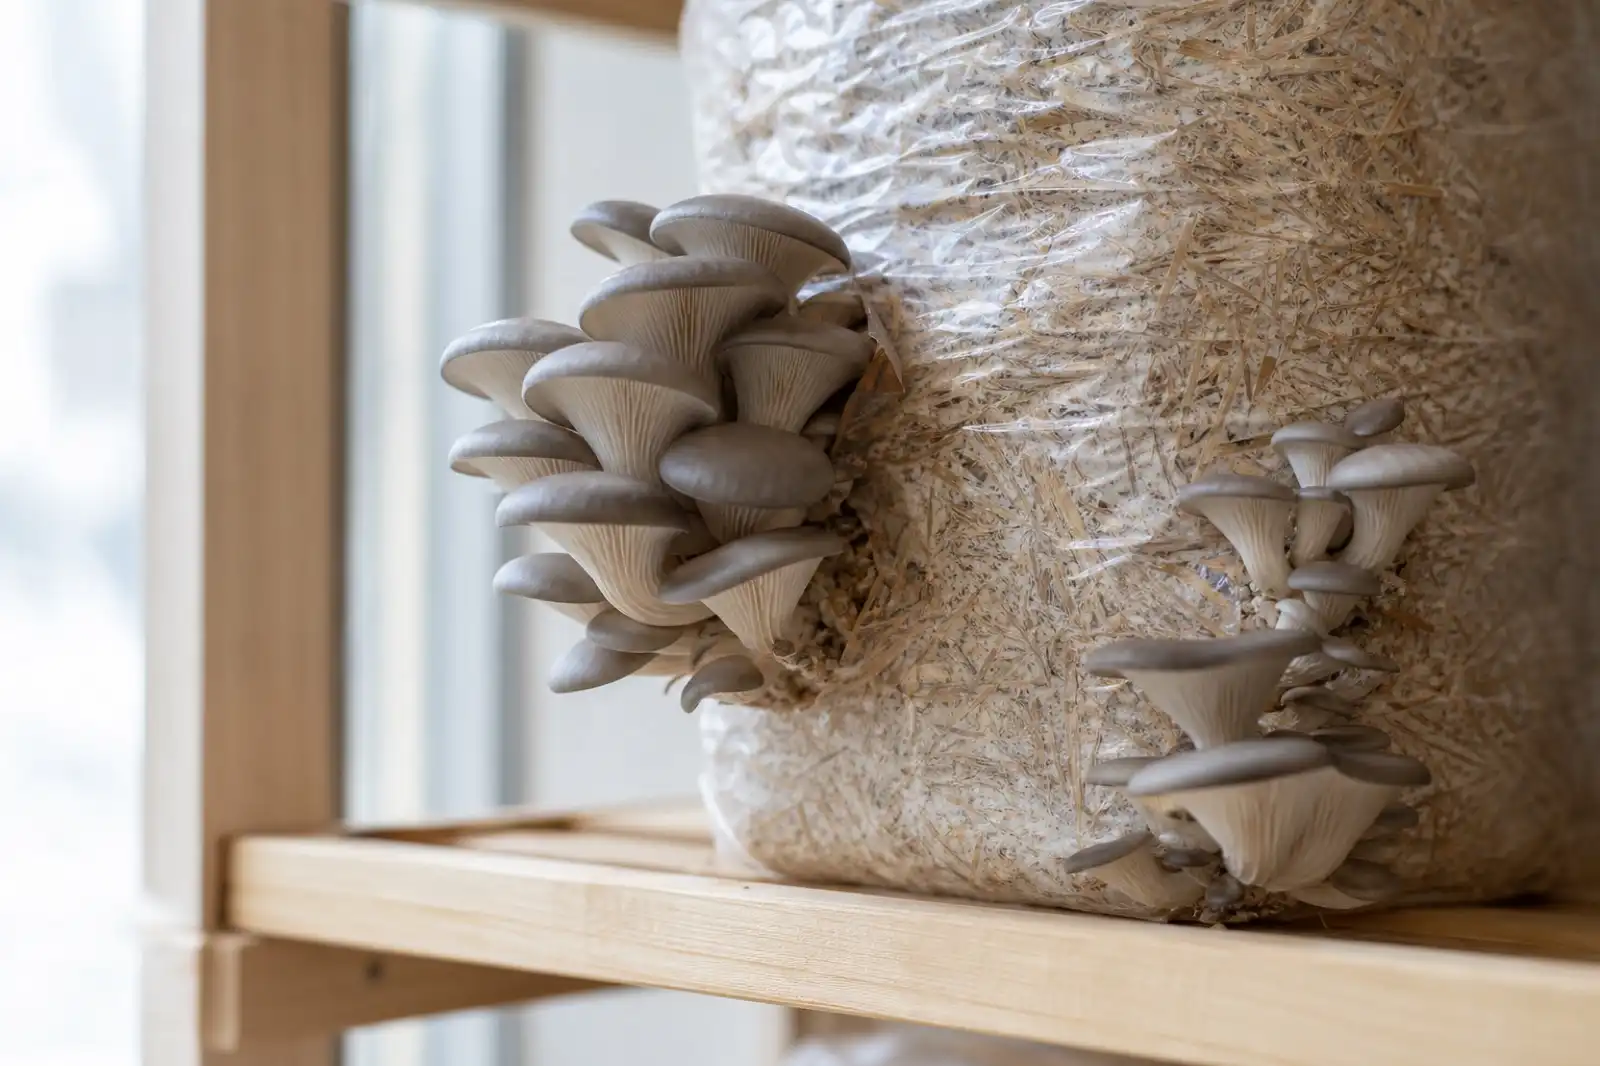
How to Grow Oyster Mushrooms at Home
Grow oyster mushrooms at home with a supplier-provided fruiting block: set up a clean observation routine, follow the culture label, and handle harvests safely.
growing
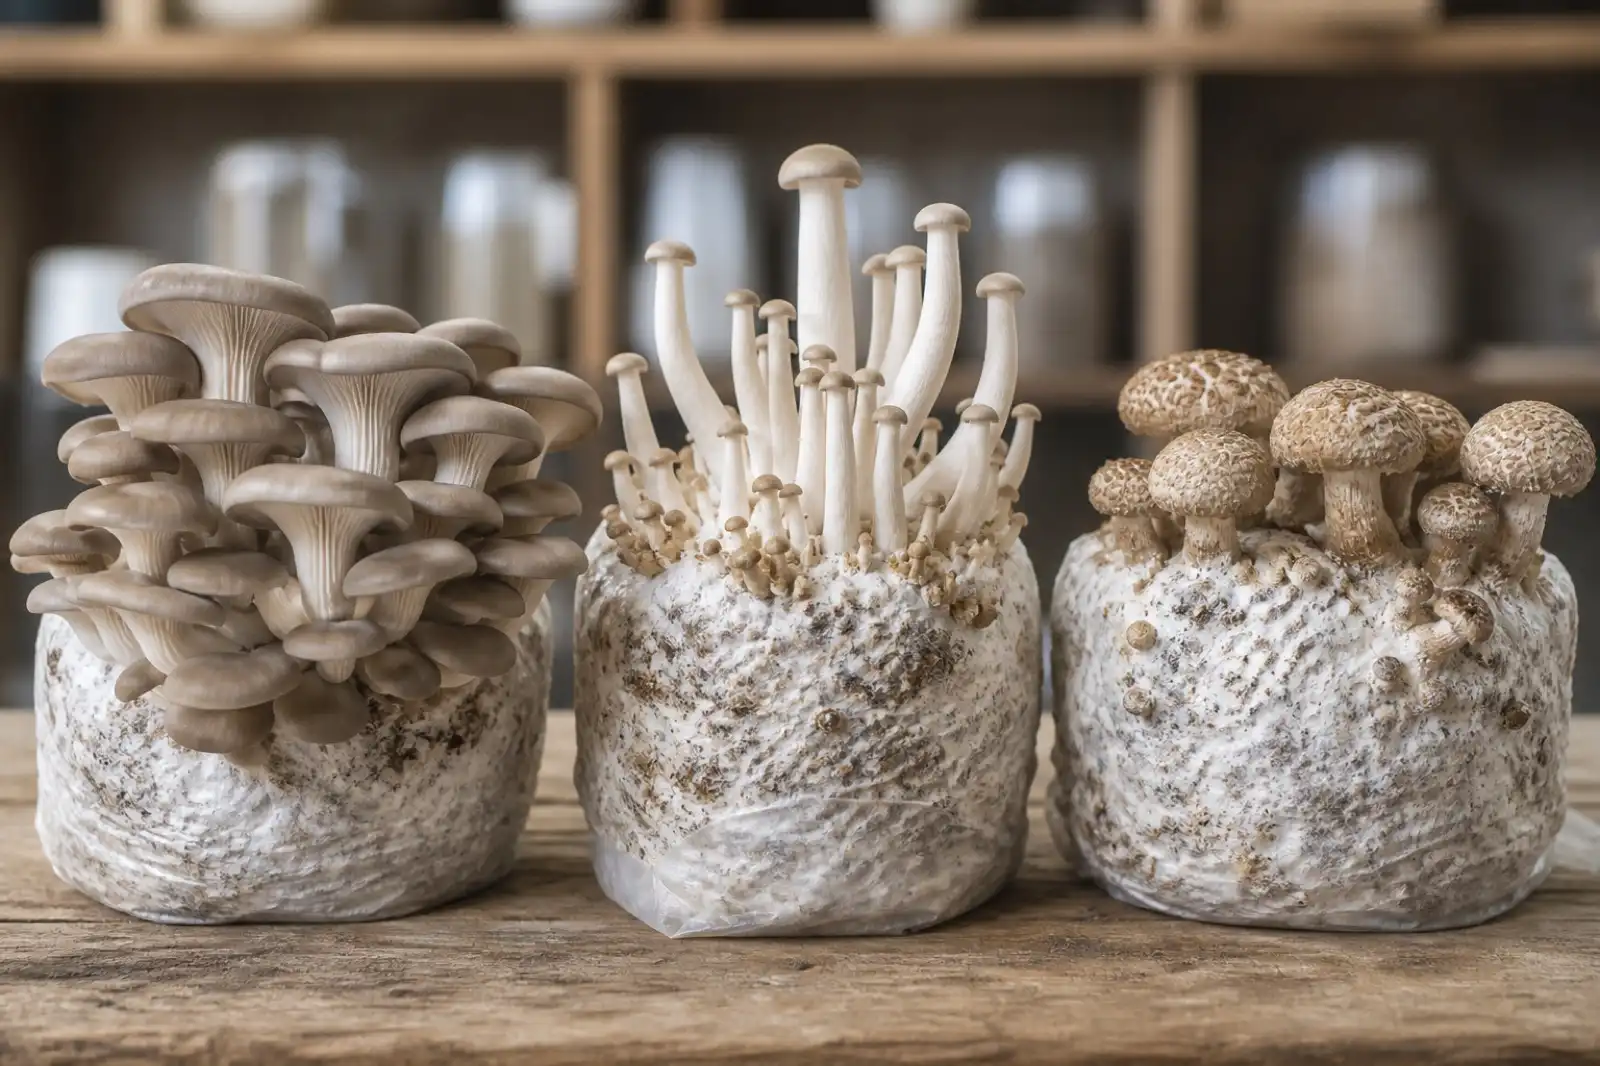
Mushroom Growing Troubleshooting: A One-Variable Logbook Method
Troubleshoot a home mushroom grow by separating contamination, moisture, fresh-air, temperature, and harvest-handling observations.
Continue exploring
Browse more practical guides in Growing or visit the mushroom encyclopedia.