Growing
Mushroom Growing Troubleshooting: A One-Variable Logbook Method
Troubleshoot a home mushroom grow by separating contamination, moisture, fresh-air, temperature, and harvest-handling observations.
By MushroomScope Editorial Team · · Updated
Growing method
Start with authenticated culture
Use supplier-identified spawn or blocks and record substrate, stage, temperature, humidity, and visible changes.
Open the beginner growing hub →Food safety
Discard suspect batches
Unusual colors, slime, insects, or abnormal odor should be treated as a safety concern, not a climate tweak.
Review contamination guidance →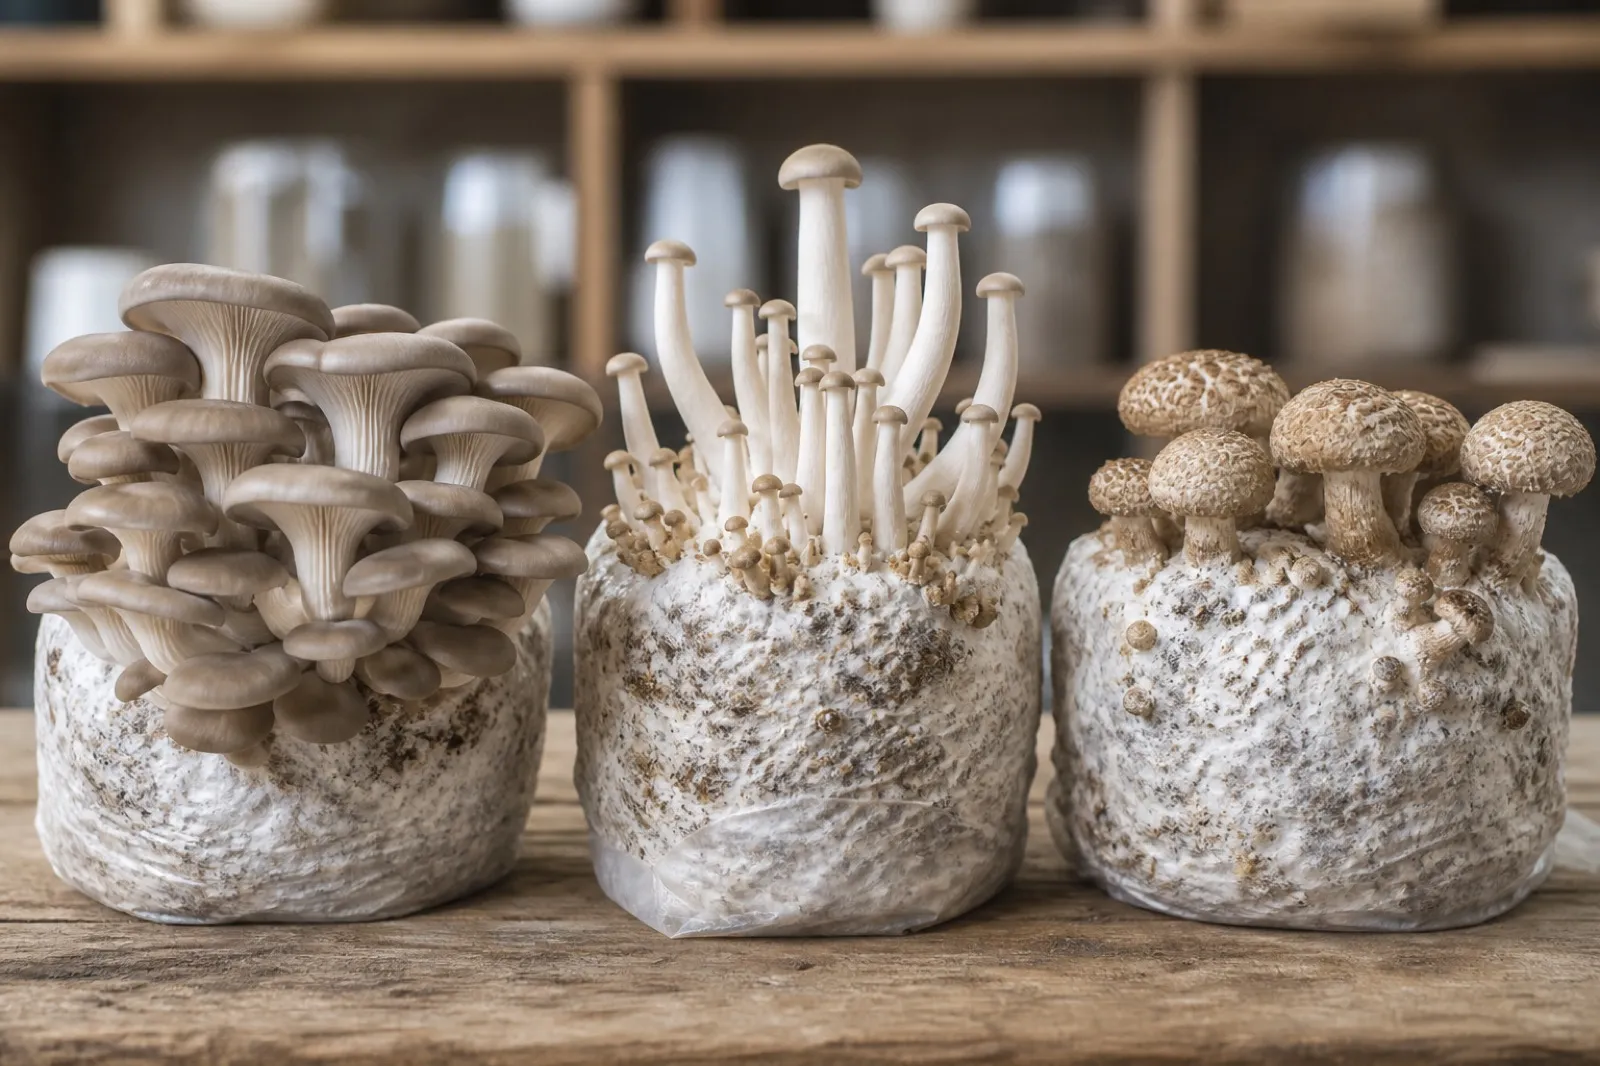
Troubleshoot the record, not the picture
Photos of long stems, dry caps, stalled pins, or uneven clusters can suggest questions, but they rarely prove one cause. Mushroom-growing conditions interact: an adjustment intended to improve fresh-air exchange can dry a surface; extra misting can hide a ventilation problem; temperature at a room thermostat may differ from the microclimate around a block.
The most useful home-growing tool is therefore a dated log. Cornell’s small-farm resources and UC Agriculture and Natural Resources both emphasize that mushroom cultivation depends on species-appropriate environmental control. Use the culture supplier’s instructions as the decision boundary, especially for strain-specific temperatures and fruiting triggers.
This guide is for legally obtained, authenticated cultures. It does not advise cloning, fruiting, or eating an unidentified wild mushroom.
First sort: food-safety concern or production concern?
Pause before trying to “fix” a batch. The North Carolina mushroom produce-safety fact sheet notes that humid grow rooms can support food-safety hazards and highlights clean water, clean food-contact surfaces, and the prevention of standing water and condensation. Those are reasons to separate a suspect batch—not reasons to trim a problem area and continue eating it.
Isolate and stop treating the crop as food when you observe unexpected mold, slime, a persistent foul odor, insects, leaking substrate, or a condition the supplier identifies as contamination. Keep it away from healthy cultures, avoid creating airborne debris, and follow the supplier’s or local disposal guidance. A photograph and batch label can still help you learn from the event.
If the culture appears healthy but performs poorly, use a logbook workflow instead.
The one-variable logbook workflow
Create one row per observation. The goal is not perfect instrumentation; it is a record good enough to distinguish changes.
| Record | Example of a useful entry | Why it helps |
|---|---|---|
| Culture and batch | Supplier, species/strain label, substrate, date opened | Stops different cultures from being compared as if they need the same conditions. |
| Stage | Colonizing, fully colonized, pinning, first flush, post-harvest | Makes a slow response easier to interpret. |
| Conditions | Actual low/high temperature, humidity trend, fresh-air schedule, light schedule | Reveals drift instead of a single reassuring reading. |
| Water and handling | When and how water was added; whether the block was moved or opened | Identifies changes that happen between observations. |
| Response | Photos from the same angle, pin count/range, surface appearance, harvest weight if measured | Separates an observation from a diagnosis. |
When a problem appears, first compare the row with the supplier’s documented range. Pick one plausible, reversible adjustment. Label the time, wait for a meaningful response, then record it. Simultaneously changing humidity, temperature, light, air exchange, and watering produces a result you cannot repeat.
Make sensor readings comparable before interpreting them
A thermometer or hygrometer is useful only when its position and use are recorded. Place it according to its manufacturer and the cultivation method, away from direct mist, heating elements, cold glass, intense sun, and drying airflow unless that specific location is what you intend to test. A sensor on the far side of the room may not represent conditions at the fruiting surface.
Record a range or repeated readings at consistent times instead of preserving one convenient number. Note when the door, lid, fan, humidifier, heater, or window changed. A brief reading immediately after misting or opening an enclosure may describe the disturbance rather than the normal cycle.
Do not claim precision the instrument cannot provide. Two inexpensive sensors can disagree, batteries weaken, and a display may lag behind a rapid environmental change. Follow any manufacturer check or calibration procedure, label the device used, and replace obviously unreliable equipment. The instrument measures one location; it does not certify substrate moisture, culture purity, or food safety.
Use photographs with similar framing and neutral light. Automatic phone enhancement can make color and surface moisture look different from one day to the next, while an altered camera angle changes apparent cap and stem proportions. Retain the original files and describe what you saw directly alongside the image.
Match the question to the cultivation stage
| Stage | Useful first question | Avoid assuming |
|---|---|---|
| Arrival or inoculation | Is the culture authenticated, container intact, and baseline recorded? | A clean-looking package proves purity. |
| Colonization | Does timing and appearance remain within supplier expectations with minimal handling? | Faster white growth is always healthier. |
| Fruiting trigger | Were the documented stage-specific conditions actually introduced? | More misting substitutes for every trigger. |
| Pin and cluster development | Which recorded condition changed before the response? | One shape diagnoses carbon dioxide, humidity, or temperature. |
| Harvest and later flush | Were maturity, clean handling, cooling, and the supplier’s next-cycle instructions followed? | A completed first flush makes all later material safe. |
This stage check prevents a fruiting solution from being applied to a colonization question. It also keeps a post-harvest storage issue from being misread as evidence that the cultivation substrate was contaminated. When the crop is healthy but initiation is delayed, use the pinning conditions guide to map readiness, bag openings, and shelf-specific patterns before changing the room.
Read common patterns as questions
These patterns are prompts to check records, not universal diagnoses.
Surface is drying, cracking, or pins abort
Check whether direct airflow, heat, an open vent, or delayed watering changed shortly before the response. Compare the surface and the room trend with the supplier’s humidity and fresh-air instructions. Restore the documented setup gradually; do not compensate with standing water or by sealing the grow space completely. The fruiting-conditions guide explains why humidity and fresh air have to be balanced together.
Long stems, small caps, or weak-looking clusters
First verify that the culture is at its correct fruiting stage and that the label’s air-exchange and light instructions are being followed. Look for a recent change in enclosure, venting, room traffic, or temperature. Treat the form as a signal to check those variables, not as proof of a carbon-dioxide level you have not measured.
Pins do not appear after healthy colonization
Check the supplier’s fruiting trigger, culture age, temperature range, light schedule, and the date of the last change. Avoid repeated opening “to check,” which adds handling without improving the evidence. If the conditions are unclear, return to a known documented setup and ask the supplier for strain-specific support with your log and photos.
A wet patch, slime, unexpected color, or foul odor appears
This is a safety branch, not a yield branch. Isolate the batch and consult the contamination guide. Do not claim a diagnosis from one color, and do not eat a crop from material you consider suspect.
Run a bounded comparison in the next batch
When the current crop is safe but underperforms, preserve its complete record and plan the next run as a comparison. Keep culture source, substrate or supplied block type, location, container, and routine as similar as practical. Change only the control point supported by the log, such as sensor placement or a supplier-approved airflow arrangement.
Do not call two unrelated cultures or differently aged blocks a control pair. Biological material varies, so the result should be described conservatively: the response followed a documented change under these conditions. One better batch does not establish a universal setting, and one worse batch does not prove the changed variable caused every problem.
Use a small scale appropriate to your workspace. Expanding from one unclear block to many bags creates more material to isolate and makes handling differences harder to trace. Repeatability at small scale is more valuable than a large yield whose inputs and decisions were not recorded.
If the comparison requires pressure equipment, sterile culture production, new chemicals, or major environmental construction, treat it as a new method rather than a minor adjustment. Review the full safety and supplier instructions before starting, or step back to a reputable ready-to-fruit block.
Recognize when troubleshooting should stop
Stop adjusting a batch when it crosses the suspect-material boundary, the container fails, the culture identity is lost, or the documented supplier cycle is complete. Also stop when equipment cannot maintain the required conditions safely or when repeated handling itself has made the record unreliable.
Do not continue because money or time has already been invested. Isolate and dispose of suspect material according to local and supplier guidance; do not compost it indoors or carry it uncovered through food areas. Clean reusable equipment according to its material and instructions before beginning another crop.
For breathing difficulty, severe irritation, injury, or illness, end exposure and seek appropriate medical assistance. A cultivation log can provide dates and materials to a professional, but it cannot diagnose a health condition. If someone consumed an unidentified or suspect mushroom, contact emergency or poison-control services promptly rather than waiting for the grower to resolve the batch.
Harvest and storage are part of troubleshooting
Do not label a crop failure “contamination” when the issue may be harvest handling. Use clean hands or tools and clean containers. North Carolina’s produce-safety guidance calls out cleaning of harvest equipment and avoiding standing water; it also notes that mushrooms are commonly refrigerated after harvest to slow dehydration and spoilage. For recurring room-level failures, the grow-room sanitation guide distinguishes cleaning evidence from sanitizer contact time and final release verification.
For a home kitchen, the FDA advises refrigerating perishable food promptly and keeping the refrigerator at or below 40°F / 4°C. Follow the culture supplier’s storage direction, avoid questionable reduced-oxygen packaging, and discard food that has been held unsafely or shows spoilage. See when to harvest mushrooms for crop-stage observations; food-safety decisions remain separate from visual maturity.
When to ask for help
Contact the culture supplier when the batch label, documented target range, or expected timeline is unclear. Send the batch log, photos from the same angle, substrate information, dates, and the one change you already tested. That gives support staff evidence they can act on without encouraging trial-and-error changes.
For repeated failures, begin the next batch with a cleanable, easier-to-monitor setup and a ready-to-fruit block or authenticated spawn. Keep the old record. A failed batch with a clear timeline is more useful than a successful batch whose conditions cannot be reproduced.
References
Source quality notes
MushroomScope cites sources that match the page scope, such as taxonomic databases, extension guidance, food-safety agencies, food-composition databases, and peer-reviewed or institutional health references. Sources support context and uncertainty; they do not turn an online page into specimen identification, medical advice, or a tested recipe record.
Frequently asked questions
What is the first thing to change when a grow block fruits poorly?
First verify the culture identity and the supplier's target conditions, then compare a dated record with the current setup. Change one controllable factor at a time so you can tell whether the response followed humidity, fresh air, temperature, light, or handling.
Can I remove a visible mold patch and still eat the mushrooms?
No. A visible patch does not establish that the remaining crop is suitable for food. Isolate the batch from other cultures, avoid spreading spores, and follow the supplier's or local disposal guidance rather than attempting to salvage food.
When should homegrown mushrooms be refrigerated?
Cool perishable harvested food promptly, use clean containers, and keep the refrigerator at or below 40°F (4°C). Follow the supplier's storage instructions and discard food with signs of spoilage or unsafe time-temperature exposure.
Related guides
growing
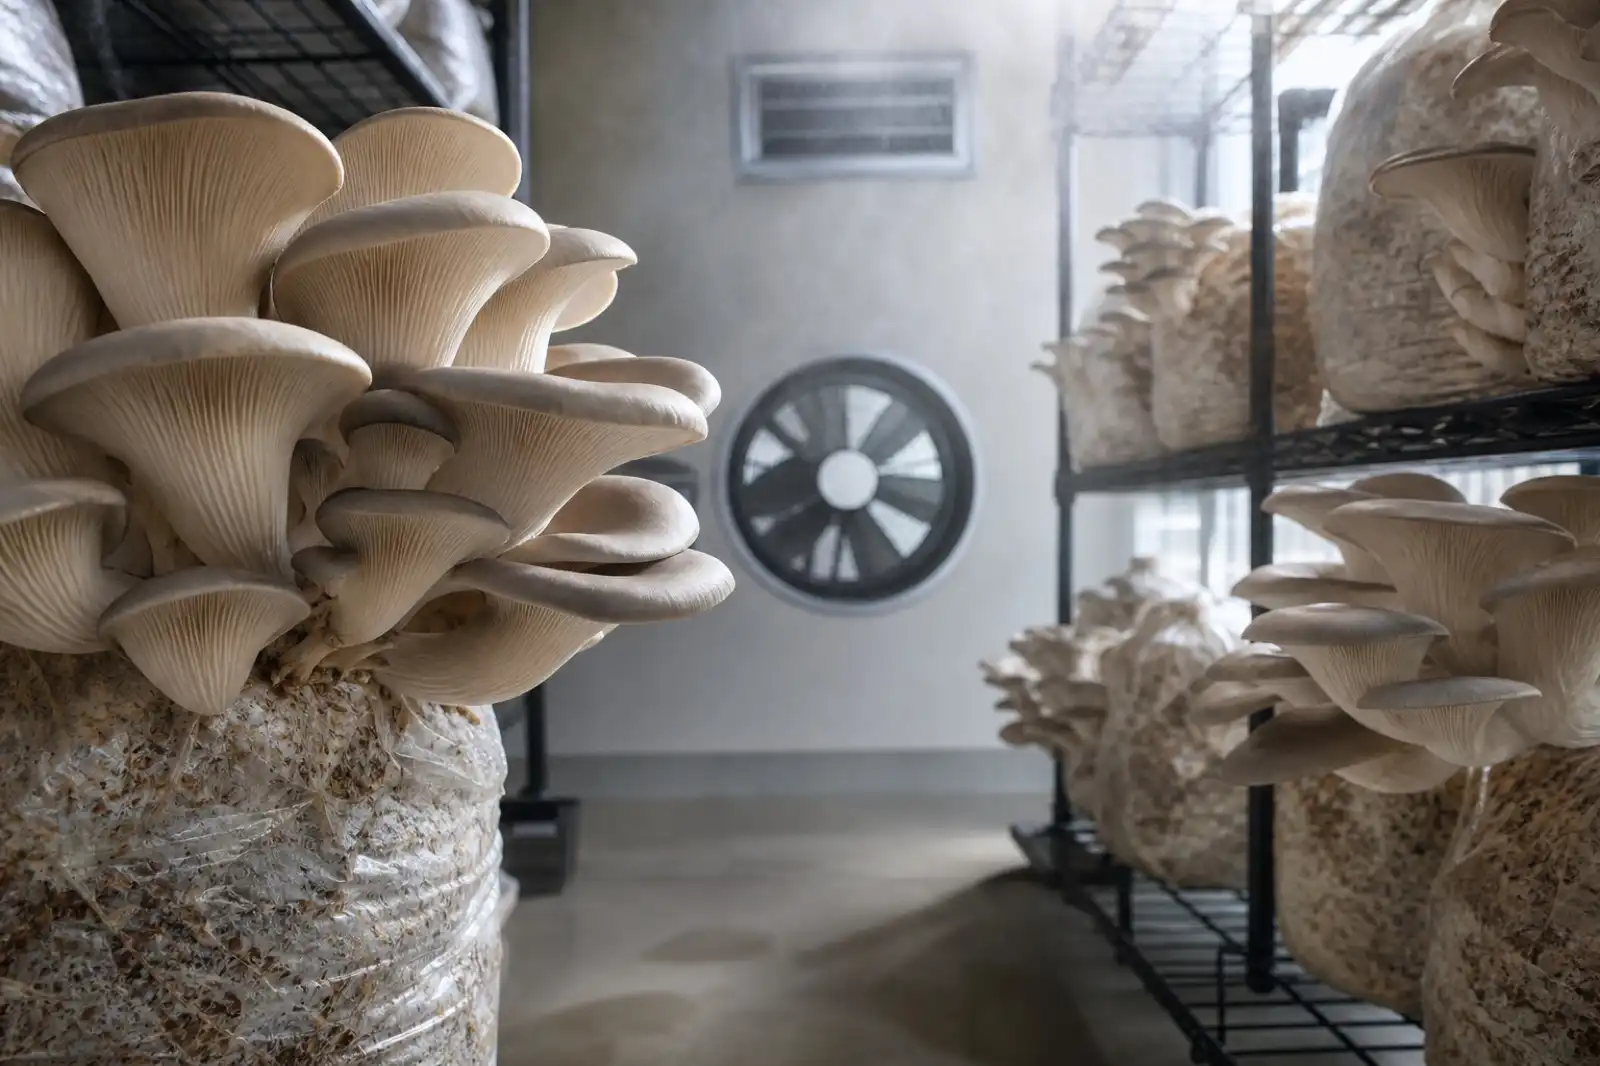
Mushroom Fruiting Conditions: Humidity, Air, Light, and Temperature
Use humidity, fresh air, light, and temperature as a linked observation system for authenticated cultivated mushroom blocks—not a universal settings chart.
growing
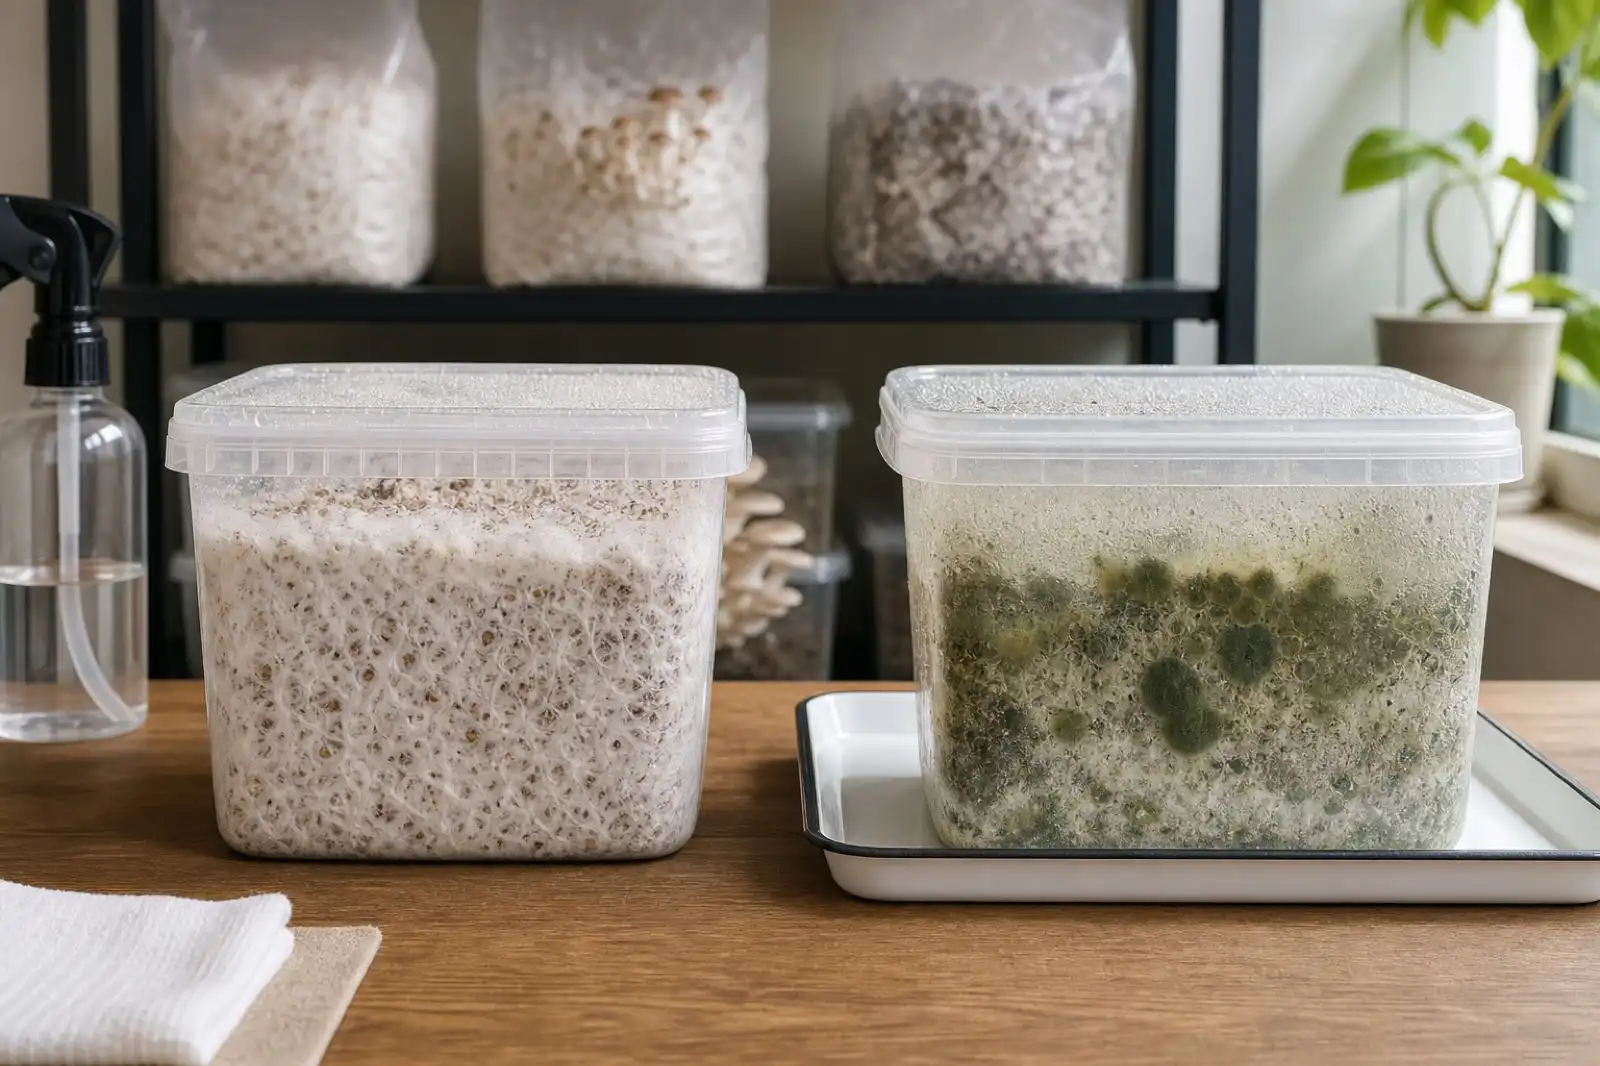
Mushroom Contamination: Isolate, Record, and Prevent Repeat Problems
Recognize mushroom contamination without relying on color alone; isolate suspect batches, avoid food salvage, document the workflow, and prevent repeat issues.
growing
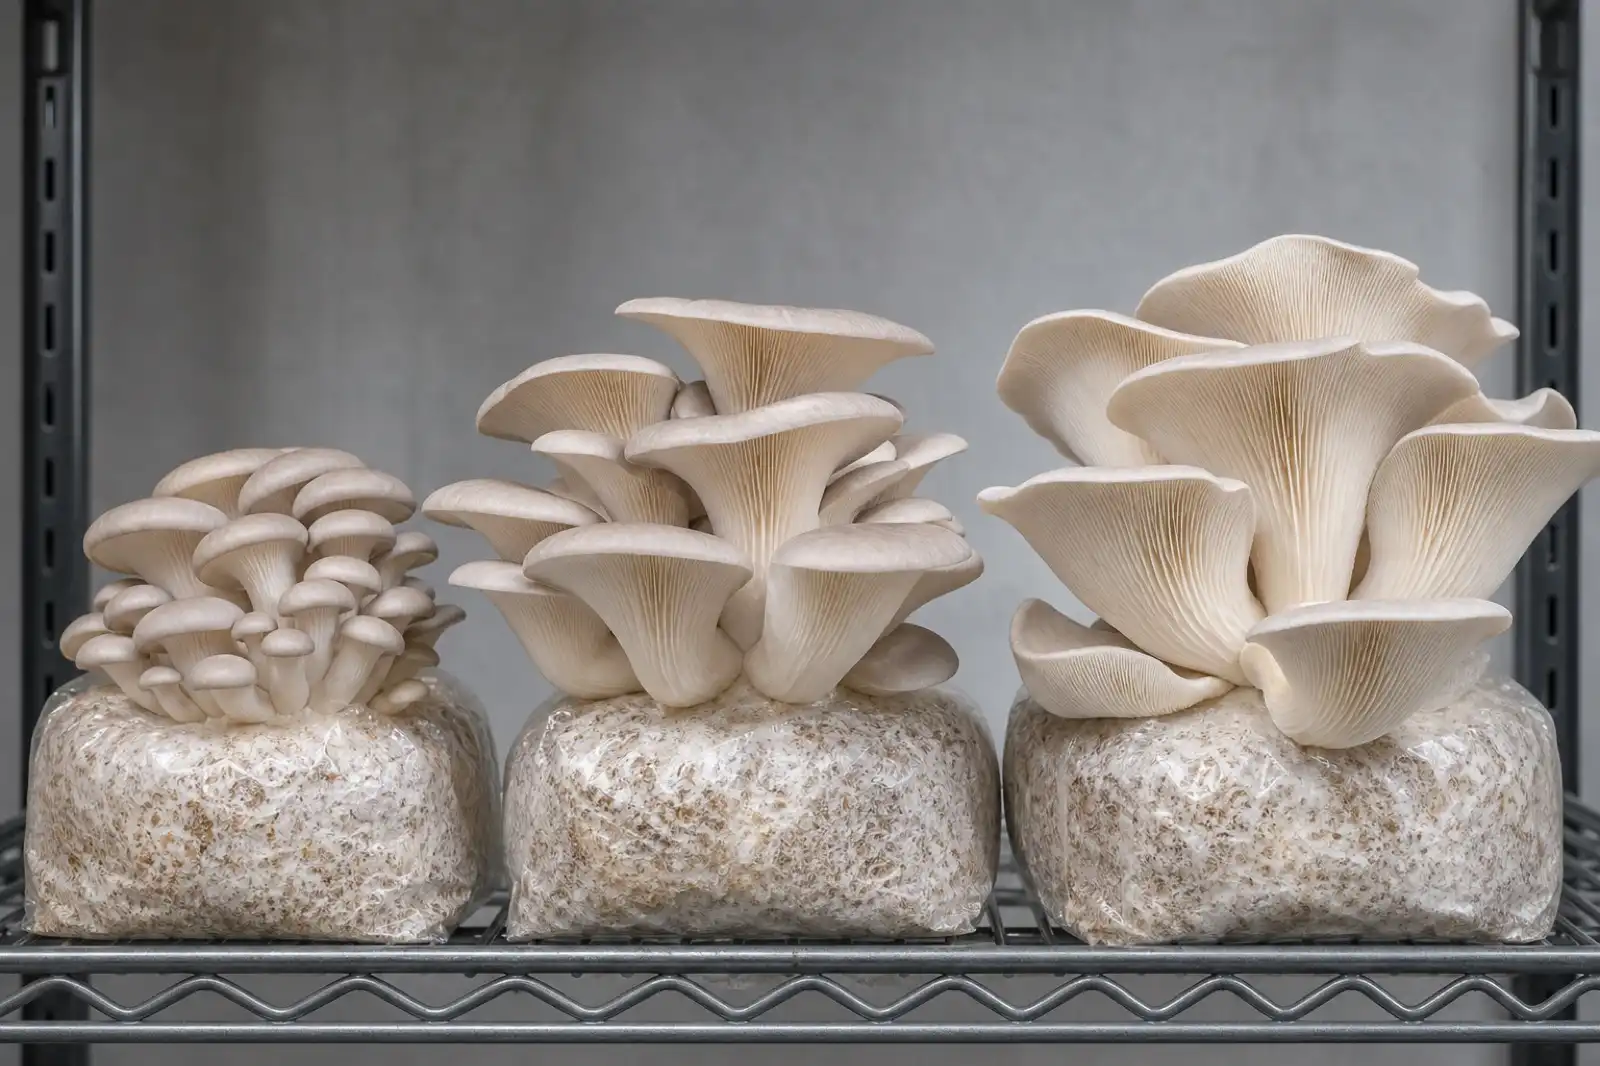
When to Harvest Cultivated Mushrooms
Learn when to harvest cultivated oyster, lion's mane, shiitake, and other mushrooms using species-specific maturity cues, clean handling, and prompt cooling.
Continue exploring
Browse more practical guides in Growing or visit the mushroom encyclopedia.