Growing
Pasteurize vs Sterilize Mushroom Substrate: A Home Grower’s Guide
Choose pasteurization or sterilization by substrate and workflow, then reduce contamination risk with a conservative, documented home-growing process.
By MushroomScope Editorial Team · · Updated
Growing method
Start with authenticated culture
Use supplier-identified spawn or blocks and record substrate, stage, temperature, humidity, and visible changes.
Open the beginner growing hub →Food safety
Discard suspect batches
Unusual colors, slime, insects, or abnormal odor should be treated as a safety concern, not a climate tweak.
Review contamination guidance →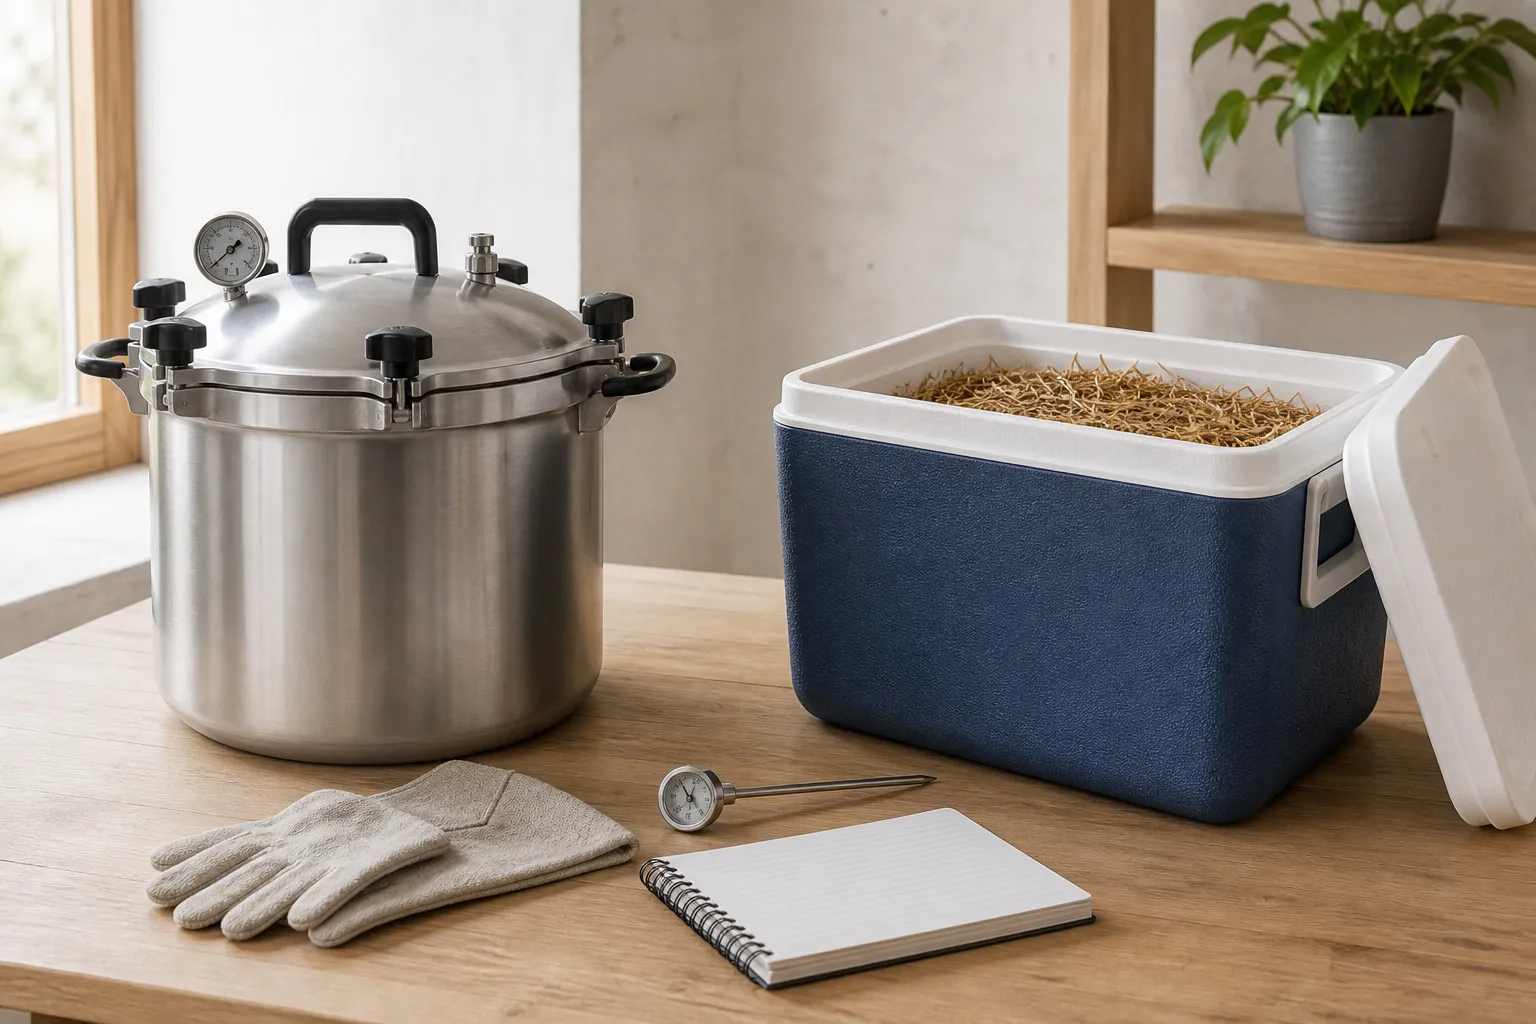
Choose the treatment from the substrate and handling system
Pasteurization and sterilization are different tools, not interchangeable badges of being “extra clean.” Pasteurization reduces competitor organisms in a suitable substrate; sterilization is used where a more controlled starting material is needed. The practical choice begins with the substrate, its nutrient level, the mushroom you plan to grow, and the level of clean handling you can actually maintain after treatment.
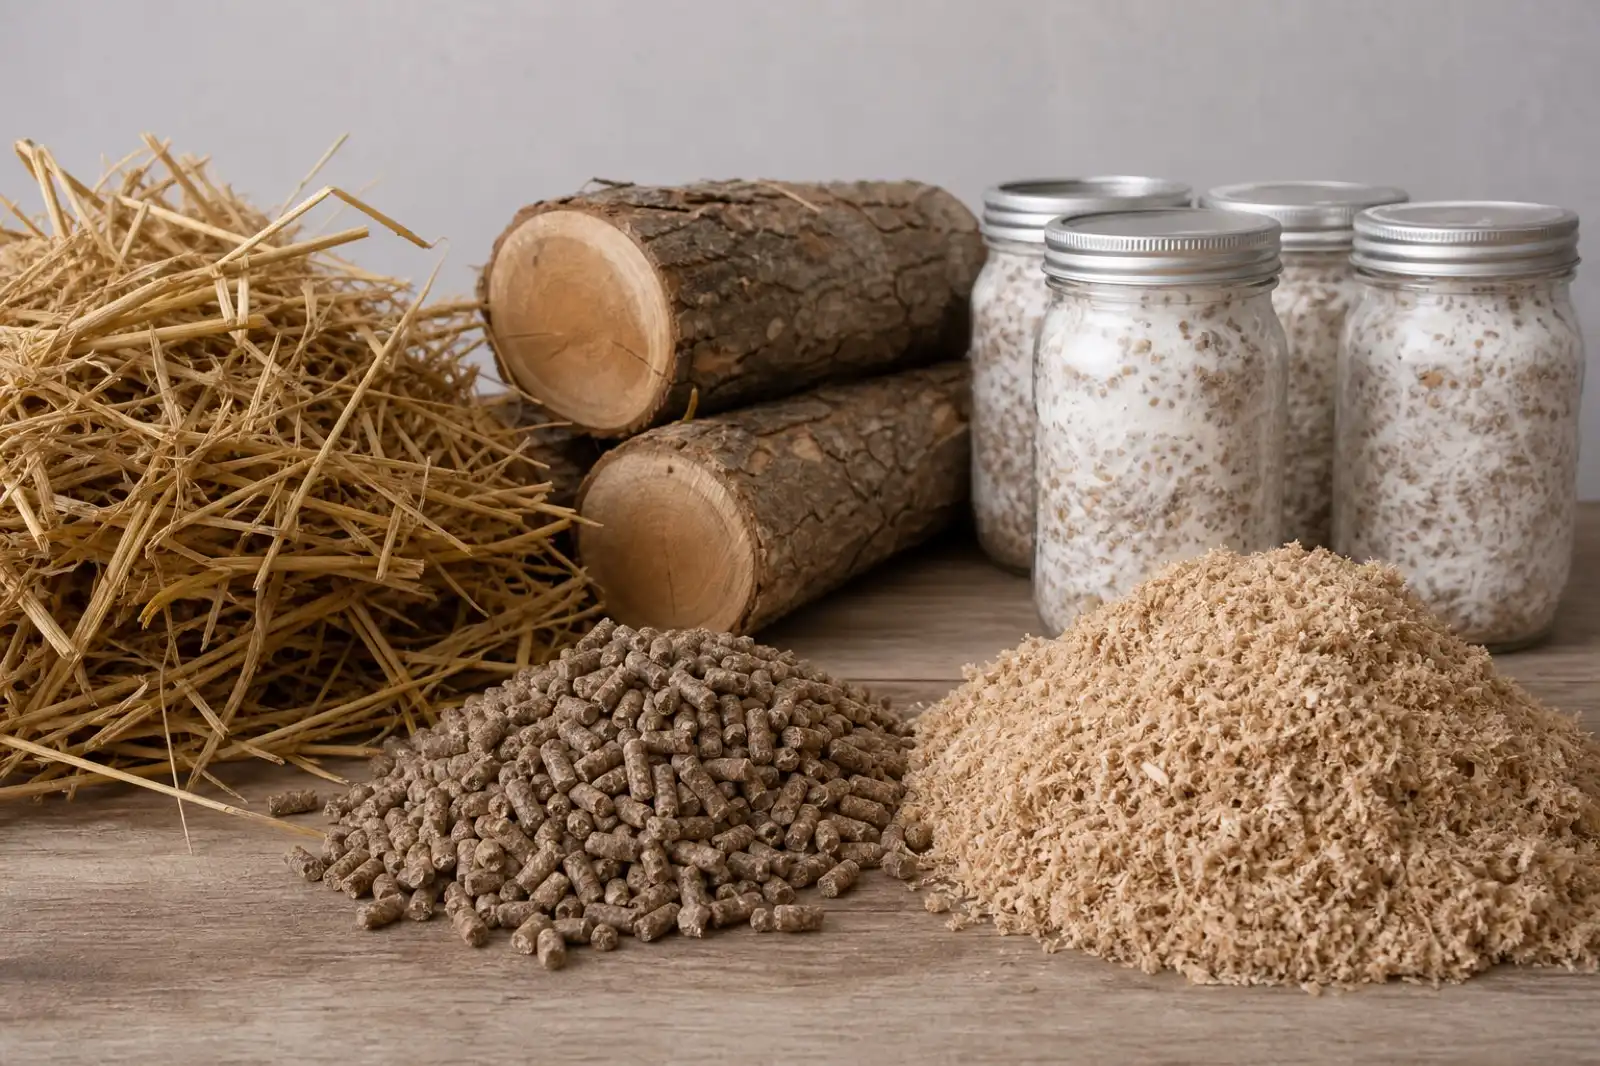
For many home growers, the best first decision is even simpler: buy an authenticated ready-to-fruit block or follow one established method for one species. NCAT notes that low-nutrient straw can suit a heat-pasteurized oyster workflow, whereas supplemented sawdust and grain require full sterilization and more careful later handling. That distinction is more useful than copying a single temperature, time, or social-media recipe.
What each treatment is trying to do
Pasteurization: lower the competition in an appropriate substrate
Pasteurization is a reduction step, not a promise that every organism has been eliminated. In commercial compost production, Penn State Extension describes a carefully controlled process that reduces harmful organisms while preserving a useful microbial balance. That example explains why pasteurization is not merely “heat it a little”; it also should not be copied as a home recipe. Commercial systems control airflow, substrate depth, probes, equipment loads, and process verification in ways a pot, cooler, or small steamer may not.
For a home-scale project, use a method written for your specific equipment, substrate, and species. Low-nutrient materials such as straw are commonly paired with pasteurization for suitable oyster-growing workflows. The result still needs clean cooling, prompt inoculation, appropriate packaging, and documented handling.
Sterilization: a controlled start with a stricter handoff
Sterilization is used for substrates that give competitors more to exploit, including grain spawn and supplemented sawdust. The gain is not permission to relax after the cycle ends. NCAT emphasizes that sterilized substrates demand cleaner technique later, and the University of Maryland Extension likewise places both sterilization and pasteurization before substrate colonization in controlled indoor production.
That handoff is the weak point to respect: a correctly treated substrate can be re-exposed while cooling, mixing, or opening. Use equipment and packaging designed for the method, follow the manufacturer and supplier instructions, and do not treat a pressure vessel, bag, or indicator alone as proof of a successful food-growing process.
A decision path that avoids false precision
Use this sequence before preparing a batch.
- Name the exact material. Write down whether the substrate is straw, hardwood pellets or sawdust, supplemented sawdust, or grain. “Mushroom substrate” is too broad to choose a treatment safely.
- Check whether it is enriched. Supplements and grain change the contamination stakes. Do not transfer a straw method to enriched sawdust because both look plant-based.
- Match the culture and system. Use an authenticated supplier’s guidance for the species and strain. A ready-to-fruit block avoids the most equipment-sensitive preparation steps.
- Choose a method source before buying materials. Prefer an extension, university, or credible cultivation organization that describes the exact substrate and setup. Do not assemble a method from incompatible snippets.
- Decide whether you can maintain the required clean handoff. If the post-treatment workflow is beyond your space or equipment, reduce complexity: use purchased spawn, a ready-to-fruit block, or a lower-risk documented project.
This is deliberately not a universal time-and-temperature chart. A number without the equipment, probe location, substrate amount, packaging, and method context can create a false sense of control.
Compare the workflow, not only the heat step
| Decision point | Pasteurization workflow | Sterilization workflow |
|---|---|---|
| Typical role | Reduce competition in a documented, suitable low-nutrient substrate | Create a more controlled starting point for grain or enriched substrate |
| What must be specified | Material, preparation, load size, heating method, measurement point, cooling, and inoculation | Material, hydration, container, pressure-rated equipment, load arrangement, validated cycle, cooling, and clean inoculation |
| Main misconception | “Warm” automatically means pasteurized | A completed pressure cycle makes later handling unimportant |
| Conservative beginner option | Use an established oyster-straw method with authenticated spawn | Buy prepared spawn or a ready-to-fruit block instead of improvising sterile production |
The table describes decisions, not interchangeable recipes. Two methods using the same word can differ in substrate depth, package permeability, starting temperature, equipment recovery, and where the coolest part of the load occurs. Follow one complete method from a qualified source and retain its version or publication date with the batch record.
Treat pressure equipment as a separate safety system
A pressure canner or other pressure vessel introduces burn, steam, blockage, and equipment-failure hazards in addition to cultivation concerns. Use only equipment intended and rated for the process, read the current manufacturer manual, inspect the parts it identifies, and stay within its permitted load and operating instructions. A cooking pot, improvised sealed vessel, or modified appliance is not a substitute.
Do not infer pressure from appearance or bypass locks, vents, gauges, weights, seals, or cool-down procedures. Keep children and pets away from the work area, use stable heat, and allow the vessel to depressurize exactly as its manufacturer directs. Opening or cooling it forcibly can cause severe injury and can also compromise the substrate containers.
Elevation, equipment design, package type, and load geometry can affect a validated process, which is another reason this page does not publish a universal cycle. If the cultivation method and equipment manual cannot be reconciled clearly, stop and obtain guidance from the equipment maker, culture supplier, or an appropriate extension resource.
Build a repeatable home workflow
Keep one batch record
Before you open anything, record the date, species and strain, supplier, culture or lot identifier, substrate, hydration method, treatment method source, container type, and the observations you plan to make. The same record should show whether a batch was isolated and why. A blank notebook is more useful than trying to remember what changed three weeks later.
Separate preparation from fruiting
Treatment and inoculation are preparation tasks; humidity, fresh air, light, and harvest timing belong to fruiting. Keep those decisions separate. The mushroom substrate guide helps match materials to species, while the grow-bag guide explains why a bag’s intended use and handling instructions matter.
Cool and handle treated substrate as part of the method
Do not improvise after the heat step. The substrate must cool in the way the method specifies, then be inoculated and closed at the required cleanliness level. UF/IFAS describes spawn work as a sequence involving sterile seed substrate and inoculation; that is a reminder that the culture, the prepared material, and the handling environment work together.
Treat cooling time as an exposed control point even when the container remains closed. Label every container before treatment with materials suitable for the process, keep closures and filters in the configuration specified by the method, and avoid resting hot containers on an unclean or heat-sensitive surface. Do not inoculate material that is still outside the culture supplier’s supported temperature range.
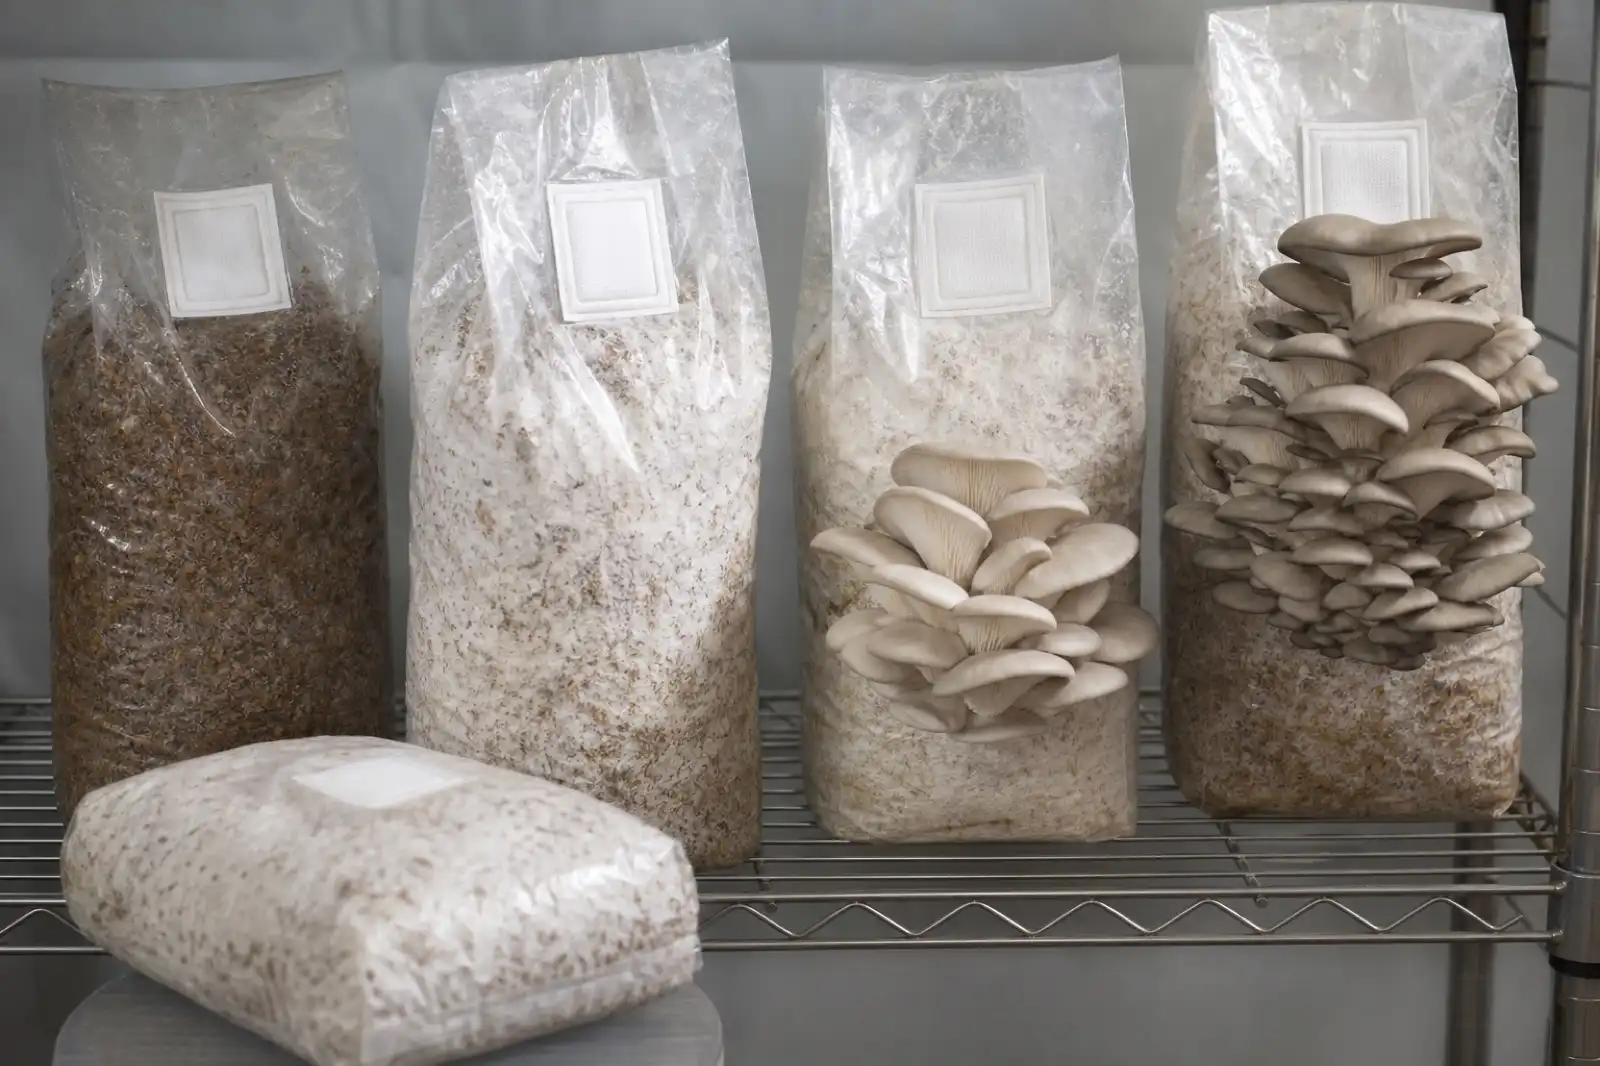
Condensation, a vacuumed-looking bag, or a changed container shape does not by itself confirm successful treatment. Inspect packaging for failed seals, punctures, blocked or wet filters, and other deviations described by its maker. If integrity is uncertain, isolate the container rather than opening it beside clean spawn or completed batches.
Keep hydration and treatment as separate documented variables
Heat cannot correct an unsuitable moisture level. Record how water was measured, whether the substrate was soaked, drained, or mixed, and whether supplements were added. Avoid judging hydration only by squeezing an unmeasured handful, especially when a documented method specifies weights or ratios.
Different materials absorb and distribute water differently. Pellets, fine sawdust, chopped straw, and grain also pack differently, which can change heat movement and gas exchange. Do not replace one physical form with another while claiming to have followed the same validated method. When testing a permitted variation, make a small clearly labeled batch and change only that variable.
Water quality and containers must be suitable for the documented growing use. Do not reuse chemical, feed, or waste packaging simply because it tolerates heat, and do not assume an unlabeled plastic is safe for the treatment. Supplier specifications belong in the batch record alongside the biological culture information.
Change one variable at a time
If a batch stalls or looks unusual, avoid changing moisture, temperature, ventilation, spawn source, and treatment all at once. Keep the questionable batch separate, compare its record with a healthy batch if you have one, and make one documented change in the next batch. For signs that deserve isolation, use the contamination recognition guide.
What not to do
- Do not use a commercial-farm parameter as a universal home instruction.
- Do not use treated lumber, unknown waste, visibly moldy material, or an unidentified wild culture for a food-growing project.
- Do not open, sniff closely, taste, or scrape a suspect batch in a shared growing area.
- Do not assume a white-looking surface establishes culture purity; appearance cannot verify a treatment or food safety outcome.
- Do not use bleach, other chemicals, or a pressure vessel outside their labeled purpose and safety instructions.
- Do not harvest food from a batch you have designated as suspect merely because one area appears normal.
Interpret failure without trying to salvage food
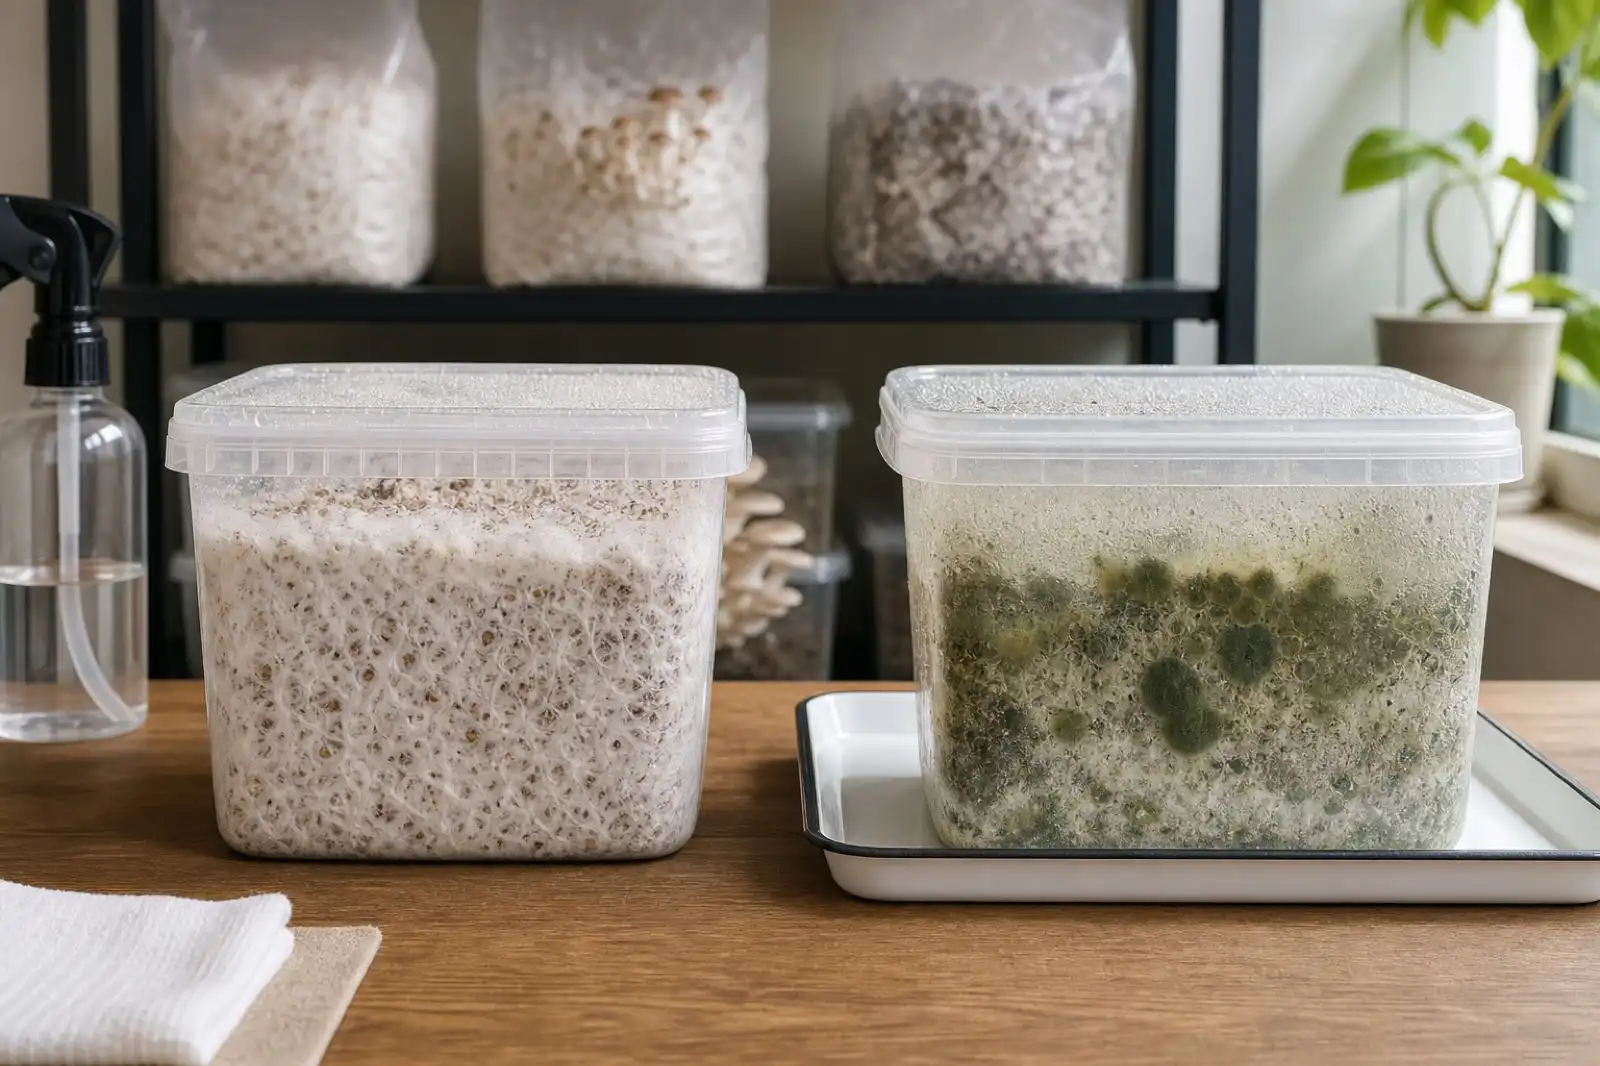
A treatment failure, packaging failure, or contamination event should produce a disposition decision, not a rescue recipe. Keep the batch closed when possible, move it away from healthy cultures and food areas, and follow supplier and local disposal guidance. Opening a heavily sporulating or foul-smelling container to identify it can spread material and expose the grower unnecessarily.
Record when the abnormality was first visible, where it began, package condition, odor noted only from normal working distance, and the batch history. Photographs through the closed container may help the supplier assess process deviation, but they cannot prove that an unaffected-looking portion is safe. Do not reheat, trim, wash, or mix suspect substrate into a new food-growing batch.
After disposal, clean reusable nonporous equipment according to its manufacturer and the documented workflow. Review the record for one plausible control point—culture source, hydration, treatment, seal, cooling, or inoculation—and test only one supported correction in the next batch. A failed batch is not evidence that the treatment category itself was wrong unless the complete process can be compared.
When a ready-to-fruit block is the better answer
Starting with a ready-to-fruit block is a valid cultivation choice, not a failure to “do it from scratch.” It lets a new grower practice fruiting conditions and harvest handling while removing uncertainty around substrate formulation, heat treatment, and inoculation. Once you can keep useful batch records and recognize normal growth for the supplied species, you can add one preparation variable at a time.
If you plan to sell mushrooms, grow at commercial scale, or use a process not covered by a reliable method, consult local food-safety and agricultural-extension guidance before proceeding. This page is educational information, not process validation.
References
Source quality notes
MushroomScope cites sources that match the page scope, such as taxonomic databases, extension guidance, food-safety agencies, food-composition databases, and peer-reviewed or institutional health references. Sources support context and uncertainty; they do not turn an online page into specimen identification, medical advice, or a tested recipe record.
Frequently asked questions
Is pasteurization the same thing as sterilization for mushroom substrate?
No. Pasteurization reduces competing organisms; sterilization aims for a much more controlled substrate. The appropriate choice depends on the material, nutrient level, mushroom species, equipment, and the clean handling possible after treatment.
Can I use a time and temperature from a commercial mushroom farm at home?
Do not treat commercial parameters as a home recipe. Equipment load, probe placement, substrate depth, steam delivery, packaging, and food-production controls differ. Use a method written for your equipment and record what you actually measure.
Should a beginner sterilize grain spawn at home?
Grain spawn and supplemented substrates are less forgiving than a ready-to-fruit block or a proven low-nutrient oyster workflow. A beginner who cannot reliably follow a validated pressure-and-clean-handling process is better served by purchased authenticated spawn or a ready-to-fruit block.
Does a clean-looking substrate prove that it is safe to eat?
No. Appearance cannot verify treatment, culture purity, food safety, or suitability for consumption. Do not taste a suspect culture or use a webpage as a substitute for supplier instructions and applicable local food-safety requirements.
Related guides
growing
Mushroom Substrate Guide: Match Species to Method
Choose a mushroom-growing substrate by matching a labeled culture to a documented production method, site, and food-safety boundary.
growing
Mushroom Grow Bags: Selection, Filling, and Fruiting
Choose mushroom grow bags by filter, size, and substrate method; learn filling, hydration, sealing, colonization, fruiting cuts, and contamination limits.
growing
Mushroom Contamination: Isolate, Record, and Prevent Repeat Problems
Recognize mushroom contamination without relying on color alone; isolate suspect batches, avoid food salvage, document the workflow, and prevent repeat issues.
Continue exploring
Browse more practical guides in Growing or visit the mushroom encyclopedia.