Growing
Mushroom Grow Bags: Selection, Filling, and Fruiting
Choose mushroom grow bags by filter, size, and substrate method; learn filling, hydration, sealing, colonization, fruiting cuts, and contamination limits.
By MushroomScope Editorial Team · · Updated
Growing method
Start with authenticated culture
Use supplier-identified spawn or blocks and record substrate, stage, temperature, humidity, and visible changes.
Open the beginner growing hub →Food safety
Discard suspect batches
Unusual colors, slime, insects, or abnormal odor should be treated as a safety concern, not a climate tweak.
Review contamination guidance →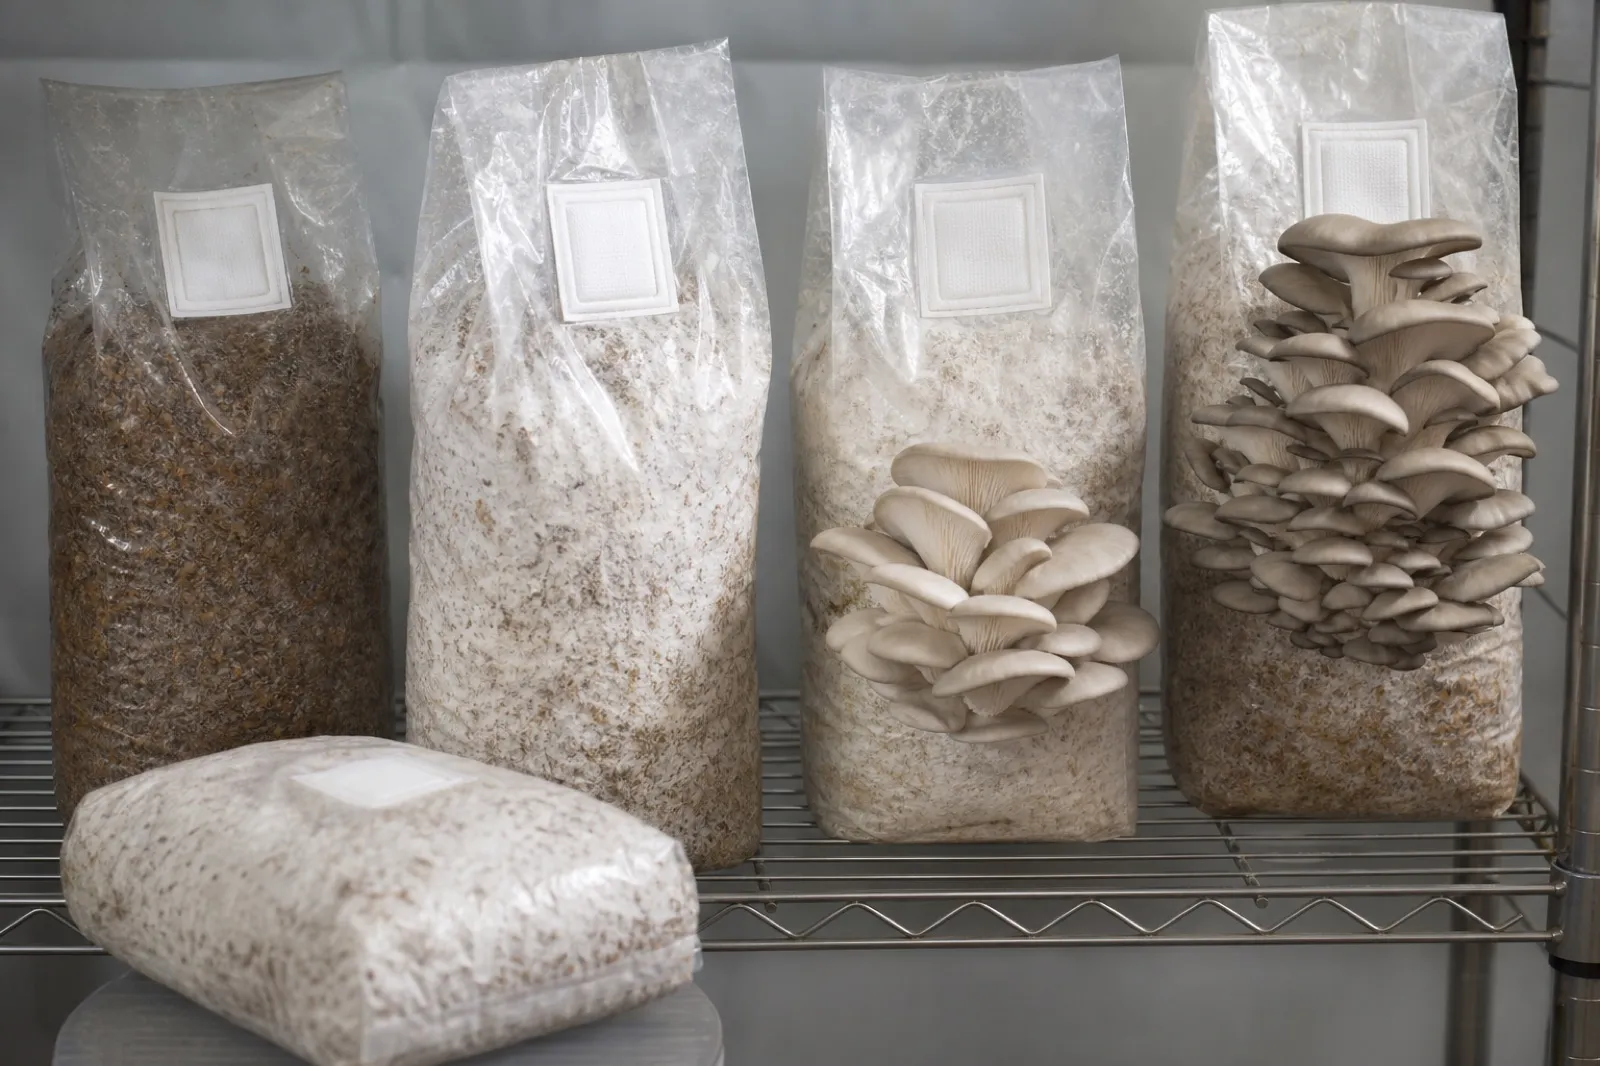
Start with the process, not the cheapest bag
A mushroom grow bag is part container, part gas-exchange system, and part contamination barrier. The correct choice depends on whether the substrate will be pasteurized or sterilized, whether it is filled before or after treatment, how it will be sealed, the species and strain, and how fruiting will be initiated.
Beginners reduce risk by buying a reputable ready-to-fruit block. Preparing supplemented sawdust in filter bags requires controlled hydration, validated heat treatment, clean inoculation, reliable seals, and pressure-equipment safety. Straw-based oyster methods may use a different treatment and cleanliness level. Do not merge those workflows because both end in plastic bags.
Record every batch. Bag type, filter specification, substrate formula, wet mass, treatment, spawn lot, inoculation date, incubation conditions, and outcome are more useful than memory.
Choose film compatible with heat and handling
Grow bags are sold in different films, thicknesses, sizes, and heat tolerances. A bag intended only for room-temperature fruiting may deform in a pressure sterilizer. Confirm the manufacturer’s maximum temperature, pressure-process compatibility, sealing recommendation, and intended use before filling.
Film must tolerate folding, lifting, mixing, and the sharp edges of wood particles without pinholes. Oversized bags encourage fills that are hard to heat evenly and difficult to handle; undersized bags may leave too little headspace for a proper filter position and seal.
Do not substitute ordinary storage bags. They may lack suitable heat resistance and controlled gas exchange. Never reuse a bag with a damaged filter, stretched seam, cloudy heat damage, or puncture.
Match the filter to the cultivation stage
The filter patch allows limited gas exchange while reducing entry of particles and organisms. Filter pore size, area, construction, and placement affect airflow and contamination protection. More airflow is not automatically better: an open filter can dry substrate or offer less protection, while a restrictive filter can limit a large, active block.
Follow the spawn or bag supplier’s recommendation for the species, fill size, incubation duration, and treatment process. Keep the filter above the compressed substrate when the method specifies it, and prevent loose wet substrate from coating the patch.
A filter is not a sterile-air generator. Contaminated air, dirty hands, poorly treated substrate, and a bad seal can still compromise the bag.
Write a bag specification before ordering a case
Product names such as “spawn bag” or “fruiting bag” are not enough to reproduce a batch. Record the manufacturer and product code, film material and thickness, nominal dimensions, filter type and area, stated process compatibility, closure method, and lot when available. Keep the supplier sheet with the record instead of relying on a reseller photograph that may later change.
Then connect that specification to the actual process: dry and wet fill mass, substrate particle size, whether the bag is treated filled or empty, load orientation, cooling arrangement, inoculation method, expected colonization time, and fruiting opening. A bag that works for a small straw fill may fail when packed with a dense supplemented sawdust block even if its outside dimensions look suitable.
Run a small documented trial before changing bag, filter, fill mass, or treatment load across production. The result must include seal survival, filter condition, contamination, colonization pattern, handling damage, and fruiting—not merely whether the film survived one hot cycle. Do not infer sterility from a clear bag or healthy growth from whiteness alone.
Keep substrate pathways separate
Low-nutrient straw for aggressive oyster strains is often handled with an established pasteurization method. Supplemented hardwood sawdust is more nutritious and generally requires a validated sterilization workflow with tighter clean handling. Pasteurization reduces selected competitors; sterilization aims for a much greater reduction. They are not interchangeable words for “heating.”
Use food-production-grade hardwood, straw, supplements, and clean water from known sources. Avoid treated wood, composite board, painted material, unknown agricultural waste, visibly moldy substrate, and wild cultures.
The substrate guide explains material selection. Use an extension or authenticated culture supplier’s complete formula rather than combining hydration and treatment numbers from unrelated recipes.
Measure hydration instead of relying on a squeeze slogan
Water is required for growth, but excess free water creates dense anaerobic zones and handling problems. Too little water slows colonization and reduces yield. A hand squeeze test varies with grip strength, particle size, and material, so it is only a rough check.
Weigh dry ingredients and added water. Record the total wet mass and formula. If the method targets moisture percentage, calculate it consistently and account for naturally wet ingredients. Mix thoroughly so dry pockets and saturated pockets do not enter the same bag.
Allow hydrated material to equilibrate when the protocol calls for it. Do not add unmeasured water to a sealed or colonizing bag to correct a guess.
Fill bags for even treatment and colonization
Inspect each empty bag and filter. Fill without smearing substrate over the seal area. Distribute material evenly and compress only to the density specified by the method; a rock-hard block can heat and colonize differently from a loosely filled one.
Leave enough clean neck for folding, gas management, inoculation, and sealing. Keep the filter positioned as designed. Remove trapped sharp sticks that could puncture film, but do not grind a formula into an untested particle size.
Label bags before treatment with a heat-compatible code or use a system that remains legible afterward. Include substrate batch and intended species so treated bags cannot be confused.
Use pressure equipment only with validated instructions
Sterilizing supplemented bags involves hot pressurized steam. Use equipment rated for the load, read the manufacturer manual, inspect seals and vents, and never bypass safety devices. Large dense bags require a validated cycle that accounts for load geometry and heat penetration; a timer copied from a different bag size may be inadequate.
Arrange bags so steam circulation and pressure equalization follow the method. Protect filter patches from direct wetting where required without blocking their intended function. Prevent bag film from contacting surfaces the equipment maker identifies as unsafe.
Allow pressure to return to normal and the load to cool according to instructions before opening. Hot bags can tear, deform, or pull contaminated air through a compromised closure.
Load geometry is part of the treatment
The coldest point inside a dense block does not necessarily follow chamber temperature immediately. Fill mass, substrate density, bag spacing, rack position, steam circulation, trapped air, and the number of bags all change heat movement. For that reason, a cycle copied from a smaller bag or a different load cannot be assumed equivalent.
Document a repeatable loading pattern and stay within the pressure-equipment maker’s limits. If a process is being validated, use appropriate measurement methods and qualified guidance rather than inserting an improvised household probe that can compromise the vessel or bag. Treat any unexplained change in fill geometry as a process change requiring review.
Cool without recontaminating the substrate
Freshly treated bags are vulnerable while cooling. Move or expose them only as the validated workflow permits. Keep them away from floor dust, compost, active fruiting rooms, open windows, and dirty tools.
Do not inoculate material that remains hot enough to damage spawn. At the same time, do not leave an unsealed sterile bag exposed while waiting. Plan the inoculation area and tools before the cycle finishes.
Condensation inside a cooling bag can be normal, but pooled free liquid, a broken seal, or a soaked filter needs investigation. Do not puncture the bag to drain it.
Inoculate with authenticated spawn
Verify species, strain, supplier, lot, storage history, and appearance before use. Beginners should not clone a wild mushroom for food production. A wild specimen may be misidentified and its tissue culture may carry bacteria, molds, or other fungi.
Use the cleanliness level required by the substrate. Pasteurized straw inoculation and sterilized supplemented sawdust inoculation have different contamination risks. Clean hands, clean clothing, disinfected work surfaces, minimal air movement, and sanitized tools support the process, but technique must match the protocol.
Distribute spawn as directed so colonization does not depend on one distant inoculation point. Do not exceed a formula casually; spawn rate changes moisture, nutrition, cost, heat generation, and colonization behavior.
Seal and verify the closure
Impulse sealing, ties, collars, and other closures are method-specific. For an impulse seal, confirm the bag film and sealer settings, flatten the clean neck, avoid wrinkles through the seal, and make a continuous closure. More heat can burn or thin the film rather than improve it.
Inspect the seal under good light and gently test it after cooling. Keep the filter unobstructed. Label species, strain, substrate batch, spawn lot, inoculation date, and operator or workstation when useful.
A neat seal does not rescue contaminated spawn or inadequately treated substrate. It preserves the condition present at closing.
Test seals as a batch property
Save the sealer setting, warm-up state, dwell or cooling practice, operator, film lot, and failures. Examine the entire seal against a contrasting background for channels, folds, burned thinning, contamination in the seal area, and incomplete edges. A seal can look straight yet separate when a warm, heavy block is lifted.
Use a non-production test bag when changing settings and follow the bag and sealer manufacturers’ inspection guidance. Do not squeeze a hot inoculated bag aggressively, submerge it, or use an unvalidated leak test that draws dirty water or air through the filter. If several seals fail in the same position, quarantine the related load and investigate equipment alignment, film condition, and handling before making more bags.
Incubate within the supplier’s strain range
Place bags where temperature can be monitored and where a leaking or contaminated bag can be isolated. Metabolic activity can make the block warmer than room air, especially in dense shelving. Avoid direct sunlight and do not stack bags so tightly that heat and gas accumulate.
Some species benefit from darkness only in the sense that they do not need fruiting light during colonization; total darkness is not a universal requirement. Follow supplier guidance. Inspect through the bag without opening it unnecessarily.
Record colonization progression by date and photograph the same side of representative bags. Compare batches rather than promising completion on a fixed day.
Distinguish expected growth from warning signs
Healthy mycelium varies by species and stage. Oyster mycelium may colonize aggressively; lion’s mane can appear finer or less uniformly white. Use authenticated supplier examples rather than treating maximum whiteness as the goal.
Isolate bags with rapidly spreading green, black, pink, or orange growth; slime; foul or fermentative odor; excessive uncolonized wet zones; insects; swelling inconsistent with the method; or broken seals. Do not open a suspect bag in the clean work area or fruiting room.
The contamination guide organizes observations. Never smell closely, taste the substrate, scrape off visible mold, or assume white growth is always the intended fungus.
Wait for complete, healthy colonization
Fruiting an incompletely colonized bag exposes unclaimed substrate and can stall the crop. Completion is not simply a number of days; it combines coverage, consolidation required by the species, expected texture or color changes, and absence of warning signs.
Lion’s mane may begin forming inside a bag when fruiting is delayed or when air and light cues reach it. Oyster mushrooms can also pin near filters. Follow the supplier’s response rather than opening every early pin.
If growth stalls, check temperature history, hydration records, spawn distribution, filter blockage, seal integrity, and contamination signs. Change one variable at a time.
Make species-appropriate fruiting openings
Oyster mushrooms commonly fruit from slits or openings that support clustered side fruiting. Lion’s mane often fruits through a small opening that concentrates one formation. The correct number, size, orientation, and timing depend on species, strain, block, and fruiting setup.
Do not remove the entire bag unless the method specifically requires it. The remaining film helps retain moisture and limits unwanted fruiting over the whole surface. Use a clean blade, cut away from hands, and avoid slicing deeply into the block.
Position openings so mushrooms have room to expand and do not contact walls, floors, or other bags.
Treat the opening as an environmental interface. Its area and location determine where humid room air meets the block, how quickly the exposed surface dries, and whether pins form as one marketable cluster or many crowded sites. Record the cut pattern with a photograph or dimensions; “opened the bag” is not reproducible.
For side-fruiting oyster cultures, compare the supplier’s recommended slit or hole pattern with the block face and room airflow. For lion’s mane, a limited opening can focus a fruit body while most film continues to protect the block from drying. Top-fruiting species and methods may require a different headspace or cut. Never transfer the opening pattern from one species merely because the bags are the same size.
Balance humidity with fresh air
High humidity supports young fruit bodies, but standing water and soaked surfaces are not the target. Fresh air removes accumulated carbon dioxide; excessive ventilation dries pins. Temperature and indirect light interact with both.
Long oyster stems and small caps can indicate inadequate fresh air, while cracked or drying tissue can indicate low humidity or excessive airflow. Lion’s mane morphology also changes with air exchange. These are clues, not diagnoses; review sensor placement, room behavior, and supplier guidance.
Misting more cannot correct poor ventilation. Aim humidification away from fruit bodies when possible, provide drainage, clean reservoirs, and prevent aerosols from spreading contamination.
Harvest, cool, and manage spores
Use species-specific maturity cues. Harvest with clean hands or tools before quality declines, without tearing open large areas of substrate. Remove debris and cool culinary crops promptly in clean food-safe packaging.
Oyster mushrooms can release substantial spores when overmature. Harvest timing and fresh-air design matter, especially in occupied spaces. People with respiratory sensitivity should avoid heavy exposure, and fruiting areas require appropriate ventilation.
Do not harvest from a bag with unresolved contamination, foul odor, slime, or unknown fruit bodies. Correct crop identity does not make a compromised batch suitable for food.
Rest, refruit, and retire bags conservatively
Some blocks produce additional flushes after a rest. Follow the supplier’s rehydration and timing method. Do not inject water through an improvised puncture or repeatedly soak a deteriorating bag in the hope of recovering yield.
Record each flush, harvest mass, defects, and interventions. Yield normally declines, and eventually the block should be retired. Seal suspect material before moving it through clean areas and follow local waste or compost guidance.
Commercial growers must also follow applicable worker safety, food safety, traceability, labeling, and waste rules. A home guide is not a production compliance program.
A reusable batch record
Record bag manufacturer and specification, filter, fill mass, substrate and hydration, treatment equipment and cycle, cooling time, spawn identity and rate, inoculation method, seal check, incubation temperatures, colonization milestones, fruiting cuts, environmental readings, harvests, contamination, and disposal.
Review failed and successful bags together. If several variables changed, do not invent a single cause. Controlled comparisons make the next batch safer and more informative.
Compare rates using a denominator: contaminated bags per bags inoculated, seal failures per bags sealed, and harvest mass per block or per dry substrate under a consistent definition. Record bags removed before fruiting so apparent yield is not inflated by excluding failures. A photograph of the same face on the same days can show whether a stall is local to the top, bottom, filter side, or center.
When a trial changes one feature—such as filter specification—hold the strain, spawn lot, substrate, fill mass, treatment load, shelf position, and observation schedule as stable as practical. If multiple factors must change, label the result exploratory. Honest uncertainty is more useful than attributing a difference to the new bag without a controlled comparison.
The central rule is simple: use a bag designed for the process, keep pasteurized and sterilized workflows distinct, protect the filter and seal, use authenticated spawn, and discard suspect food-growing material rather than attempting salvage.
References
Source quality notes
MushroomScope cites sources that match the page scope, such as taxonomic databases, extension guidance, food-safety agencies, food-composition databases, and peer-reviewed or institutional health references. Sources support context and uncertainty; they do not turn an online page into specimen identification, medical advice, or a tested recipe record.
Frequently asked questions
Is mushroom grow bags: selection, filling, and fruiting suitable for beginners?
This guide rates the method moderate. A reputable ready-to-fruit block is simpler than preparing sterile cultures or supplemented substrate.
What should I do with unusual mold or odor?
Isolate the material, stop handling it near other cultures, and do not eat from it. Follow supplier or local disposal guidance.
Can I clone a wild mushroom for food production?
Beginners should use authenticated commercial spawn. A wild specimen may be misidentified or carry organisms unsuitable for a food-growing workflow.
Can every filter grow bag go in a pressure sterilizer?
No. Confirm the bag film, filter, seal, fill mass, and supplier instructions are compatible with the exact heat-treatment process; unsuitable bags can deform, rupture, or lose filter integrity.
Should I cut a grow bag before colonization is complete?
Usually no. Opening an incompletely colonized substrate increases exposure and can dry it. Follow the authenticated culture supplier's species-specific fruiting instructions.
Related guides
growing
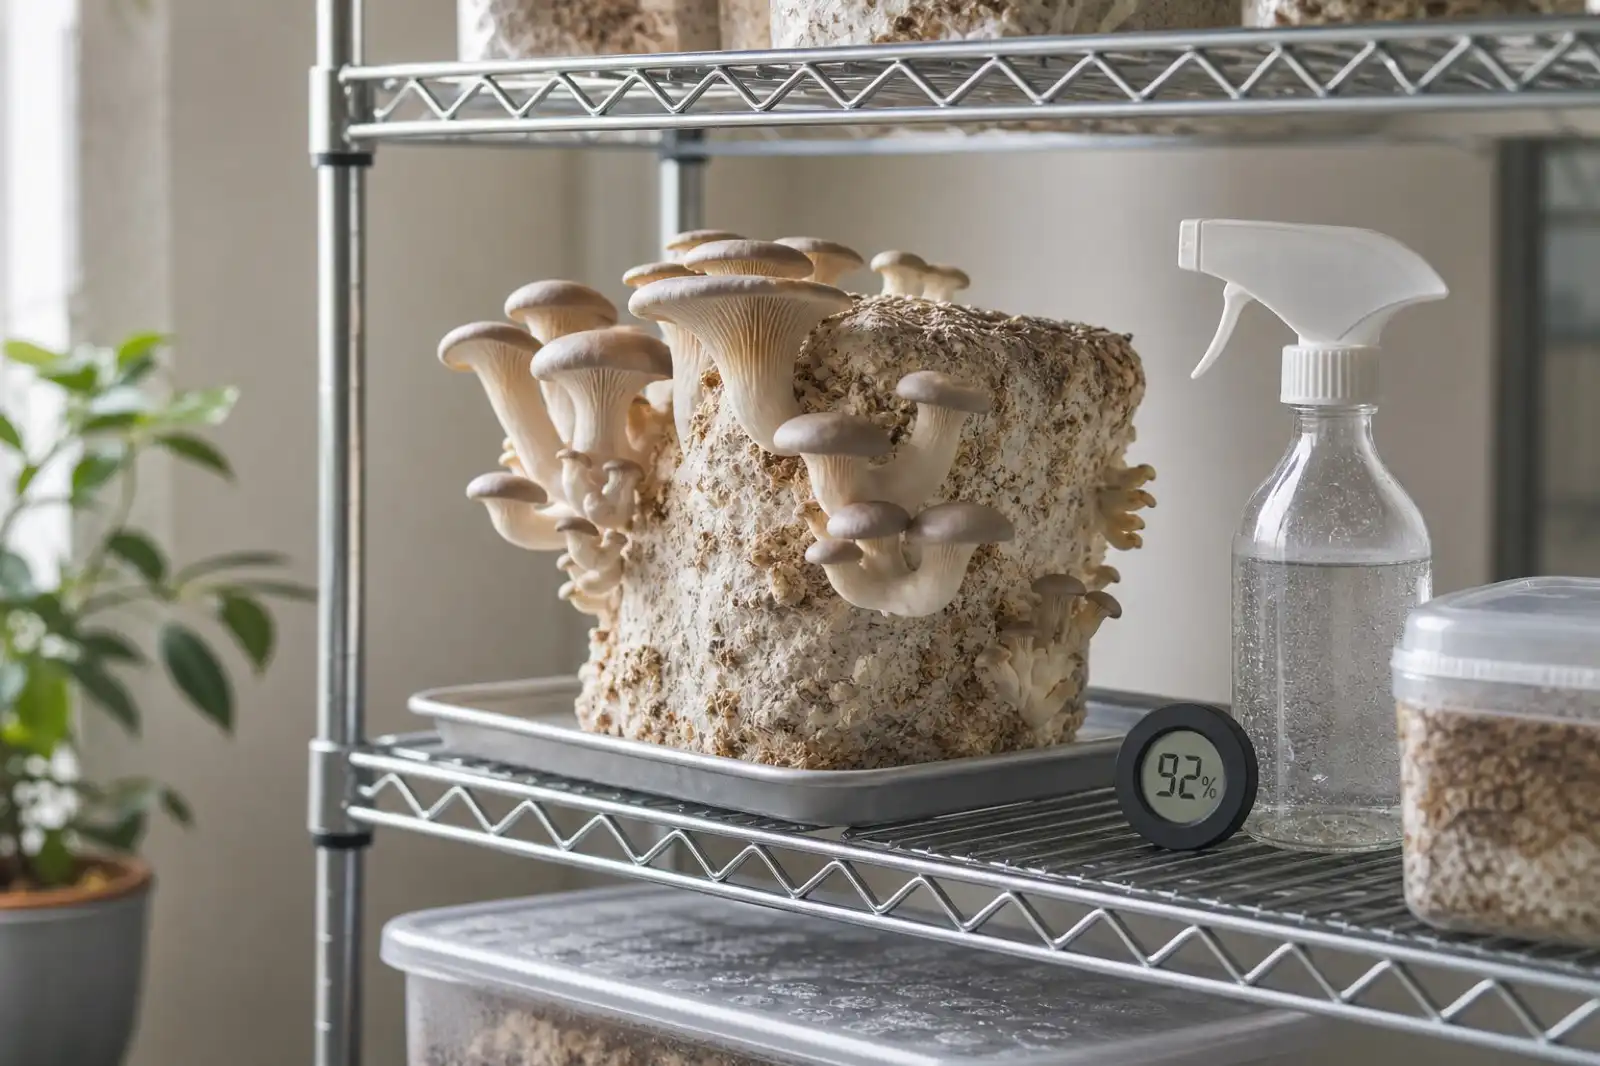
Beginner's Guide to Growing Mushrooms at Home
Choose a low-complexity first mushroom grow, set a written decision boundary, and keep food safety separate from yield troubleshooting.
growing
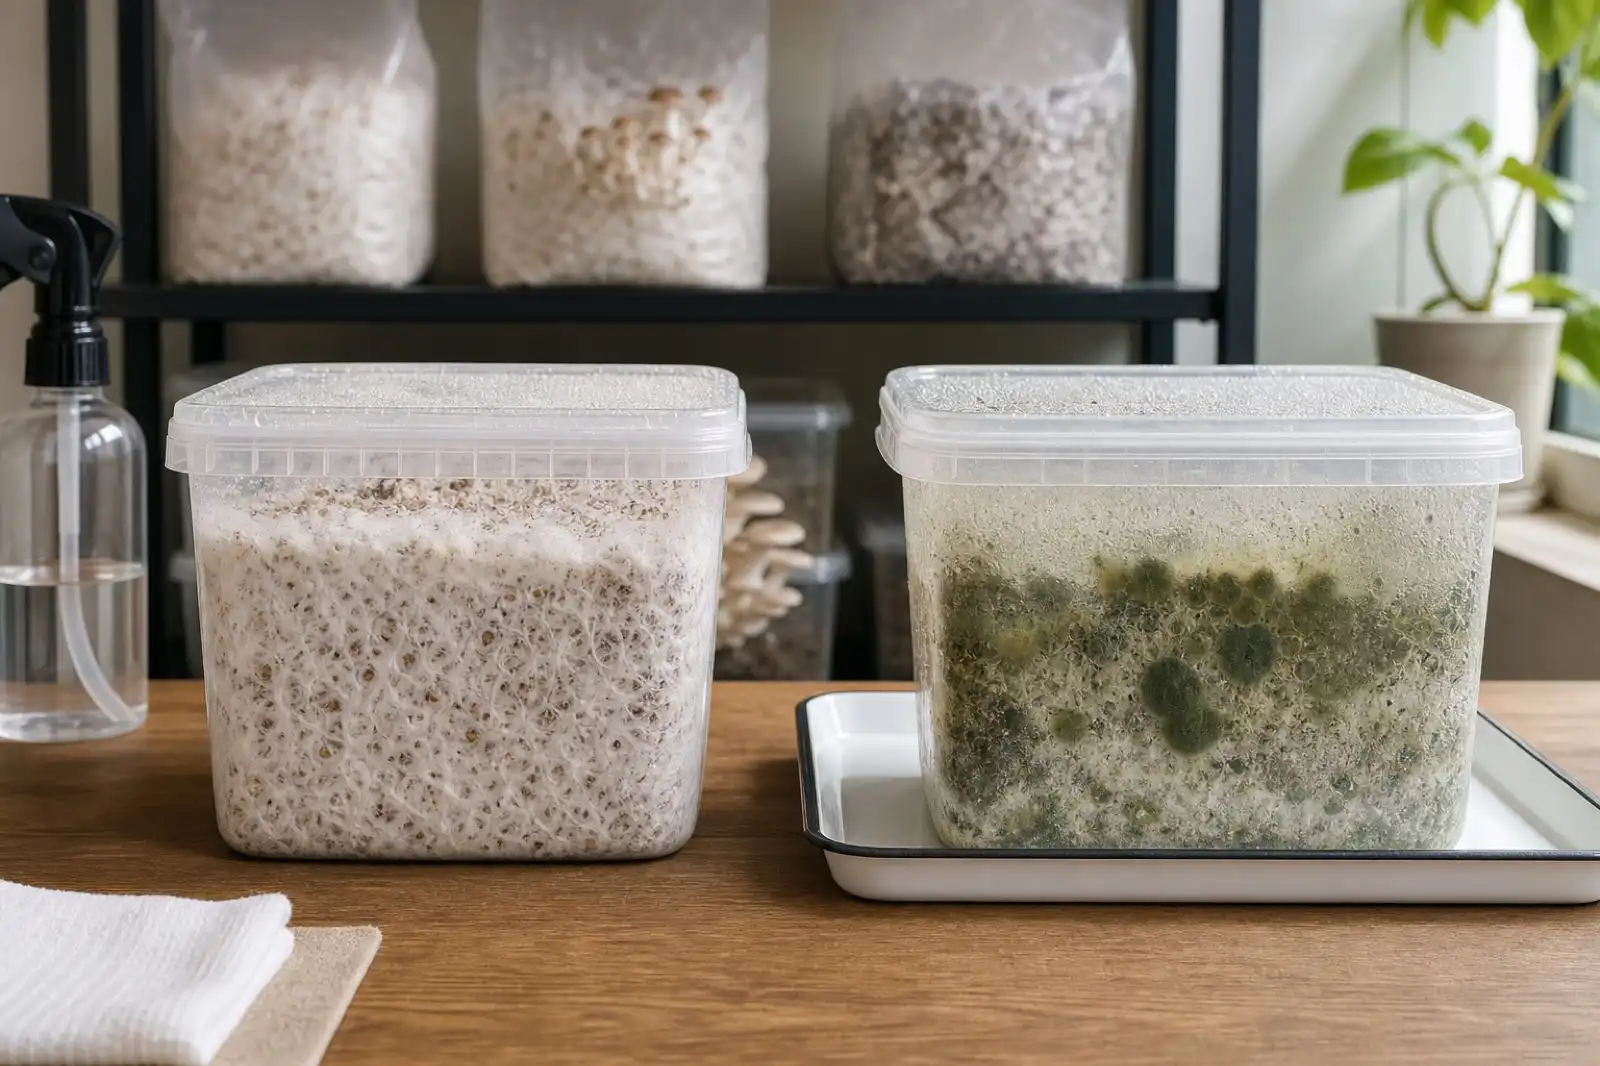
Mushroom Contamination: Isolate, Record, and Prevent Repeat Problems
Recognize mushroom contamination without relying on color alone; isolate suspect batches, avoid food salvage, document the workflow, and prevent repeat issues.
growing
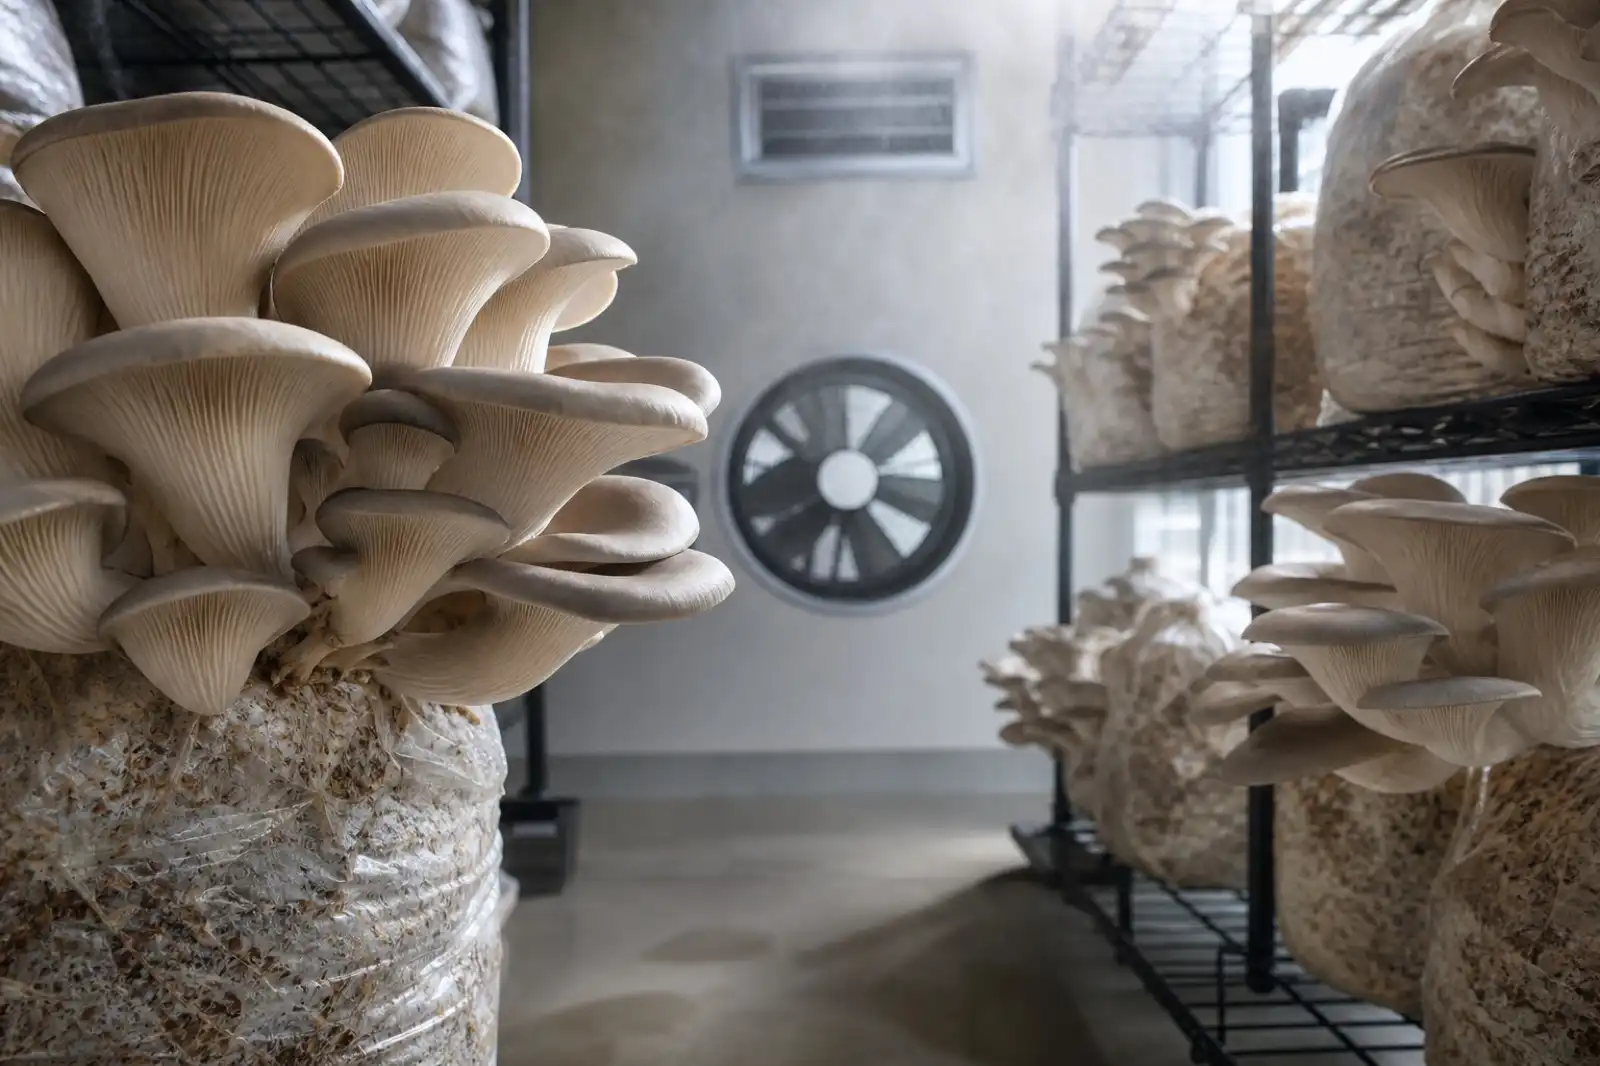
Mushroom Fruiting Conditions: Humidity, Air, Light, and Temperature
Use humidity, fresh air, light, and temperature as a linked observation system for authenticated cultivated mushroom blocks—not a universal settings chart.
Continue exploring
Browse more practical guides in Growing or visit the mushroom encyclopedia.