Growing
Beginner's Guide to Growing Mushrooms at Home
Choose a low-complexity first mushroom grow, set a written decision boundary, and keep food safety separate from yield troubleshooting.
By MushroomScope Editorial Team · · Updated
Growing method
Start with authenticated culture
Use supplier-identified spawn or blocks and record substrate, stage, temperature, humidity, and visible changes.
Open the beginner growing hub →Food safety
Discard suspect batches
Unusual colors, slime, insects, or abnormal odor should be treated as a safety concern, not a climate tweak.
Review contamination guidance →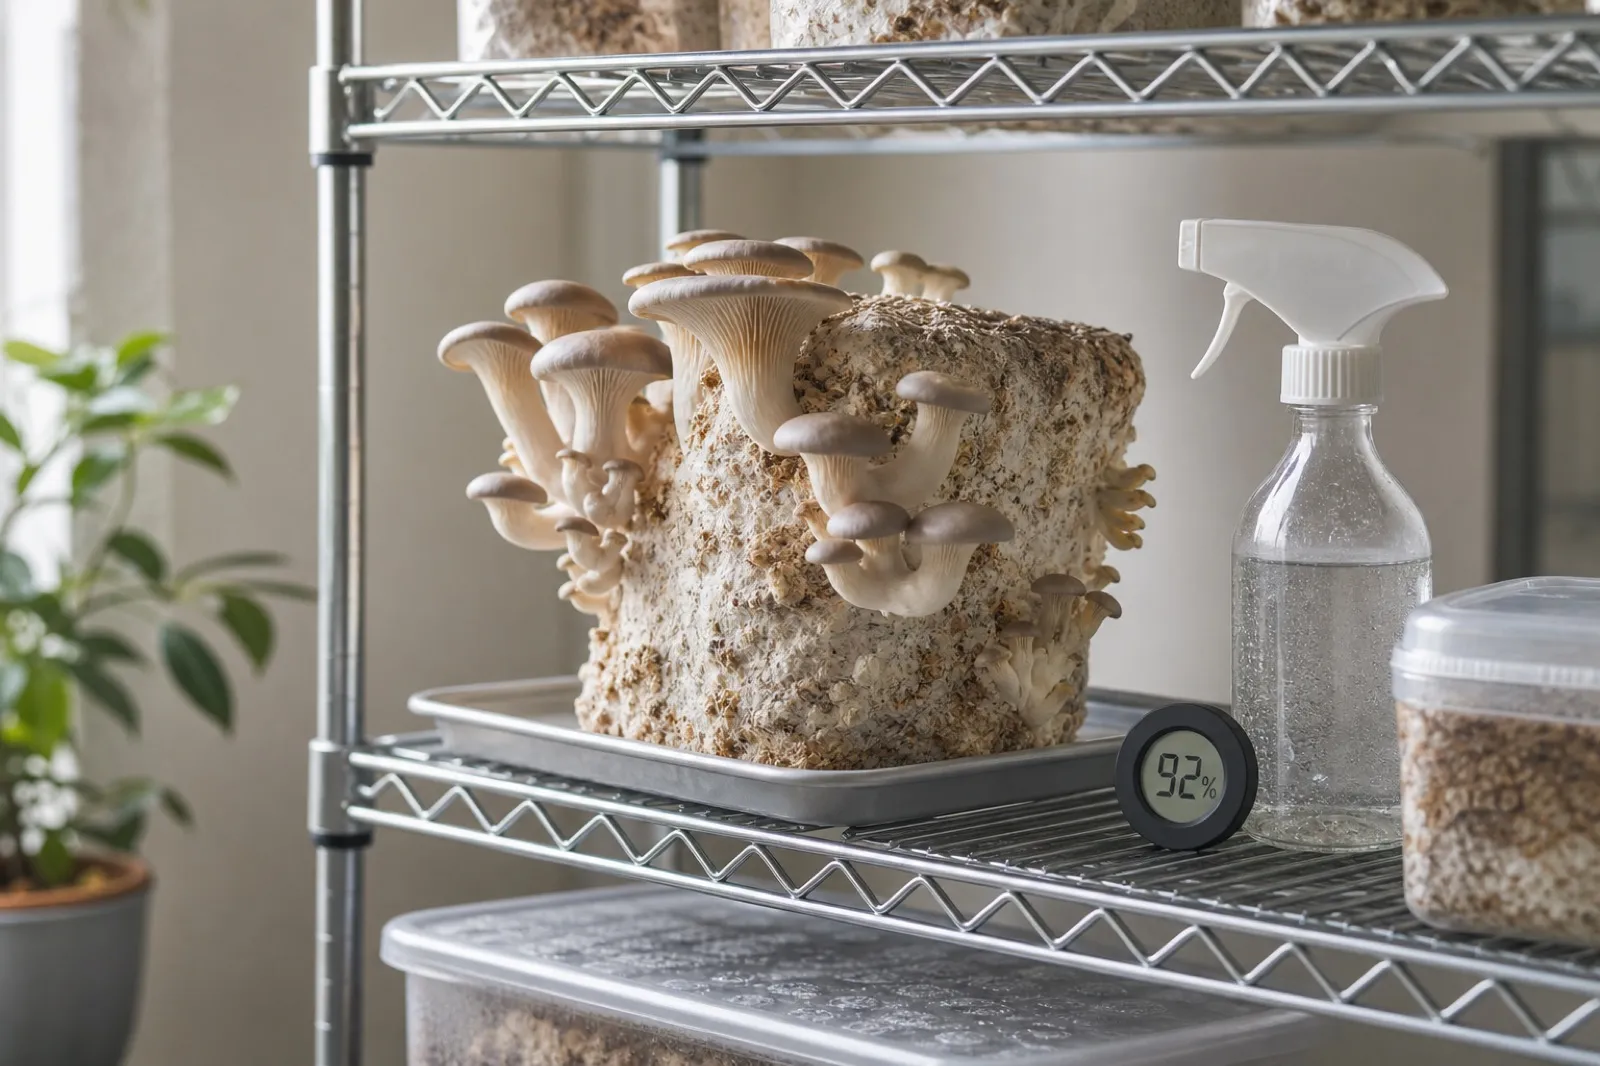
Begin with a system that lets you learn one thing at a time
The best first home mushroom grow is not the cheapest material or the most elaborate setup. It is a small, authenticated ready-to-fruit block with a readable label and written supplier instructions. That choice removes two difficult variables—making sterile culture and preparing a high-risk substrate—so you can learn to observe a fruiting environment without pretending that one generic temperature or humidity number fits every strain.
Cornell Small Farms treats specialty mushroom cultivation as a system of species, substrate, environment, hygiene, and market handling. For a first grow, reduce that system: choose one labeled culture, record what the supplier says, and change only one thing at a time. This page is about cultivated food mushrooms, not cloning, identifying, or eating a wild specimen.
Choose your first route deliberately
| Starting route | What it teaches well | What it leaves unresolved | Best use for a first grow |
|---|---|---|---|
| Ready-to-fruit block | Fruiting observations, harvest handling, and a small condition log | How to make sterile culture or prepare substrate | Recommended starting point when the supplier provides clear instructions |
| Spawn plus a documented low-complexity substrate | More of the production sequence and batch labeling | More opportunities for hydration, heat-treatment, and contamination errors | A second project after you can log and evaluate a block |
| Spores, liquid culture, or an unknown wild culture | Specialized laboratory or identification questions | Reliable food-production workflow and clean attribution of failures | Not a beginner food-growing route |
Do not buy a culture solely because an online image looks familiar. “Oyster,” “shiitake,” or another common name is not a complete operating instruction. Save the supplier’s culture label, arrival date, substrate description, and written fruiting range. If those are missing, choose a different supplier rather than filling the gaps with broad internet advice.
Make a one-page baseline before the first change
At arrival, photograph the unopened or newly placed block and make a short baseline record:
- Culture name or supplier label, substrate, date received, and any batch reference.
- The supplier’s temperature, humidity, fresh-air, and light directions for that culture.
- Where you will measure the environment, rather than the setting printed on an appliance dial.
- The date and time of each handling step: opening, watering, moving, first pins, harvest, and any unusual observation.
- A single question you are testing if something changes, such as “Did the surface dry after the vent was opened?”
This record is more useful than a visually impressive setup. A humidity meter is a trend tool, not proof that the surface at the block is correct. Likewise, a room thermostat may not describe the air surrounding the fruiting body. The goal is to compare your record with the supplier’s range, not to chase a single perfect number.
Build a clean observation zone
Choose a cleanable location away from raw-food preparation, standing water, and pets. Keep the block and its harvest container separate from cutting boards or utensils used with raw meat, poultry, and seafood. The North Carolina mushroom produce-safety fact sheet emphasizes clean hands, sanitary harvest tools and containers, refrigeration sanitation, and control of standing water and condensation. Those are useful principles in a home setting even when a small grow is not a commercial operation.
Use clean water and keep the space manageable. More misting is not an all-purpose correction: it can leave water where it should not stand, while extra ventilation can dry a fruiting surface. If a supplier specifies a bag opening, tent, or other fruiting arrangement, begin there before improvising equipment.
Read conditions as a connected system
Temperature, moisture, fresh air, and light interact, so a reading should never be interpreted alone. A fan can increase air exchange while also accelerating surface drying. A closed tent can retain moisture while allowing carbon dioxide and heat to accumulate. Direct sun can raise the block temperature even when the room thermostat appears acceptable. Record where and when a measurement was taken, and compare it with the supplier’s directions for the specific culture.
Use instruments to detect trends rather than to certify success. A low-cost hygrometer may differ from another unit, and neither measures the moisture inside the substrate. Visible surface condition, condensation pattern, room conditions, and the culture’s development belong in the same dated note. Avoid placing a sensor where mist lands directly on it, because the temporary reading may not represent the air around the crop.
Lighting for commonly cultivated mushrooms is not the same as feeding a plant through photosynthesis. Follow the culture supplier’s guidance for exposure and avoid assuming that intense light will fix weak growth. If natural light adds heat or creates a strong wet-dry cycle, move the setup within the documented operating range and record that single change.
Use a simple daily observation routine
A useful check takes a few minutes and follows the same order each day:
- Look before touching: note pins, cluster shape, surface appearance, condensation, insects, and any new discoloration.
- Smell only from a normal working distance; do not deliberately inhale spores or put your face inside a bag or chamber.
- Record temperature and humidity at the usual sensor position and approximately the same time.
- Compare the block with the supplier’s expected sequence and written range.
- Perform only the routine handling the supplier specifies, using clean hands and cleanable tools.
- Write down any adjustment so tomorrow’s observation has a clear starting point.
This routine helps distinguish a gradual environmental trend from a sudden safety concern. It also reduces unnecessary handling. If anyone in the home develops respiratory irritation around a fruiting setup, stop exposure, ventilate as appropriate, and seek medical advice for persistent or severe symptoms; a growing log is not a medical assessment.
Troubleshoot a record, not a symptom list
Long stems, small caps, a dry surface, slow pins, or uneven clusters are observations, not remote diagnoses. Before changing anything, check the supplier’s stated range and compare it with the time-stamped record. Then make one reversible adjustment within that range. Give the culture time to respond and record what happened.
For example, if the surface began to dry after you changed a vent, restore the documented setup gradually and watch the next observation. Do not simultaneously increase misting, reduce fresh air, raise temperature, move the block, and change lighting; the result cannot teach you what worked. The growing troubleshooting guide provides a fuller logbook method once you have a baseline.
Know when the task changes from growing to food safety
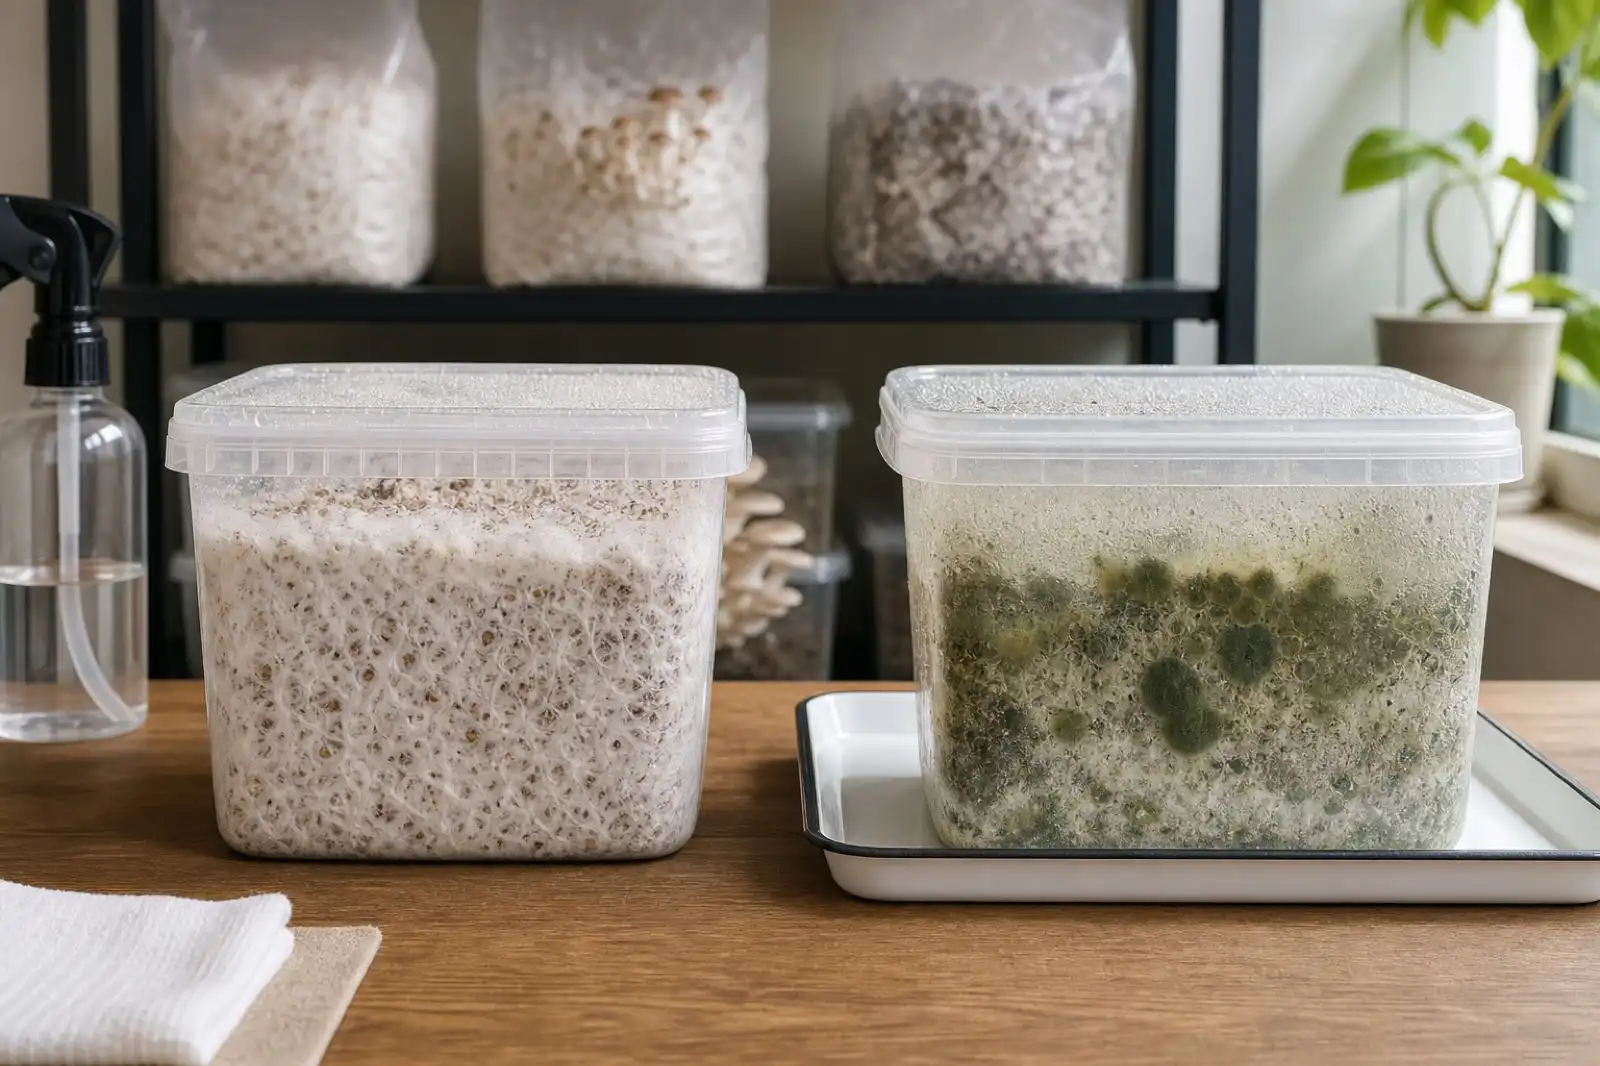
Unexpected mold, slime, persistent foul odor, insects, leaking substrate, or an unclear culture history moves the situation out of ordinary yield troubleshooting. Isolate the material from healthy cultures and food-preparation areas. Do not use a photograph, color name, or surface trimming to declare it safe. The contamination guide explains why a suspect batch should not be treated as a harvestable crop.
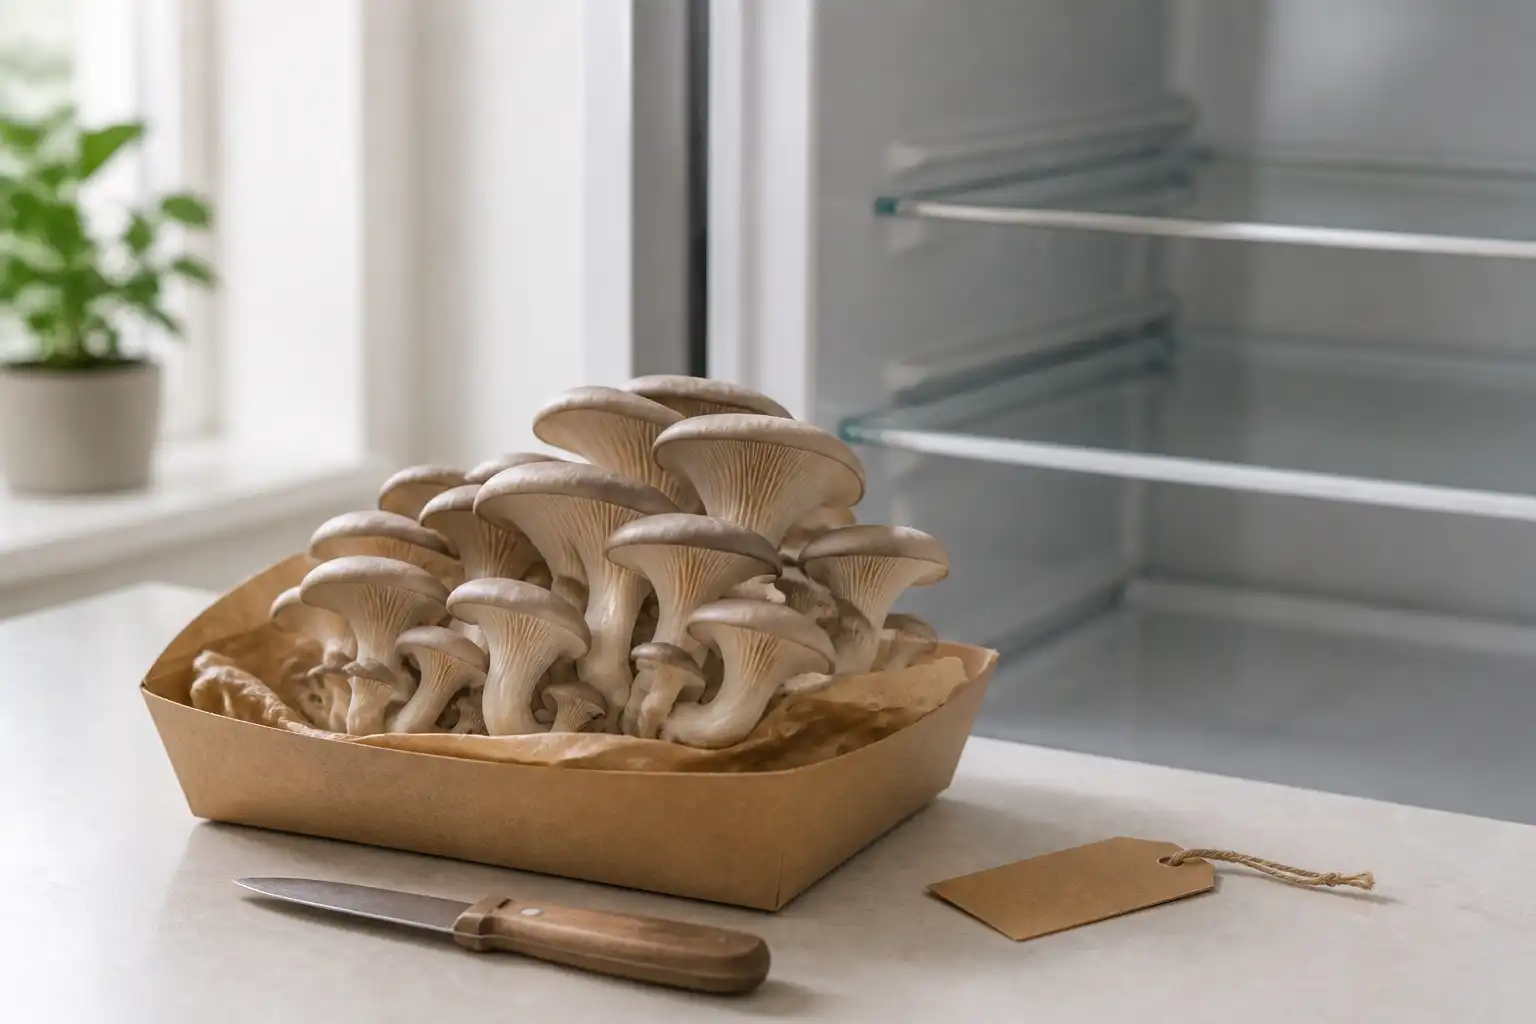
Food safety also continues after a normal harvest. FDA guidance lists mushrooms among perishable produce to keep in a clean refrigerator at or below 40°F / 4°C. Harvest with clean hands or tools, use a clean container, cool the crop promptly, and keep it separate from raw animal foods. The homegrown mushroom storage guide covers the dated post-harvest record and refrigerator boundary in detail.
Plan the harvest before pins enlarge
Read the supplier’s harvest cue in advance because maturity markers vary by cultivated species and strain. Prepare a clean container and decide how the mushrooms will be cooled before cutting or twisting anything. Do not place a harvest into a container that held raw animal food, compost, spent substrate, or cleaning chemicals. Remove obvious substrate debris without washing the crop merely to make it look finished; follow the recipe’s preparation method when it is time to cook.
Keep the crop label with the harvested batch. If several blocks are fruiting, separate their containers and dates so a later quality concern can be traced to one source. Discard mushrooms that you already regard as spoiled or contaminated rather than mixing them into a sound batch. Home cultivation does not remove the need to cook an edible cultivated species appropriately or to consider individual allergies and intolerances.
After harvest, clean reusable tools and the growing area according to their materials and the supplier’s guidance. A spent block may be accepted by a local composting system, but disposal rules and pest risks differ; bag and isolate suspect material instead of carrying it through food areas uncovered.
Decide what to learn in the second grow
Repeatability matters more than adding equipment. Review the first log and identify one uncertainty: perhaps the block dried quickly, the measurement location was inconsistent, or harvest cooling was delayed. Keep the same low-complexity system while improving that one part. A second authenticated block handled with a better record provides a more useful comparison than simultaneously changing species, substrate, chamber, and watering routine.
Move to spawn and substrate preparation only when you are ready to manage additional control points: culture identity, substrate sourcing, hydration, the documented heat-treatment method, clean handling, batch labeling, and disposal. The substrate guide explains how species and process determine whether a material is suitable; it is not safe to substitute an improvised recipe just because two substrates look similar.
Before buying automation, ask what decision the device will improve. A timer cannot correct an unknown culture, an unclean harvest container, or a missing supplier range. Add equipment only when the log shows a repeated condition that can be measured and controlled safely.
What a successful first grow looks like
Success is not necessarily the largest cluster or a perfectly predicted harvest day. A successful first grow gives you a clear answer to practical questions: What culture did I have? What did the supplier specify? What did the environment actually do? What changed? Did I keep a safety issue separate from a production issue?
Keep the notes even if the block fails. They let a supplier evaluate a real sequence, help you choose a smaller next experiment, and prevent you from repeating a guess that cannot be checked. Once you can make and read that record, expanding to substrate preparation or other growing methods is a meaningful next step.
References
Source quality notes
MushroomScope cites sources that match the page scope, such as taxonomic databases, extension guidance, food-safety agencies, food-composition databases, and peer-reviewed or institutional health references. Sources support context and uncertainty; they do not turn an online page into specimen identification, medical advice, or a tested recipe record.
Frequently asked questions
What is the simplest first mushroom grow at home?
A reputable ready-to-fruit block of an authenticated cultivated species is usually a lower-complexity starting point than making sterile culture or supplemented substrate. Use the supplier's own strain and fruiting instructions as the operating range.
Should a beginner start with spores, liquid culture, or a grow block?
Start with a labeled, ready-to-fruit block or another authenticated commercial culture with written support. Spore work and liquid culture add identity, sterility, and contamination questions that can hide the basic skills a first grow is meant to teach.
What should I do when a block has mold, slime, or a foul odor?
Treat it as a safety branch: isolate the material, keep it away from healthy cultures and food-preparation areas, and do not eat from it. Do not diagnose contamination from a photograph or attempt food salvage by trimming a visible area.
Related guides
growing
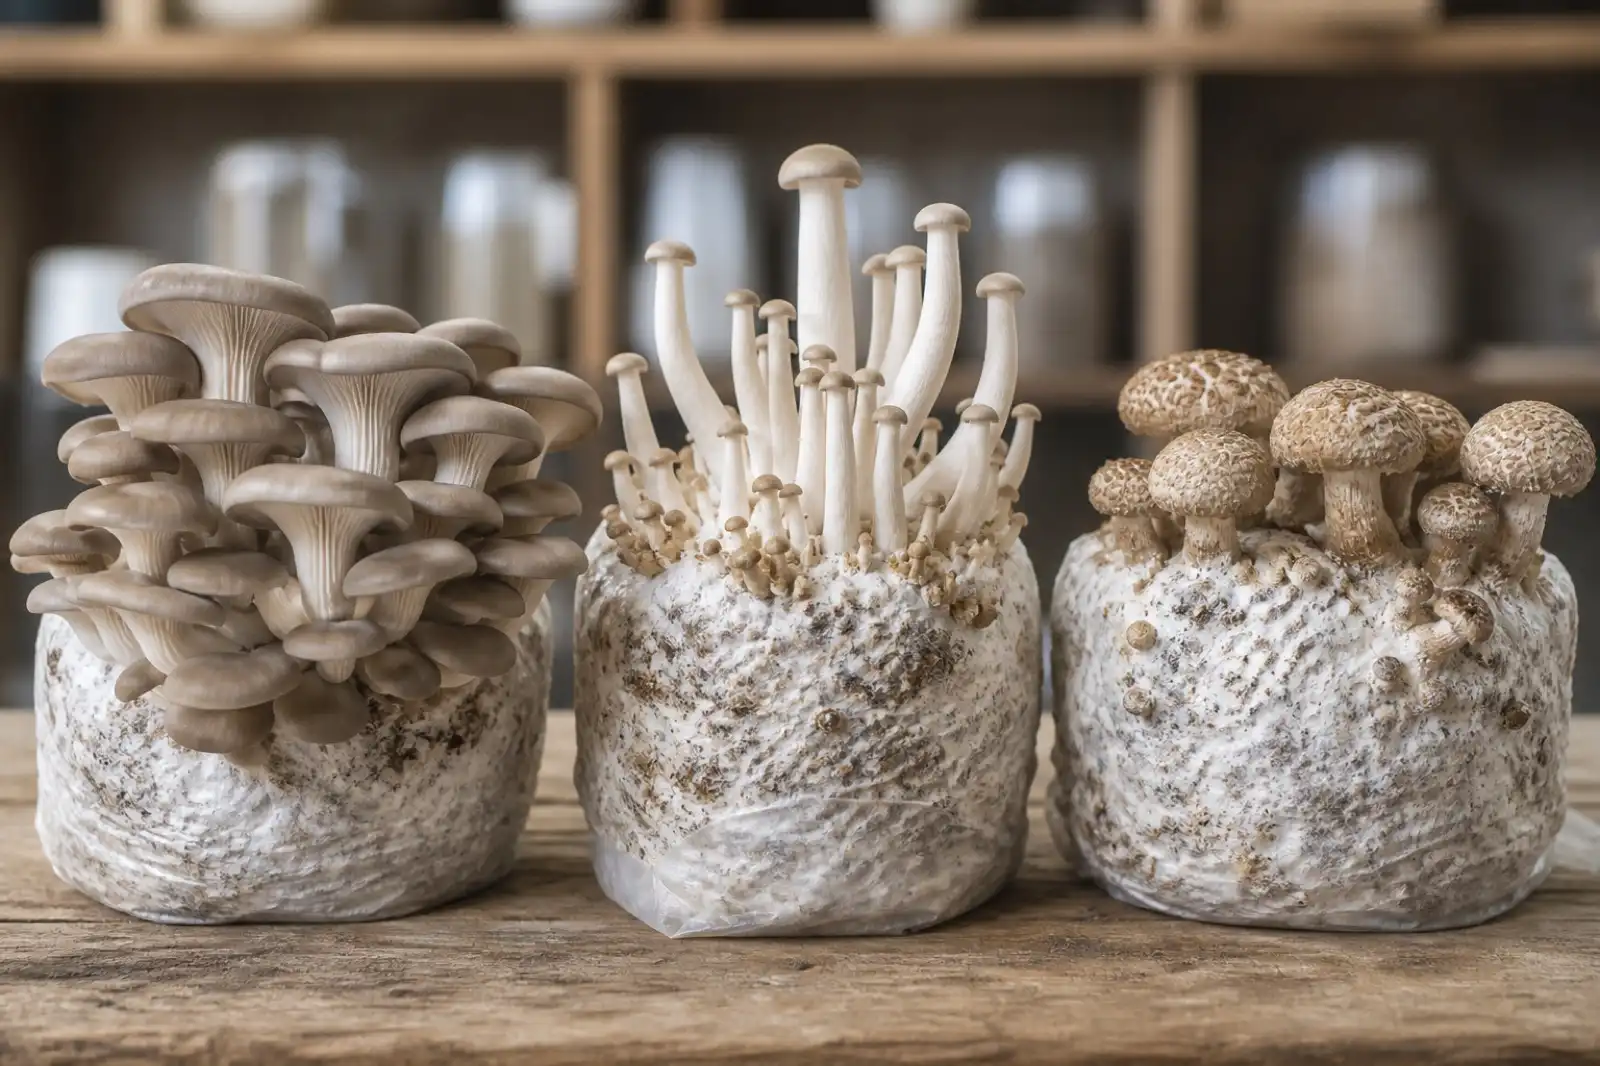
Mushroom Growing Troubleshooting: A One-Variable Logbook Method
Troubleshoot a home mushroom grow by separating contamination, moisture, fresh-air, temperature, and harvest-handling observations.
growing
Mushroom Contamination: Isolate, Record, and Prevent Repeat Problems
Recognize mushroom contamination without relying on color alone; isolate suspect batches, avoid food salvage, document the workflow, and prevent repeat issues.
growing
How to Store Homegrown Mushrooms After Harvest
Keep homegrown culinary mushrooms cool, clean, and dry after harvest without treating a storage method as proof that food is safe.
Continue exploring
Browse more practical guides in Growing or visit the mushroom encyclopedia.