Growing
How to Grow Oyster Mushrooms on Straw: A Home Batch Guide
Use a documented straw-and-spawn workflow for oyster mushrooms, with safe preparation, batch records, fruiting cues, and contamination limits.
By MushroomScope Editorial Team · · Updated
Growing method
Start with authenticated culture
Use supplier-identified spawn or blocks and record substrate, stage, temperature, humidity, and visible changes.
Open the beginner growing hub →Food safety
Discard suspect batches
Unusual colors, slime, insects, or abnormal odor should be treated as a safety concern, not a climate tweak.
Review contamination guidance →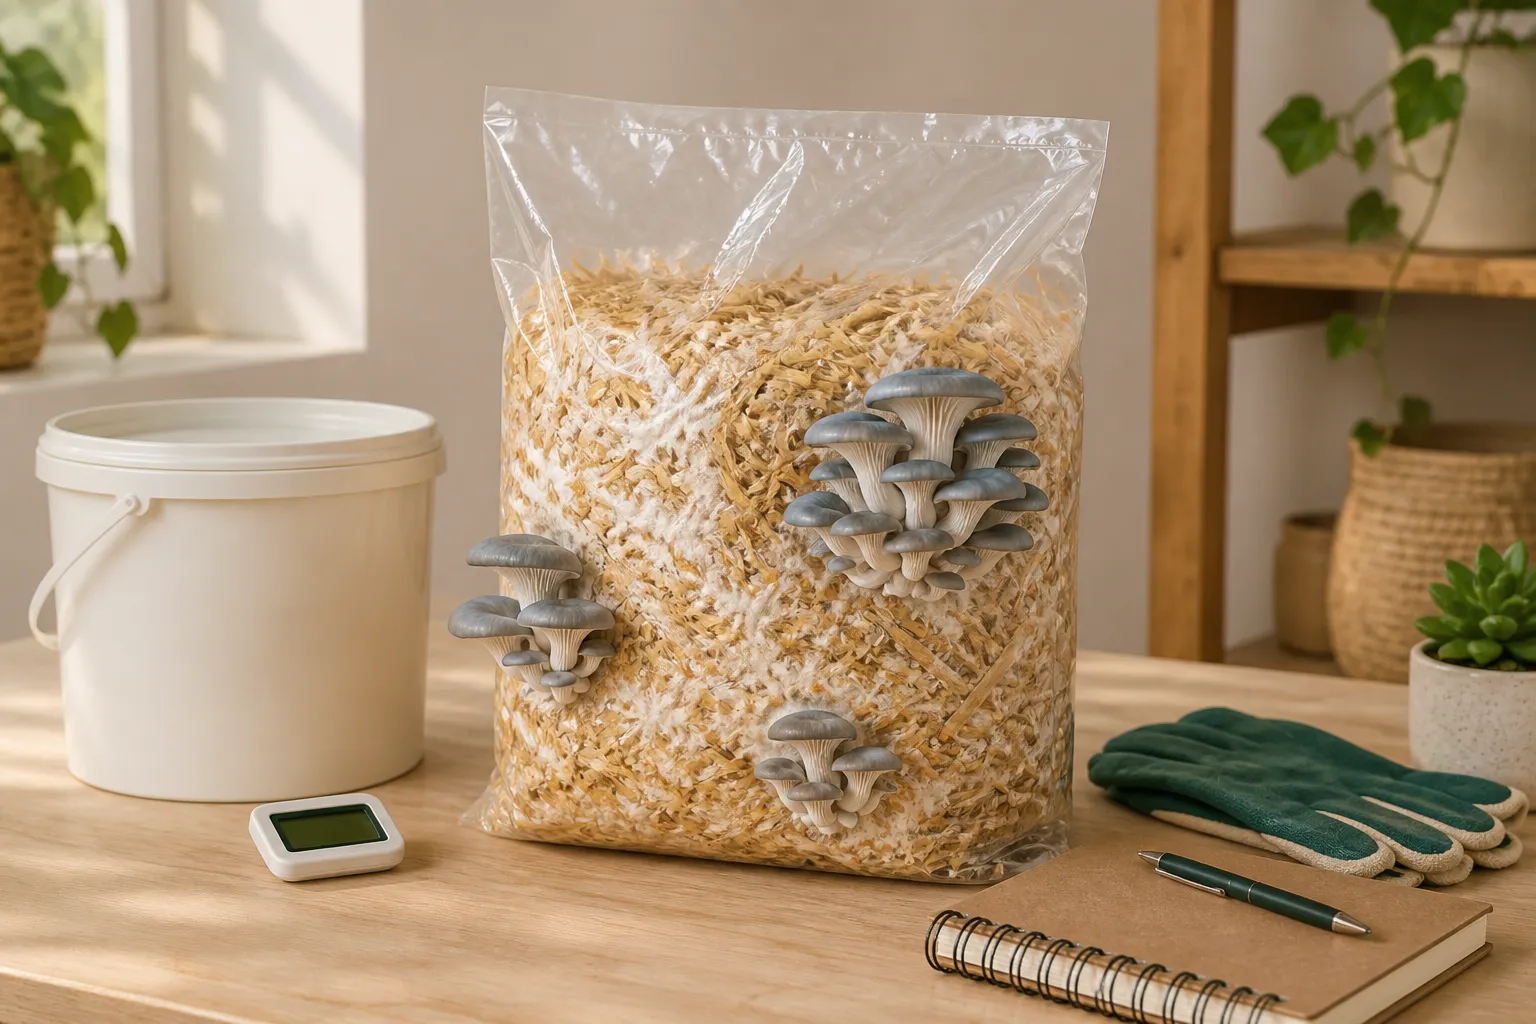
The useful version of a straw project
Growing oyster mushrooms on straw is a distinct project from simply opening a ready-to-fruit block. Straw gives a beginner a relatively low-nutrient, lignocellulosic substrate, but it also adds preparation, cooling, inoculation, and record-keeping decisions. The goal is not to make a bag look white as quickly as possible. It is to run one documented, traceable batch that you can either repeat or improve safely.
This guide follows the University of Florida IFAS wheat-straw example as a bounded reference. It does not turn that example into a universal formula for every Pleurotus strain, climate, bag, or piece of equipment. A ready-to-fruit block remains the lower-complexity choice if you have not yet maintained a clean preparation workflow.
What makes straw different
Straw is a plant-fiber substrate, not a generic synonym for every mushroom-growing medium. UF/IFAS identifies healthy spawn, pasteurized lignocellulose substrate, and a container as the basic components of its home oyster workflow. Cornell Small Farms likewise treats growing oyster mushrooms on straw as a distinct cultivation method rather than a variation of log growing or supplemented-block production.
That distinction matters because the preparation and handoff need to match the material. Do not move a heat-treatment number from this straw guide to grain, supplemented sawdust, or an unknown mixture. Start with the substrate and method pair described in the source, then follow the product and equipment instructions that apply to your actual batch. For the broader decision, read pasteurization versus sterilization before buying equipment.
Before you prepare a batch
Write the following on a label and in a notebook before opening the spawn:
- Species or strain exactly as sold, supplier, and lot or order reference.
- Straw source, preparation method, container, and batch date.
- The document you are following and any measurement it requires.
- What you observe at each stage, including an isolation decision.
This is not busywork. A batch record lets you compare one controlled change with the prior batch instead of changing substrate, moisture, temperature, spawn source, and fruiting conditions all at once.
Use clean straw from a known source and authenticated commercial spawn. Do not use treated lumber, visibly moldy materials, waste of unknown origin, or an unidentified wild culture for a food-growing project. An online image cannot confirm a wild mushroom’s identity or edibility.
Select and store straw without adding hidden variables
Confirm what plant material is being sold and whether it has been treated, stored wet, exposed to chemicals, or mixed with other bedding. “Straw” and “hay” are not interchangeable labels: hay commonly contains more leaf and seed material, and an unknown mixture may not behave like the wheat-straw method described here. Ask the supplier for product and storage information rather than relying on color alone.
Reject material with visible mold, persistent musty or chemical odor, animal waste, heavy soil, or obvious water damage. Keep accepted straw dry and protected from pests until the documented preparation begins. Do not bring a questionable bale into the clean inoculation area and hope that heat will correct every sourcing problem.
Measure the starting amount and record how it was cut. Piece length influences packing and handling, but the four-to-five-inch direction belongs specifically to the cited IFAS workflow. If a different qualified method specifies another preparation, keep its full set of instructions together instead of borrowing only the size.
A documented wheat-straw sequence
UF/IFAS describes cutting wheat straw into four- to five-inch pieces, soaking it overnight, draining it, and holding it in a 165°F water bath for one to two hours. In that specific workflow, the prepared straw is then drained, cooled, and inoculated promptly in a clean workspace. Its stated spawn rate is 5–10% by volume or weight, and it describes either mixing spawn through the straw or layering it in the bag.
Those details are useful because they belong together: straw size, hydration, heat treatment, bag handling, and the post-treatment handoff are part of one method. They are not a license to improvise with pressure equipment, chemicals, or an unrelated substrate. Follow manufacturer safety instructions for any heat equipment and the supplier’s instructions for the purchased culture.
Record hydration and cooling as measured stages
Write down the dry straw amount, water source, soak start and end, drainage method, and measured treatment observations required by the chosen protocol. A handful that “feels right” is not a substitute when the method specifies weights, temperatures, or times. Avoid adding unlisted supplements to a first batch; enrichment changes the competition risk and may require a different treatment system.
After treatment, protect the straw from dirty floors, reused waste containers, outdoor debris, and raw-food preparation surfaces. Drain and cool it only as the selected workflow directs. Verify that it has reached the culture supplier’s supported inoculation range before adding spawn; a cool exterior does not guarantee that a dense interior mass has cooled equally.
Do not leave treated wet straw unlabelled while preparing other batches. If timing, package integrity, measurement, or cleanliness deviates materially from the method, mark the batch and decide whether to stop rather than quietly treating it as equivalent.
Pack for observation, not perfection
The IFAS example packs the inoculated straw into bags and makes small openings for later growth. For a home batch, the key practical rule is to use a container compatible with the method you chose and to label it before it leaves the clean work area. Avoid repeatedly opening it to inspect the interior; each unnecessary opening changes the handling conditions you are trying to evaluate.
If you use a bag system, consult the mushroom grow-bag guide for container context. It does not replace the method source, and the container alone does not establish that the substrate was correctly prepared.
Bag holes, filters, ties, and fill density affect gas movement and the eventual fruiting locations. Use the configuration specified by the complete method and packaging supplier. Do not seal a bag with no supported gas-exchange path, cut extra openings because growth looks slow, or tightly compress straw merely to fit more material into one container.
Assign one label to one physical bag and photograph its condition after packing. If several bags share a preparation batch, give each a suffix so an isolated failure can be traced without condemning or merging every observation. Store bags with enough separation to see their surfaces and to remove one questionable unit without dragging it across the others.
Colonization: use a range with a source
For its wheat-straw example, UF/IFAS describes 24–25°C (75–77°F) and 80–90% relative humidity during colonization, then observation for roughly two to three weeks until the bag is colonized. Your strain, straw, spawn condition, and local setup can change both timing and the suitable range. Treat the supplier’s documentation for the exact strain as the operating reference.
White mycelial growth is a normal observation in the cited workflow, but it is not a laboratory purity test. Record what you see without assigning a diagnosis from one photograph, one patch of color, or one odor. The contamination recognition guide explains why isolating a questionable batch is safer than attempting a food salvage.
Fruit only after complete, healthy colonization
UF/IFAS describes lower temperature and light as fruiting triggers for many oyster mushrooms in its example, with a chamber around 20°C (68°F), high humidity, and good air exchange. It also notes that air exchange must not be treated as optional simply because humidity is high. In practice, use that as a systems reminder: humidity, light, temperature, and fresh air interact, and no one control corrects all of the others.
Move to fruiting only after the batch appears fully and healthily colonized under the method you selected. Do not use visible mushrooms to retroactively declare a suspect substrate safe. For environmental troubleshooting, use the fruiting-conditions guide and make one documented adjustment in the next batch.
Record where the first pins appear and whether the fruiting openings match the intended bag design. Oyster mushrooms typically develop as clusters, so photograph each cluster from the side and front without repeatedly rotating or squeezing the bag. Use the strain supplier’s maturity cues; cap size or a fixed internet day count is not a universal harvest signal.
Air exchange and moisture must be balanced without blowing drying air directly at the cluster. Condensation on plastic does not prove that the fruiting surface is correctly hydrated, and extra misting cannot correct inadequate air exchange. Change one supplier-supported factor, record it, and observe the response.
Mature oyster clusters can release spores. Do not deliberately inhale them or keep fruiting bags in a sleeping area or continuously occupied, poorly ventilated room. If someone develops breathing difficulty, severe symptoms, or persistent irritation, end exposure and obtain appropriate medical advice; a grow log cannot diagnose respiratory illness.
Harvest, cool, and evaluate a later flush
Prepare clean hands or the specified tool, a clean food-safe container, and refrigerator space before harvesting. Keep the batch label with the crop and separate it from raw animal foods, dirty straw, compost, and suspect cultures. Follow the supplier’s cluster-removal cue and do not mix spoiled or questionable material into a sound harvest.
Cool harvested mushrooms promptly and record the harvest date. A cultivated oyster crop should still be cooked appropriately, and an authenticated species can still cause an individual allergy or intolerance. Never taste raw material to settle a culture-identity or contamination question.
If the method supports another flush, record the post-harvest bag condition and follow its exact rest or rehydration directions. Begin a new observation period rather than assuming the next cluster will match the first timeline. Stop when the documented cycle is complete or when insects, slime, persistent foul odor, leaking packaging, or unexpected growth moves the bag into the suspect branch.
Food and personal-safety boundaries
Growing a culinary species does not remove normal food-safety responsibilities. Harvest cleanly, avoid soaking fruit bodies, keep harvested mushrooms cool, and follow FDA produce-handling guidance. Do not eat from a batch you have designated as contaminated or suspect. If an unknown wild mushroom was involved at any stage, do not use this page to identify it or decide whether it is edible.
For a first project, a ready-to-fruit block is often the better answer. It lets you practice fruiting and harvest handling while deferring the substrate-preparation steps. A controlled straw batch becomes more useful once you can maintain records and follow one source from preparation through harvest.
References
Source quality notes
MushroomScope cites sources that match the page scope, such as taxonomic databases, extension guidance, food-safety agencies, food-composition databases, and peer-reviewed or institutional health references. Sources support context and uncertainty; they do not turn an online page into specimen identification, medical advice, or a tested recipe record.
Frequently asked questions
Can I grow oyster mushrooms on straw with a ready-to-fruit kit?
A ready-to-fruit kit removes the straw-preparation and inoculation stages, so it is a sensible first crop. This guide is for a separate workflow: buying authenticated spawn and inoculating a documented, prepared straw substrate.
Does a white straw bag prove that the crop is safe to eat?
No. A white-looking bag is only an observation, not proof of culture purity, species identity, treatment success, or food safety. Keep suspect batches separate and do not taste or try to salvage questionable growth.
Can I use the same temperature for every oyster mushroom strain?
No. The UF/IFAS example is a protocol for its described home workflow, while oyster strains and equipment differ. Use the exact range supplied for your strain and treat a webpage as a method reference, not a replacement for supplier instructions.
What should I do if a straw bag develops unusual colors or odors?
Isolate it from other cultures and stop opening or handling it near clean work. Record the batch details, follow the supplier’s disposal guidance, and do not eat mushrooms from a batch you have classified as suspect.
Related guides
growing
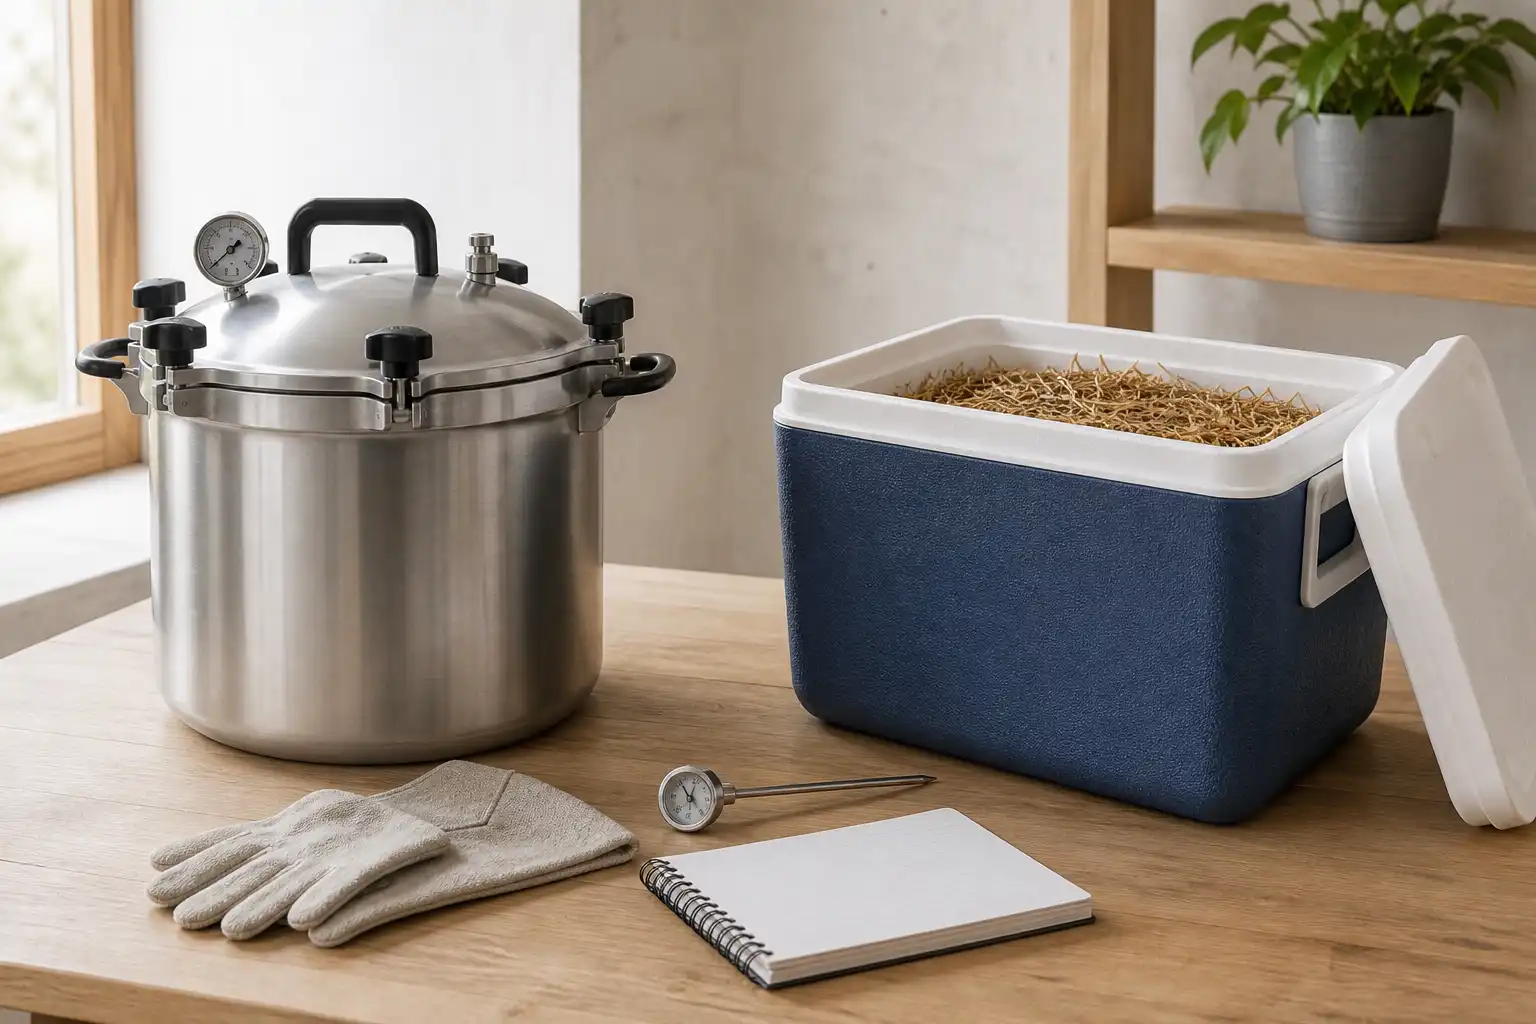
Pasteurize vs Sterilize Mushroom Substrate: A Home Grower’s Guide
Choose pasteurization or sterilization by substrate and workflow, then reduce contamination risk with a conservative, documented home-growing process.
growing
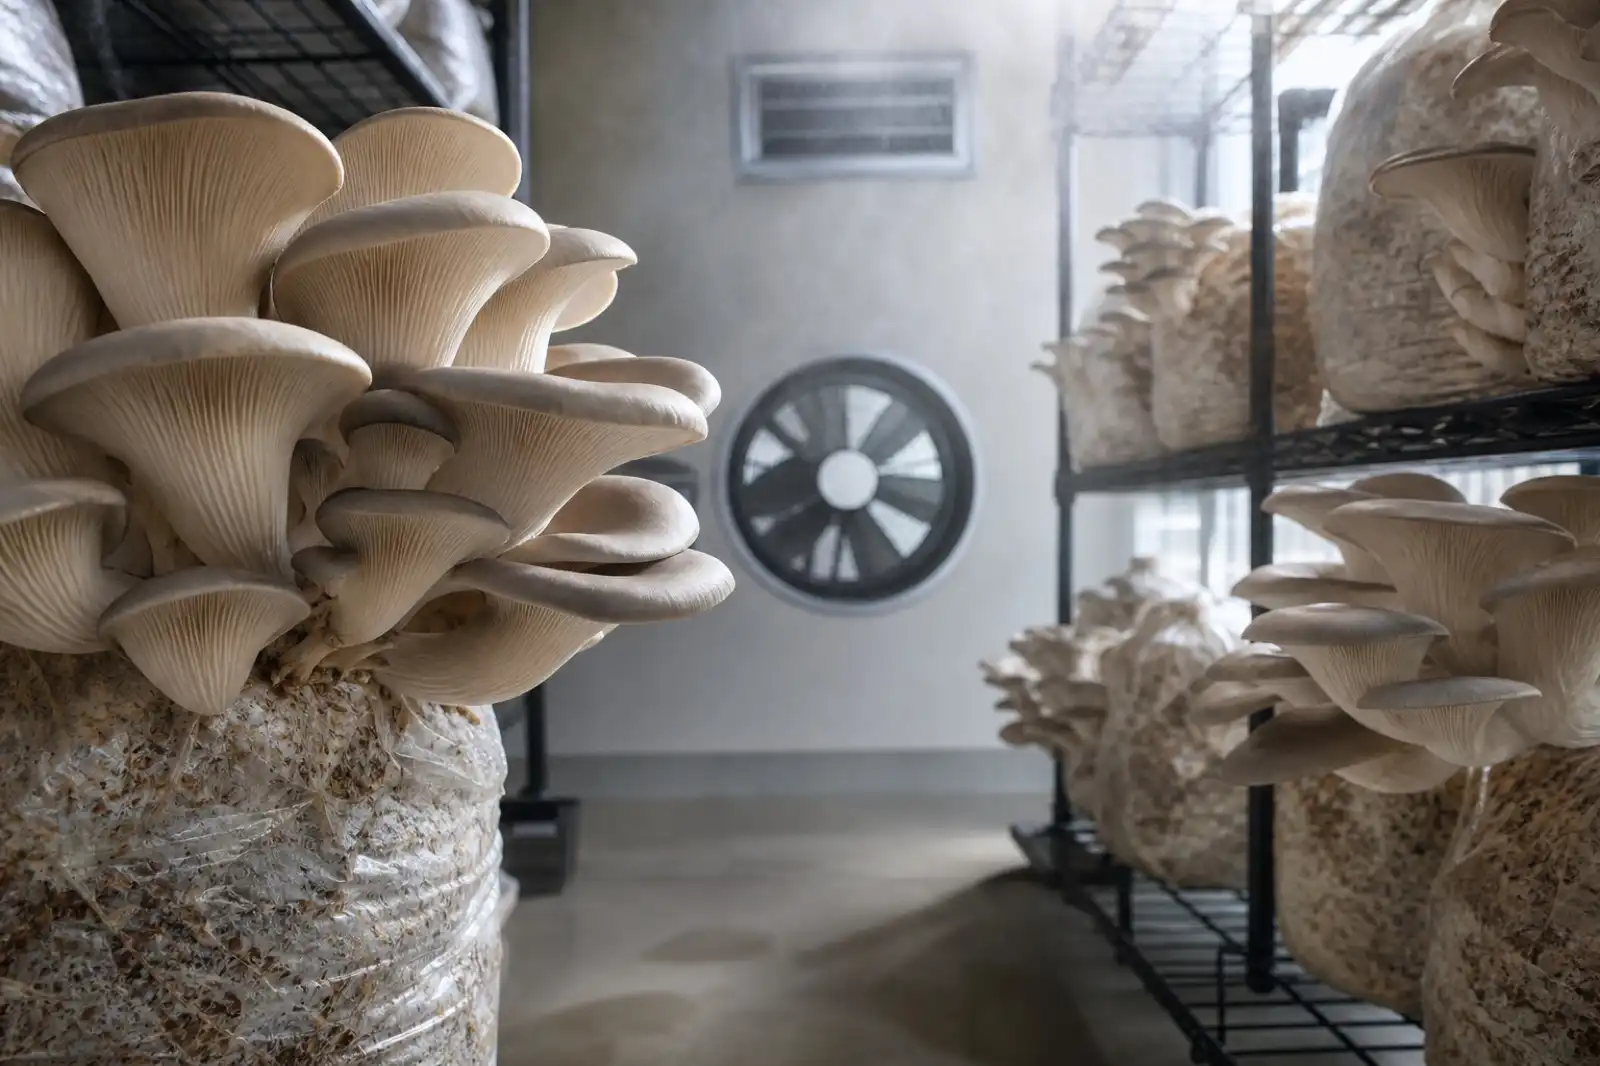
Mushroom Fruiting Conditions: Humidity, Air, Light, and Temperature
Use humidity, fresh air, light, and temperature as a linked observation system for authenticated cultivated mushroom blocks—not a universal settings chart.
growing
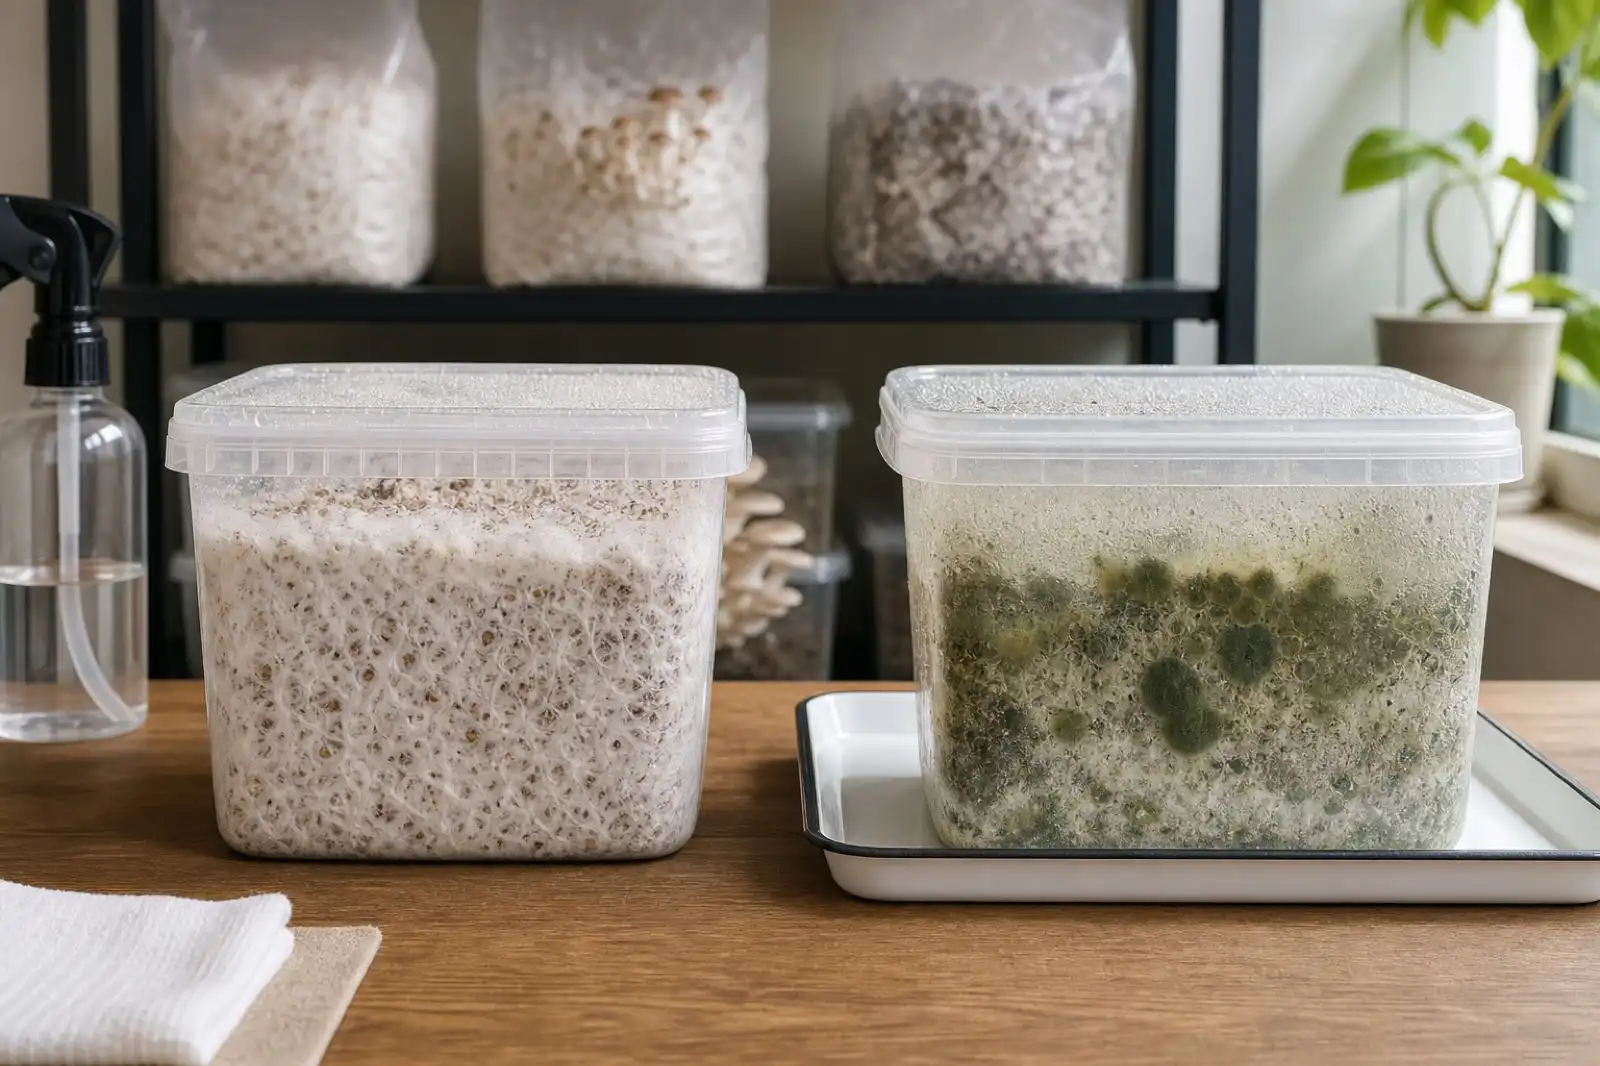
Mushroom Contamination: Isolate, Record, and Prevent Repeat Problems
Recognize mushroom contamination without relying on color alone; isolate suspect batches, avoid food salvage, document the workflow, and prevent repeat issues.
Continue exploring
Browse more practical guides in Growing or visit the mushroom encyclopedia.