Growing
How to Start a Wine Cap Mushroom Bed
Plan a shaded wine cap mushroom bed with labeled spawn, hardwood chips, a simple observation log, and clear food-safety boundaries.
By MushroomScope Editorial Team · · Updated
Growing method
Start with authenticated culture
Use supplier-identified spawn or blocks and record substrate, stage, temperature, humidity, and visible changes.
Open the beginner growing hub →Food safety
Discard suspect batches
Unusual colors, slime, insects, or abnormal odor should be treated as a safety concern, not a climate tweak.
Review contamination guidance →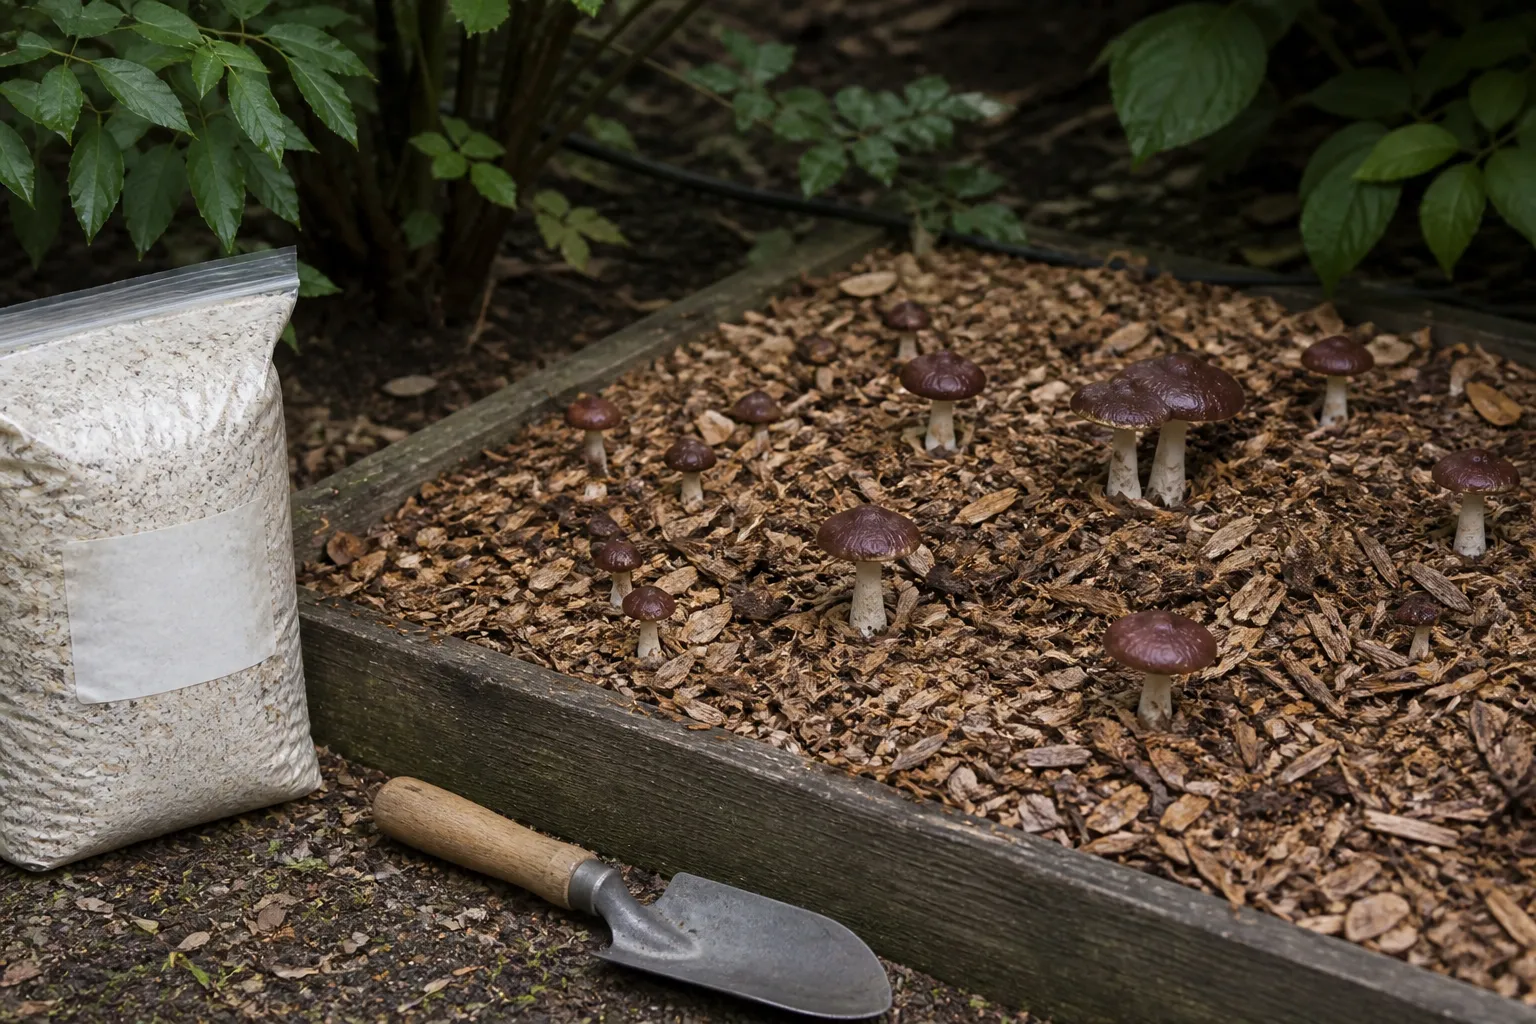
Decide whether a bed is the right production system
An outdoor mushroom bed is not a shortcut for growing any mushroom anywhere. It is a specific production system: a labeled culture, a substrate it is known to use, an outdoor site, and a seasonal observation plan. Cornell’s outdoor guide distinguishes bed-oriented wine caps from mushrooms commonly grown on logs, stumps, or indoor blocks. That is the key choice to make before buying chips or spawn.
For a first bed, keep the scope narrow: purchase labeled wine-cap spawn, use the supplier’s written directions, and build one small, traceable patch. Wine cap is also called garden giant or Stropharia rugosoannulata in cultivation materials. This page does not teach identification and does not say that every burgundy mushroom in a wood-chip bed is a wine cap or edible.
Use the wine-cap species guide to record cap fading, purple-brown gill maturation, the cogwheel-like ring, and mulch-bed lookalikes separately from this bed-building workflow.
| If you have… | A bed may be a fit when… | Pause when… |
|---|---|---|
| A shaded garden edge or mulched perennial area | You can keep a written record and use known, untreated hardwood chips with labeled wine-cap spawn. | The soil, former use, or mulch source is uncertain. |
| A sunny, exposed, or frequently flooded space | You can first find a supplier-supported alternative site or method. | You expect a single watering or cover to overcome site conditions. |
| A wish to grow a different cultivated mushroom | The species supplier explicitly supports a bed method for that culture. | You are substituting wine-cap bed advice for a log, straw-block, or indoor-bag method. |
Cornell notes that wine caps can be integrated into mulched garden areas when the soil is free of contaminants. Treat that as a siting boundary, not a claim that fungi clean a questionable site. Do not use a food-growing bed as a remediation experiment.
Start with known inputs and a written baseline
Traceability makes a small outdoor project easier to assess. Keep the spawn packaging or take a photograph of its label, then write down the culture name, supplier, order or batch information if provided, chip source, inoculation date, and site. Cornell’s production overview frames cultivation as linked stages: substrate preparation, inoculation, a spawn run, then fruiting. A date-stamped record gives each stage some context.
Use mixed hardwood chips from a known untreated source and follow the spawn supplier’s instructions for chip condition, bed depth, layering, spawn quantity, and seasonal timing. This guide intentionally does not supply a universal rate or a precise water schedule. Different suppliers, chip sizes, climates, and sites change those decisions; copying a number meant for someone else’s bed makes the result harder to understand.
Do not use material from painted, pressure-treated, or otherwise unknown wood. Likewise, do not assume that mulch from an unknown landscape project is suitable just because it looks like hardwood. When the material history is unclear, choose a different source rather than trying to make it acceptable with rinsing, compost, or extra spawn.
Screen the site before ordering spawn
Observe the proposed location through at least one ordinary watering or rainfall event. Note where roof runoff, downspouts, slopes, irrigation, foot traffic, pets, and garden tools affect the area. A site that holds standing water, receives contaminated runoff, repeatedly dries to dust, or cannot be protected from digging may be a poor bed location even when it looks shaded in one photograph.
Check the site’s known history. Avoid former dumping areas, chemically treated wood borders, roadside splash zones, industrial fill, or soil with an uncertain contamination history. Fungi should not be used as an assumed cleanup step for a food crop. When site suitability cannot be established, choose a contained non-food experiment or a different location with documented materials rather than representing the harvest as edible.
Map the shade across the day and season. A fence or deciduous canopy may shade the bed in spring but expose it during summer heat, while dense cover can also slow drying after heavy rain. Record the pattern instead of assigning the site a single “shady” label. Make sure the bed remains accessible for observation and does not require stepping on the substrate.
Consider nearby garden work. Herbicides, pesticides, fertilizers, compost additions, soil cultivation, and replacement mulch can alter the system or its traceability. Keep a buffer appropriate to the products and site rules, and do not apply any chemical to the bed unless it is expressly compatible with the documented cultivation and food-growing use.
Build the bed as one observable system
Clear the planned surface only as needed to lay out the bed; do not convert the project into a broad soil-mixing experiment. Keep the chips as the culture’s substrate and avoid repeatedly turning them into surrounding garden soil. Cornell’s urban-farming guide lists wine cap for wood-chip or straw-mulched beds, while its outdoor-production table names mixed hardwood chips for wine cap beds.
With clean tools, build the layers and distribute spawn exactly as the culture supplier directs. Then label the bed and photograph it. A simple baseline might include:
- Inoculation date, culture label, and chip source.
- Approximate site description: shade pattern, nearby plants, and drainage after a normal rain.
- The supplier’s own instructions for mulch, watering, and seasonal care.
- The date of any mulch addition, watering change, pest observation, or unexpected growth.
Do not dig through the bed on a schedule to search for mycelium. Unnecessary disturbance does not prove colonization and can make the baseline less useful. Look at the bed after meaningful weather changes, then change one supplier-supported factor at a time.
Manage moisture as a site question, not a magic number
Outdoor beds trade indoor controls for local weather. Cornell describes outdoor systems as lower in infrastructure and energy use, but generally slower and less predictable than controlled production. So the useful question after a heat wave or heavy rain is not “Did I hit the perfect humidity?” It is “What changed at this labeled bed, and what does the supplier say to do next?”
After dry weather, inspect the substrate and the surrounding site, then use only the culture supplier’s supported watering or mulch practice. After rain, observe whether water pools, the bed erodes, or neighboring plants shade it differently than expected. Make one reversible adjustment and write it down. More water cannot correct every problem, and a wetter bed is not evidence that the culture is healthy.
Use a repeatable observation point. Photograph the same edge and center area after major weather events, and record whether the upper chips and material below them appear dry, damp, displaced, compacted, or waterlogged. Do not dig through the entire bed to check moisture; a small supplier-supported observation at a consistent location preserves more of the system.
Weather-app rainfall totals are context, not a measurement at the bed. Tree canopy, roof edges, irrigation, slope, and wind can make the substrate receive much more or less water than a nearby station reports. If you include outside weather data, identify its source and keep it separate from what you directly observed.
During extended dry or wet periods, follow the spawn supplier’s instructions and change one factor at a time. Record the action, location, and date. A cover that reduces evaporation can also change airflow and rainfall access, while extra mulch changes substrate depth; neither is a neutral fix when added without method support.
Observe colonization without excavating the project
Outdoor colonization is slower to interpret than a clear indoor bag. Do not treat every pale thread, patch, odor, or fruiting body as the purchased culture. Record surface and edge observations, but leave culture confirmation and food decisions separate. A photo cannot distinguish all expected mycelium from competing fungi or other pale biological material.
Cornell’s two-to-six-month planning window for possible wine-cap fruiting depends on warm enough conditions and is not a countdown. Shipping condition, spawn vitality, chip material, bed construction, moisture, and seasonal timing can shift or eliminate fruiting. Keep the inoculation date and weather record, then contact the supplier when the bed falls outside its supported expectations.
Avoid adding more spawn, compost, straw, chips, fertilizer, or water simultaneously when growth seems slow. Multiple additions erase the ability to learn which factor changed the outcome and can create an overly deep, wet, or nutrient-rich system. If the supplier recommends renewal material, document it as a new dated stage.
Separate planned maintenance from uncontrolled expansion
An established outdoor patch may spread through suitable mulch or persist into another season, but this is not guaranteed. Before refreshing a bed, confirm that the location is still appropriate, the chip source remains traceable, and the supplier supports the timing and material. Record new inputs rather than treating them as part of the original batch.
Keep the bed within an area you can monitor. Do not intentionally move colonized chips into public land, neighboring property, natural habitat, or another garden without permission and local ecological guidance. Cultivated organisms and associated substrate should not be distributed merely because the species is already reported in a broad region.
At the end of a season, summarize observed fruiting dates, weather events, maintenance, unexpected mushrooms, and whether anything was harvested. “No fruiting observed” is a valid result; it is more accurate than claiming failure or success without defined observation effort. Use the summary to decide whether to retain, refresh, relocate, or discontinue the project under supplier and local guidance.
Keep identity and food safety outside the cultivation shortcut
An outdoor substrate can support more than the culture you bought. The bed location, a red cap, an online photograph, or a page title cannot confirm a mushroom’s identity or edibility. Cornell’s urban guide specifically urges caution around mushroom poisoning, especially where children are involved. Keep children and pets from sampling an outdoor bed, and remove uncertain fruiting bodies from their reach without treating them as food.
If you harvest mushrooms you can confidently identify through qualified local expertise, use clean hands or tools and a clean food-contact container. Penn State and FDA food-safety guidance support keeping culinary mushrooms separate from raw animal foods and refrigerating perishable produce promptly. A questionable, slimy, moldy, persistently off-smelling, or uncertain crop is not a preservation project—do not try to rescue it by trimming or cooking it. See the contamination guide for the isolation boundary.
For maturity and clean harvest handling, use the harvest guide. For choosing between wood chips, logs, straw, and prepared blocks before beginning another project, use the substrate decision guide.
References
Source quality notes
MushroomScope cites sources that match the page scope, such as taxonomic databases, extension guidance, food-safety agencies, food-composition databases, and peer-reviewed or institutional health references. Sources support context and uncertainty; they do not turn an online page into specimen identification, medical advice, or a tested recipe record.
Frequently asked questions
What mushroom is a practical match for an outdoor wood-chip bed?
A labeled wine cap culture is a common bed-oriented option in Cornell's outdoor-cultivation guidance. A bed is not a universal method for every mushroom, so use the supplier's documented species and strain instructions rather than substituting an internet recipe.
Can I identify mushrooms in my bed by knowing which spawn I added?
No. An outdoor bed can also produce fungi that were already present in soil or mulch. A location, photograph, common name, or this guide cannot confirm edibility. Do not eat or serve an uncertain mushroom; seek qualified local identification when needed.
How long does a wine cap bed take to fruit?
Cornell notes that wine caps may fruit two to six months after inoculation when temperatures remain warm enough, but weather, spawn condition, chip quality, moisture, and site conditions can change the outcome. Record your actual dates instead of treating that range as a guarantee.
Related guides
growing
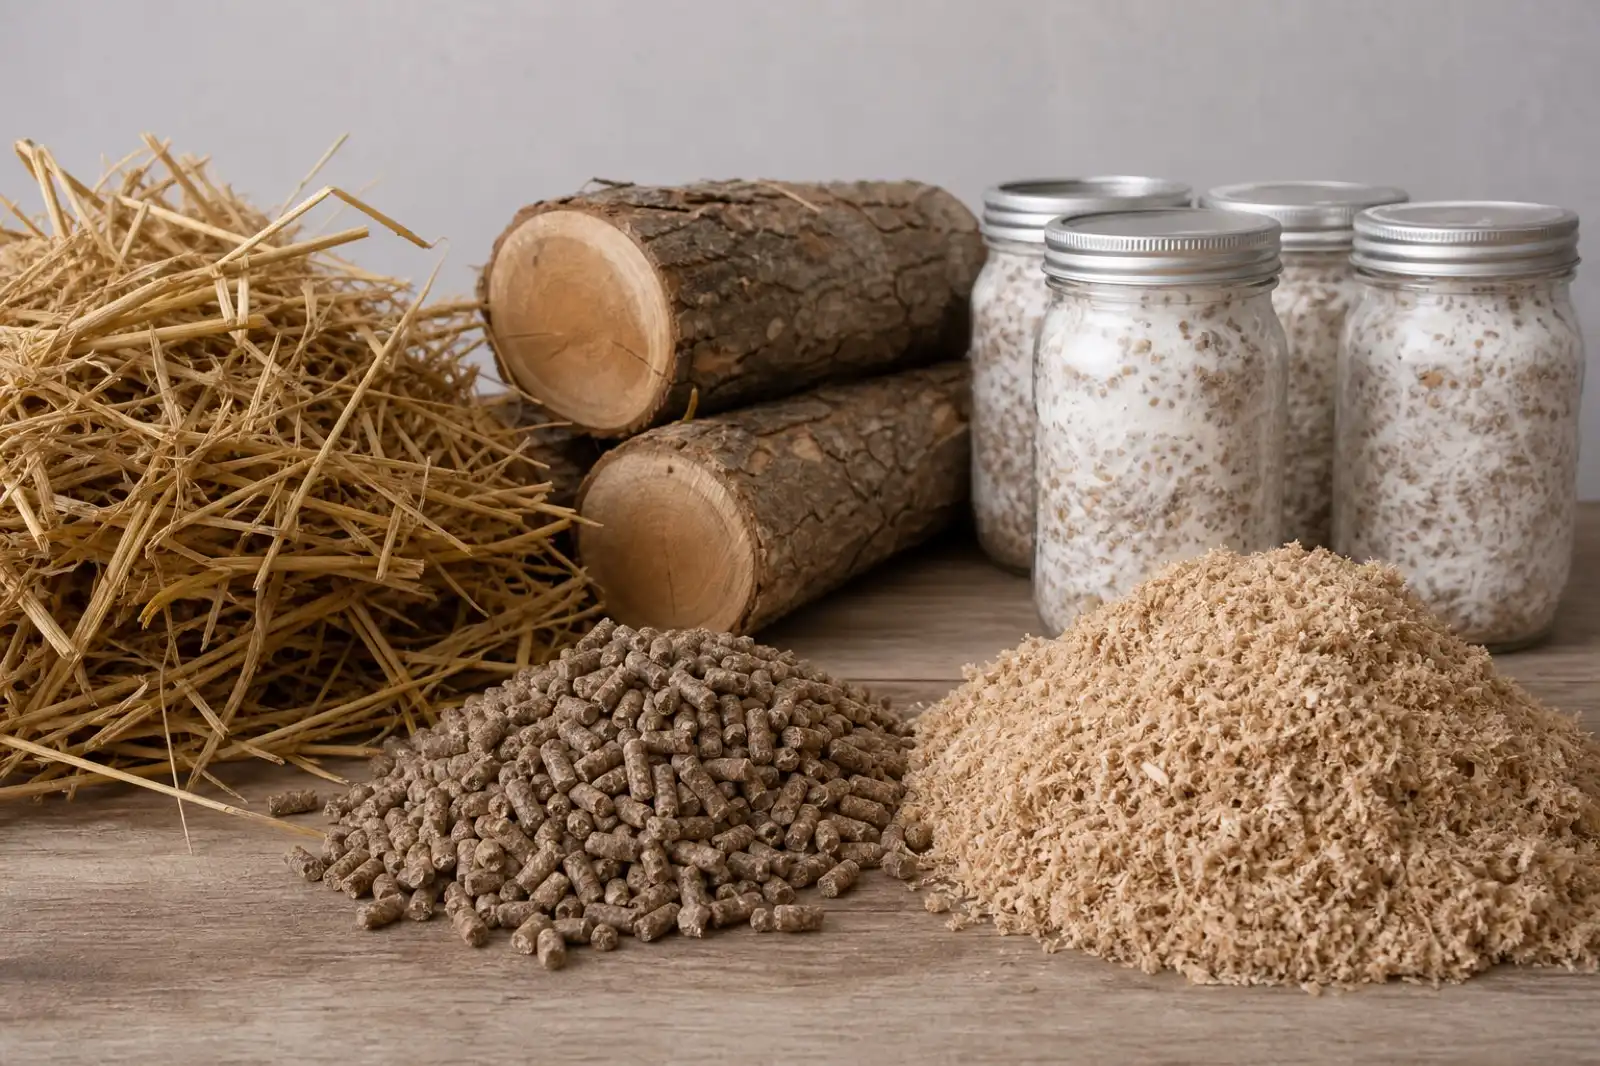
Mushroom Substrate Guide: Match Species to Method
Choose a mushroom-growing substrate by matching a labeled culture to a documented production method, site, and food-safety boundary.
growing
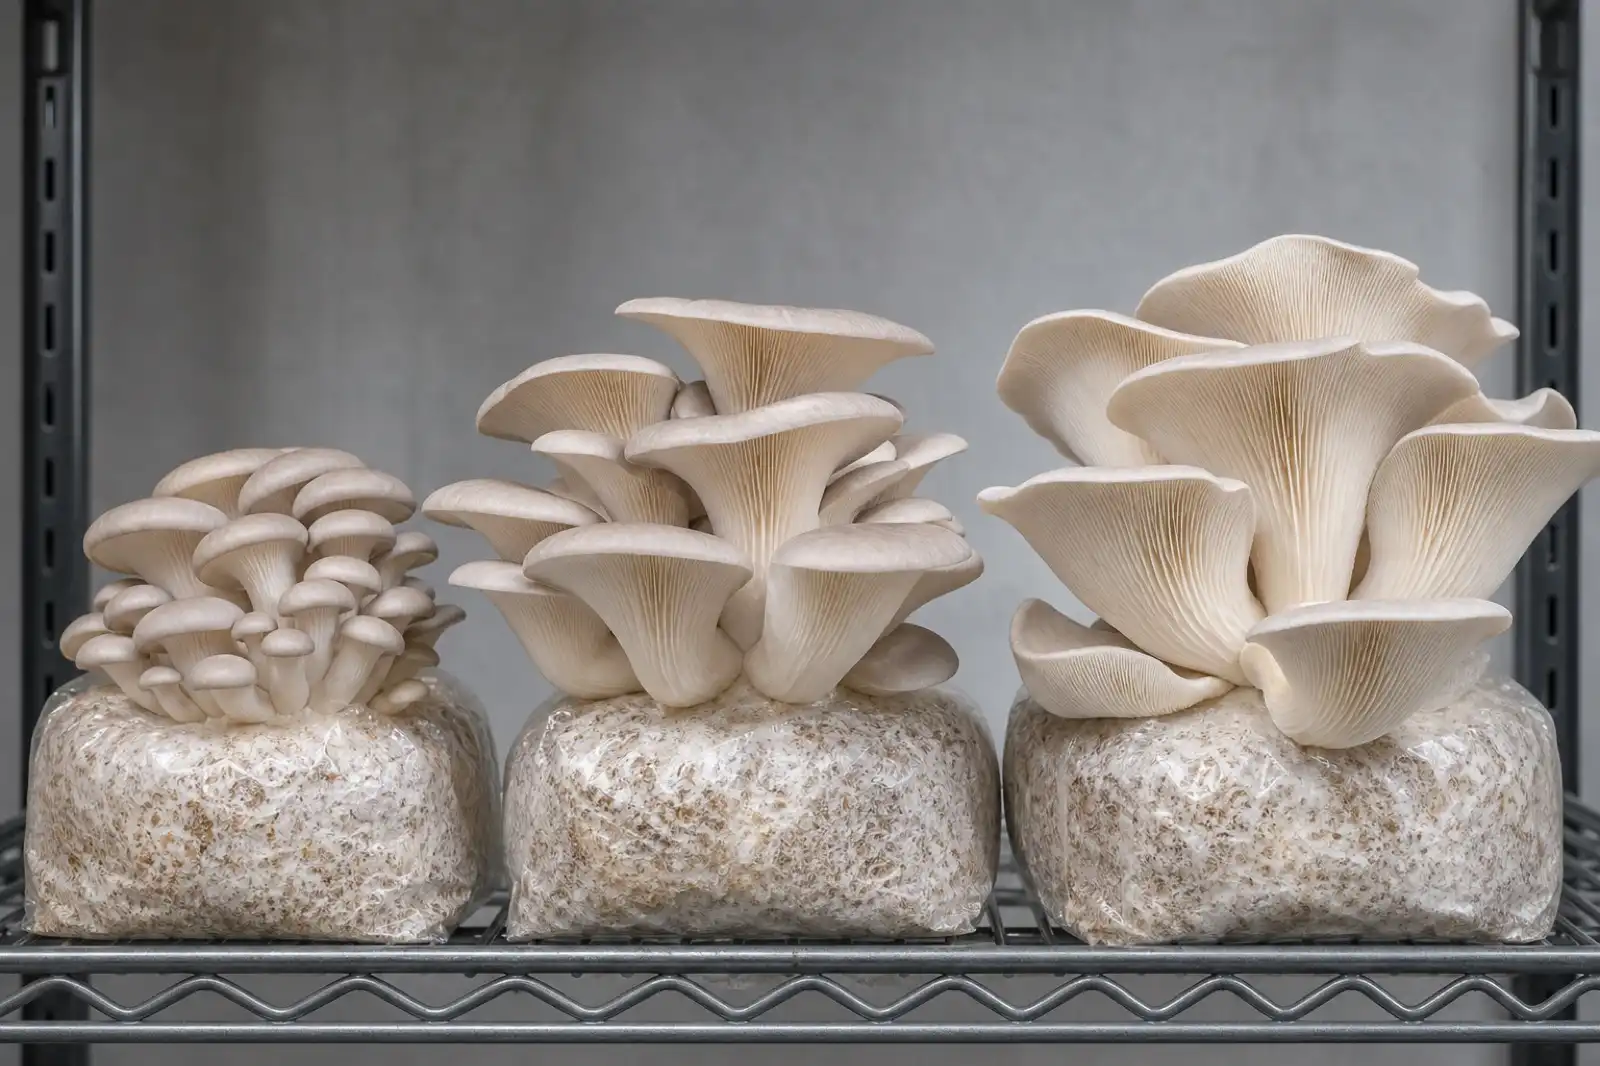
When to Harvest Cultivated Mushrooms
Learn when to harvest cultivated oyster, lion's mane, shiitake, and other mushrooms using species-specific maturity cues, clean handling, and prompt cooling.
growing
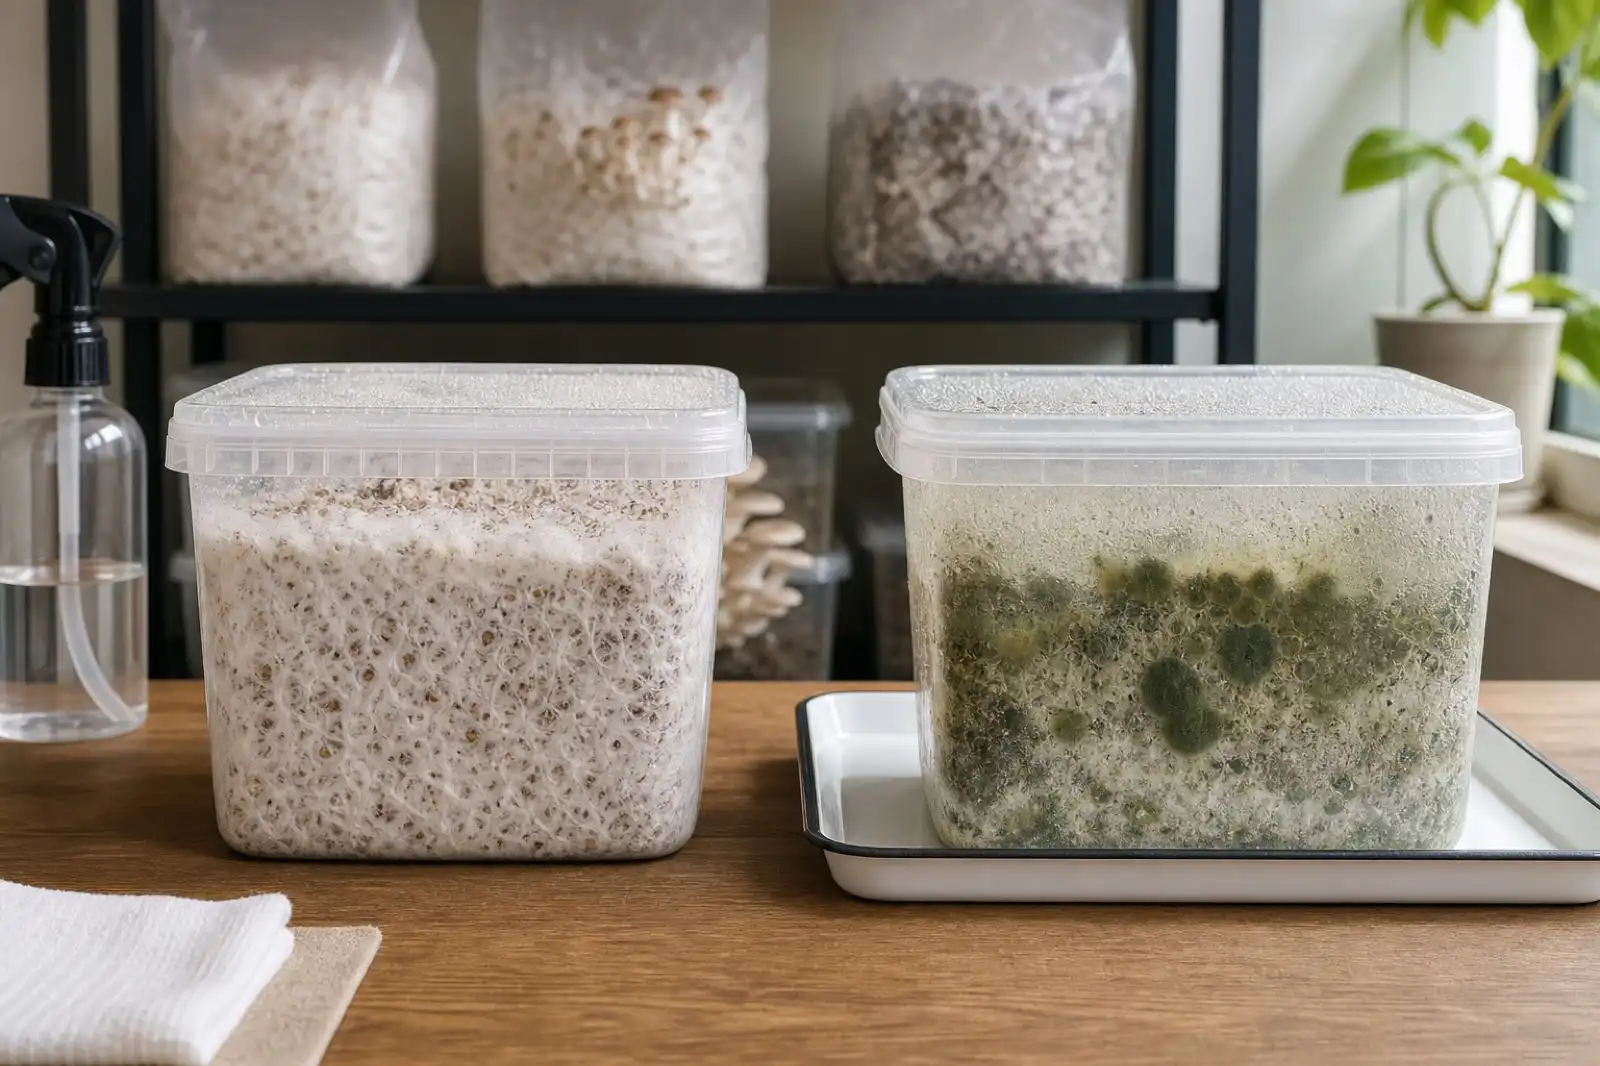
Mushroom Contamination: Isolate, Record, and Prevent Repeat Problems
Recognize mushroom contamination without relying on color alone; isolate suspect batches, avoid food salvage, document the workflow, and prevent repeat issues.
Continue exploring
Browse more practical guides in Growing or visit the mushroom encyclopedia.