Recipes
Crispy Roasted Maitake Mushrooms with Thyme
Roast maitake into crisp-edged clusters with controlled sizing, spacing, oil, oven position, doneness cues, variations, and safe leftover storage.
By MushroomScope Editorial Team · · Updated
Food source
Cook identified edible mushrooms
Recipes assume mushrooms sold as food by a reputable supplier, not foraged specimens needing identification.
Open the recipe hub →Kitchen safety
Handle leftovers promptly
Cool leftovers in shallow containers, refrigerate promptly, and discard food held unsafely or showing spoilage.
Review preparation safety →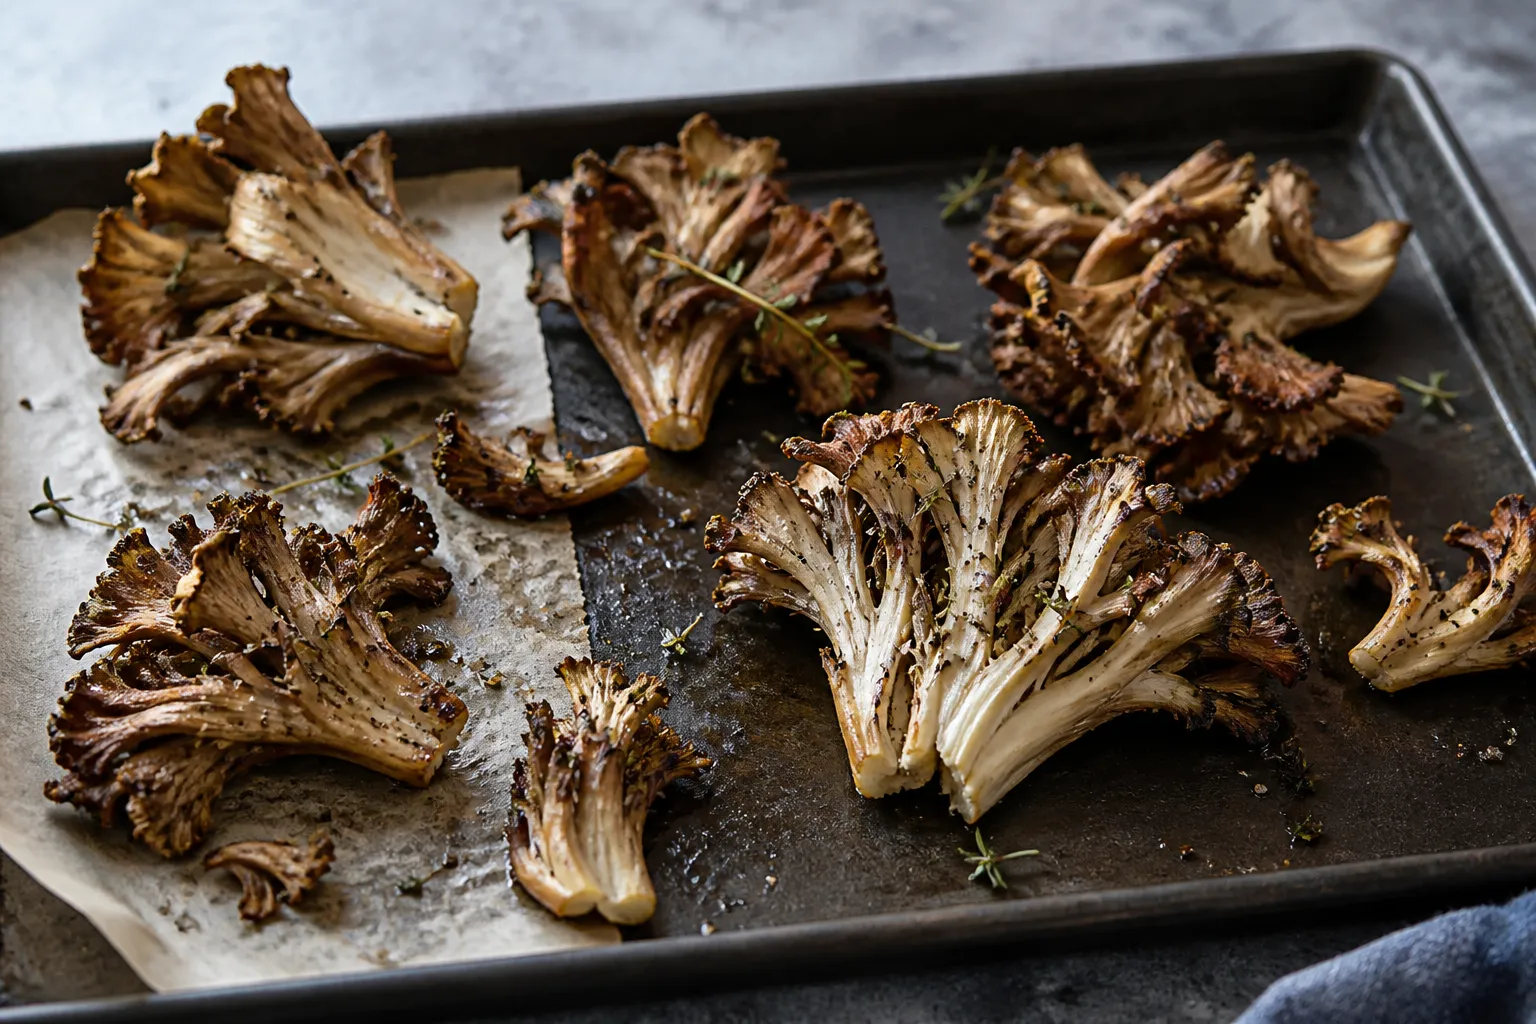
Recipe details
- Prep time
- 15 minutes
- Cook time
- 22 minutes
- Yield
- 4 side servings
Ingredients
- 1 pound fresh cultivated maitake mushrooms
- 2 tablespoons extra-virgin olive oil
- 3/4 teaspoon fine salt
- 1/4 teaspoon black pepper
- 1 teaspoon fresh thyme leaves
- 1 teaspoon finely grated lemon zest
- 2 teaspoons lemon juice
Instructions
- Heat the oven to 425°F with a dark rimmed sheet pan on the middle rack.
- Trim the firm dirty base, divide maitake along natural seams into 2- to 3-inch clusters, remove debris, and pat completely dry.
- Toss gently with olive oil, salt, and pepper, working oil into the branching bases without saturating the frilled tips.
- Arrange on the hot pan with at least an inch between clusters. Roast 12 minutes without moving.
- Turn the broad pieces, add thyme, and roast 7 to 10 minutes more until edges are bronze and crisp while the centers remain tender.
- Finish with lemon zest and juice, taste for salt, and serve immediately.
Maitake has two textures in one fruiting body: thin, ruffled caps that can become brittle-crisp and a branching core that stays meaty. Successful roasting protects that contrast. Tiny fragments burn before their centers matter, while one unbroken mass traps steam. The useful middle ground is a tray of hand-divided clusters with exposed edges, intact branches, and space for hot air to circulate.
This recipe assumes cultivated Grifola frondosa sold as food. “Hen of the woods” is a common market name, but the maitake species guide explains why a name or photo cannot clear a wild collection. Source verification belongs before the kitchen step.
Why roasting suits maitake anatomy
Each maitake cluster contains many overlapping fans connected to pale branches. In dry oven heat, thin margins lose surface water quickly and brown, while the thicker junctions retain moisture. A hot metal pan adds conductive heat beneath the cluster, so both the exposed tips and contact points develop flavor.
Steam prevents that result. Water on the surface, a tightly packed pan, or a deep baking dish creates a humid pocket around the fronds. The oven can be set to a high number and still produce limp mushrooms if evaporation is obstructed. Spacing is therefore an ingredient-level decision, not cosmetic styling.
Select maitake for even cooking
Choose a compact cultivated cluster with gray-brown to tan fans, pale firm branches, and a fresh woodsy smell. The fronds should spring back rather than feel slimy. Reject packages with sour odor, colored mold, pooled liquid, or widespread wet decay.
Very mature fans may be broad and fragile; very young clusters can be tight and dense. Both can roast, but they should not share identical piece sizes. Divide mature material into slightly larger sections so the thin edges do not become dust before the bases soften.
Trim the base, preserve the branches
Turn the cluster over and locate the dense attachment. Trim only the tough or substrate-stained portion. Then pull along natural branching seams with your fingers. A two- to three-inch width is a practical target, but thickness matters as much as diameter: every portion should carry some core and several fronds.
Save clean small fragments separately. Add them for only the final eight to ten minutes or use them in soup or scrambled eggs. Mixing crumbs among large pieces from the beginning guarantees two different endpoints on one timer.
Cleaning without waterlogging
Cultivated maitake often needs only close inspection and a soft brush. Open the folds and remove loose substrate. FDA guidance advises washing produce under running water rather than with soap or commercial produce wash. If the cluster truly needs rinsing, use a gentle brief stream, drain between the branches, and pat with a clean towel.
Do not soak the mushroom. The complicated structure holds water where a flat cap would drain. Extra retained water delays browning and can splash when the cluster meets a preheated tray.
Why the pan preheats with the oven
A room-temperature tray absorbs heat from the mushrooms before browning begins. A preheated dark metal sheet offers immediate contact heat and shortens the pale, steaming phase. Use a rimmed tray that is flat and sound; warped cookware creates oil pools and unstable clusters.
Parchment makes cleanup easier but slightly insulates the underside. The recipe works with parchment, though direct metal contact gives firmer contact browning. Do not place ordinary parchment under a broiler or beyond its rated temperature.
Oil distribution without saturation
Two tablespoons of oil for a pound of maitake is a starting point, not a requirement to make every surface glossy. Drizzle over broad pieces, then turn them gently with fingertips or a flexible spatula so some oil reaches the bases. Thin tips need only a film.
Too little oil produces dry, papery edges before satisfying browning. Too much fills the branch spaces and makes the finished mushroom heavy. If a visible puddle remains in the mixing bowl, do not pour it onto the tray.
Season in two stages
Salt and pepper go on before roasting so the thick bases are seasoned. Thyme enters after the first turn; delicate leaves placed on a 425°F tray for the entire cook can become bitter. Lemon zest and juice belong after roasting because fresh acidity brightens the browned mushroom, while early juice would add water.
Garlic also burns easily at this temperature. If desired, combine one small grated clove with a teaspoon of warm oil and brush it onto the clusters for only the final three to four minutes.
Step 1: establish the first crust
Heat the oven to 425°F with the tray on the middle rack. When fully preheated, remove the pan carefully and arrange clusters with at least an inch of open metal between them. Set broad cut or torn faces against the tray where possible.
Roast for twelve minutes without opening the door. Repeated checking releases oven heat and slows evaporation. At the checkpoint, the undersides should show amber contact marks and the outer frills should look drier.
Step 2: turn and finish the fronds
Use a thin spatula to release each piece. If it resists, allow another minute rather than tearing the browned surface away. Turn, scatter thyme, and return the tray for seven to ten minutes.
Begin checking the smallest pieces first. Finished tips are bronze and crisp, not uniformly black. The pale branching center should yield when pierced and feel juicy rather than rubbery. Transfer completed smaller clusters while larger ones continue.
Step 3: acid after the oven
Move the tray to a heat-safe surface. Sprinkle zest while the mushrooms are hot, then add lemon juice in a thin stream. Tossing vigorously breaks the fragile edges; turn each piece once or use a small brush.
Taste a branch as well as a tip. The branch carries most of the interior seasoning information. Add salt only after that check, because crisp edges concentrate seasoning as water evaporates.
A convection oven or air fryer changes timing
Convection accelerates surface drying. Reduce the temperature modestly or begin checking five minutes earlier, depending on the appliance. In an air fryer, keep a single layer and ensure light fragments cannot blow against the heating element. The site’s air-fryer mushroom guide explains the different airflow logic; its button-mushroom timing should not be copied unchanged for thin maitake fans.
A pale heavy baking dish is the opposite case. It heats slowly, so allow more time and consider finishing briefly on a hotter metal surface rather than simply extending until every edge dries out.
Flavor paths that do not erase texture
For a Japanese-leaning finish, brush the final hot clusters with a restrained mixture of tamari, rice vinegar, and sesame oil. Verify gluten-free labeling where needed. Because soy solids darken, add them after the main roast rather than before.
For a smoky version, combine paprika with the initial pepper and finish with sherry vinegar. For a rich vegetarian side, add finely grated hard cheese during the last two minutes, watching closely. Wet cream sauces should be served underneath or alongside so the upper fronds remain crisp.
How to serve roasted maitake
Serve as a side with grains, beans, eggs, or roasted vegetables, or place clusters over soft polenta. The branching form also works in tacos when pieces are kept large enough to retain their identity. If adding to pasta, fold them in at the table rather than simmering them in sauce.
The four-serving yield assumes a side dish. As a principal component, it serves two. Maitake loses volume during roasting, so judge tray crowding by raw volume and portion size by cooked weight.
Troubleshooting by symptom
Soft, pale fronds: the tray was crowded, the mushroom was wet, or the oven had not recovered. Spread onto a second hot tray instead of extending in a humid pile.
Black tips with tough bases: pieces were too small or the rack was too close to the top element. Use larger branch-connected sections and the middle rack.
Dry all the way through: the cluster roasted after its edges had already crisped. Remove sizes individually rather than waiting for one universal endpoint.
Oily branches: oil pooled inside the fans. Reduce the amount and distribute with a brush or gentle toss.
Stuck pieces: the pan was not hot, the pieces were turned before a crust formed, or the tray surface was damaged. Wait briefly and use a thin spatula.
Storage and restoring crispness
Roasted maitake is best immediately. USDA FSIS advises refrigerating cooked perishables within two hours in shallow covered containers and generally using refrigerated leftovers within three to four days. Do not leave the tray at room temperature for extended serving.
Reheat in a 425°F oven on an uncrowded tray for several minutes or in a dry skillet over medium heat until steaming. A microwave warms effectively but softens frills. USDA guidance uses 165°F for reheated leftovers when temperature verification is needed.
Food identity and claim limits
Use authenticated cultivated maitake or a product confirmed for food by qualified local expertise. Cooking does not make a poisonous lookalike safe. Anyone with a known mushroom allergy or an individual dietary restriction should use appropriate professional advice; this recipe makes no disease-treatment or supplement claim.
The cover is an original AI editorial illustration. It was checked for frilled maitake structure, credible tray browning, clear composition, and absence of misleading wild-harvest context. It is not proof of a kitchen test or exact final appearance.
Frequently asked questions
Can I roast the entire maitake cluster?
You can roast a small cluster, but a large intact mass traps steam and cooks unevenly. Dividing along branches gives better control.
Is parchment necessary?
No. It helps cleanup, while direct contact with sound metal generally gives stronger underside browning.
Can dried maitake replace fresh?
Not in this technique. Rehydrated mushrooms have different structure and water distribution and are better used in moist preparations.
When should garlic be added?
Brush it on during the last few minutes or use it in a finishing oil. Grated garlic can burn during a full high-temperature roast.
Does “crispy” mean every part is dry?
No. The target is brittle or crisp outer fronds with a tender branch core; drying the entire piece removes the useful contrast.
Map pan contact to cluster density
Maitake pieces are three-dimensional, so equal width does not mean equal mass. Sort airy outer fronds separately from dense pieces cut near the base. Place the dense side against the preheated metal and leave open space around every cluster. Thin fronds can join later or occupy a cooler edge of the tray, preventing them from blackening while the core remains pale.
Distribute oil with a large bowl and clean hands or a brush, lifting branches so a light film reaches internal surfaces. Oil pooling in the bowl signals excess, while completely dry pale crevices will not brown evenly. Weighing oil and mushrooms for the first successful tray creates a repeatable ratio; spraying blindly after the oven is hot makes pickup difficult to judge.
Evaluate three zones before removal: the finest tips should be crisp and browned, mid-branches should bend before breaking, and the dense base should be hot and tender. Turn clusters by supporting the base rather than grabbing fragile fronds. Remove finished airy pieces early and give dense pieces additional contact time instead of forcing every shape to follow one timer.
References
FDA guidance supports cleaning, refrigeration, and kitchen-separation statements. USDA FSIS supports cooling, storage, and reheating limits. FoodData Central is the appropriate starting point for ingredient-matched nutrition rather than estimates. Cornell’s material establishes the cultivated specialty-mushroom context. No independent logged kitchen test was performed or claimed; cluster weights, tray material, oven mode, timing, and weight loss are variables readers can record when calibrating their own equipment.
Editorial status: reviewed by the MushroomScope editorial team on September 28, 2026. No named chef or test kitchen independently validated the maitake cluster sizing, tray loading, or roast endpoints described here.
Source quality notes
MushroomScope cites sources that match the page scope, such as taxonomic databases, extension guidance, food-safety agencies, food-composition databases, and peer-reviewed or institutional health references. Sources support context and uncertainty; they do not turn an online page into specimen identification, medical advice, or a tested recipe record.
Frequently asked questions
Why did roasted maitake turn soft instead of crisp?
Overcrowding, wet surfaces, small oven heat recovery, or too much oil can trap steam. Dry the fronds, use broad clusters, and leave open pan space.
Should maitake be washed before roasting?
Remove clean cultivation debris with a brush when possible. If rinsing is needed, use brief running water and dry thoroughly before oiling.
What size should maitake clusters be for roasting?
Pieces about two to three inches wide usually keep a tender branching center while exposing enough frilled edge to brown without burning.
Can crispy maitake be made in an air fryer?
Yes, but use a single layer and begin checking earlier because strong circulating heat can darken thin fronds faster than a conventional oven.
How do I reheat roasted maitake?
Spread leftovers on a tray and reheat in a hot oven or dry skillet until steaming; microwaving is convenient but softens the crisp edges.
Related guides
mushrooms
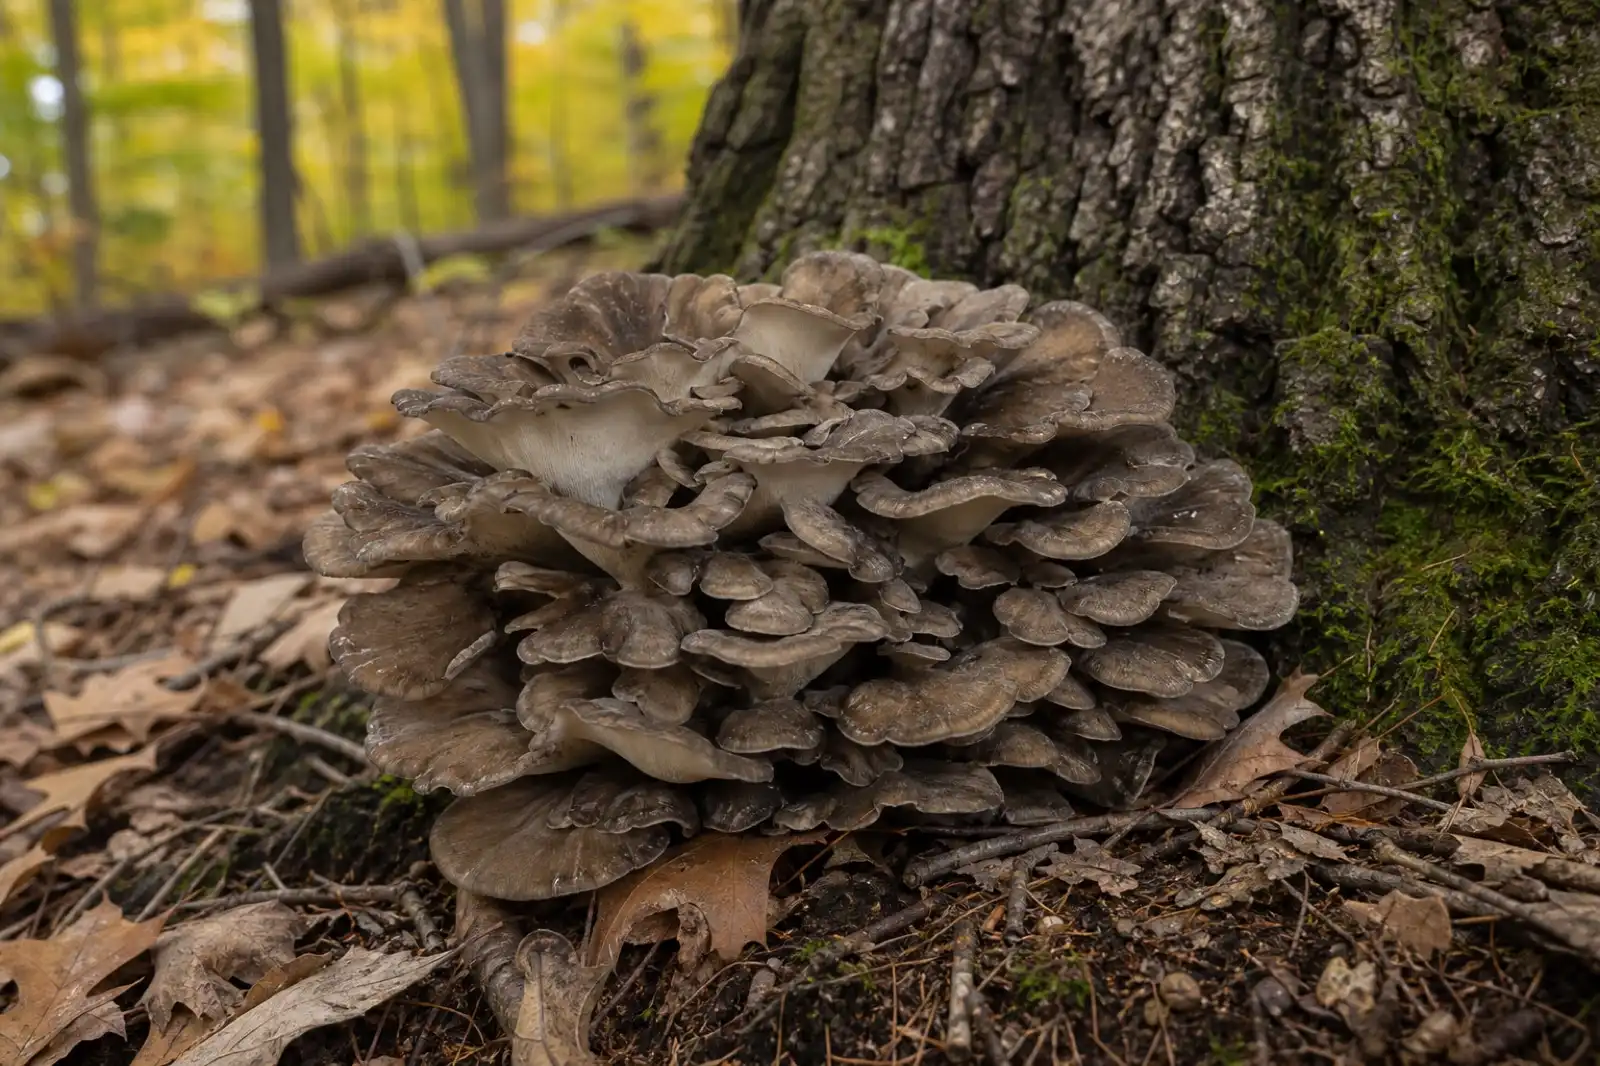
Grifola frondosa: Maitake or Hen-of-the-Woods Guide
Explore Grifola frondosa identification, oak-associated habitat, cultivation, nutrition, lookalikes, supplement evidence, cooking safety, and FAQs.
recipes
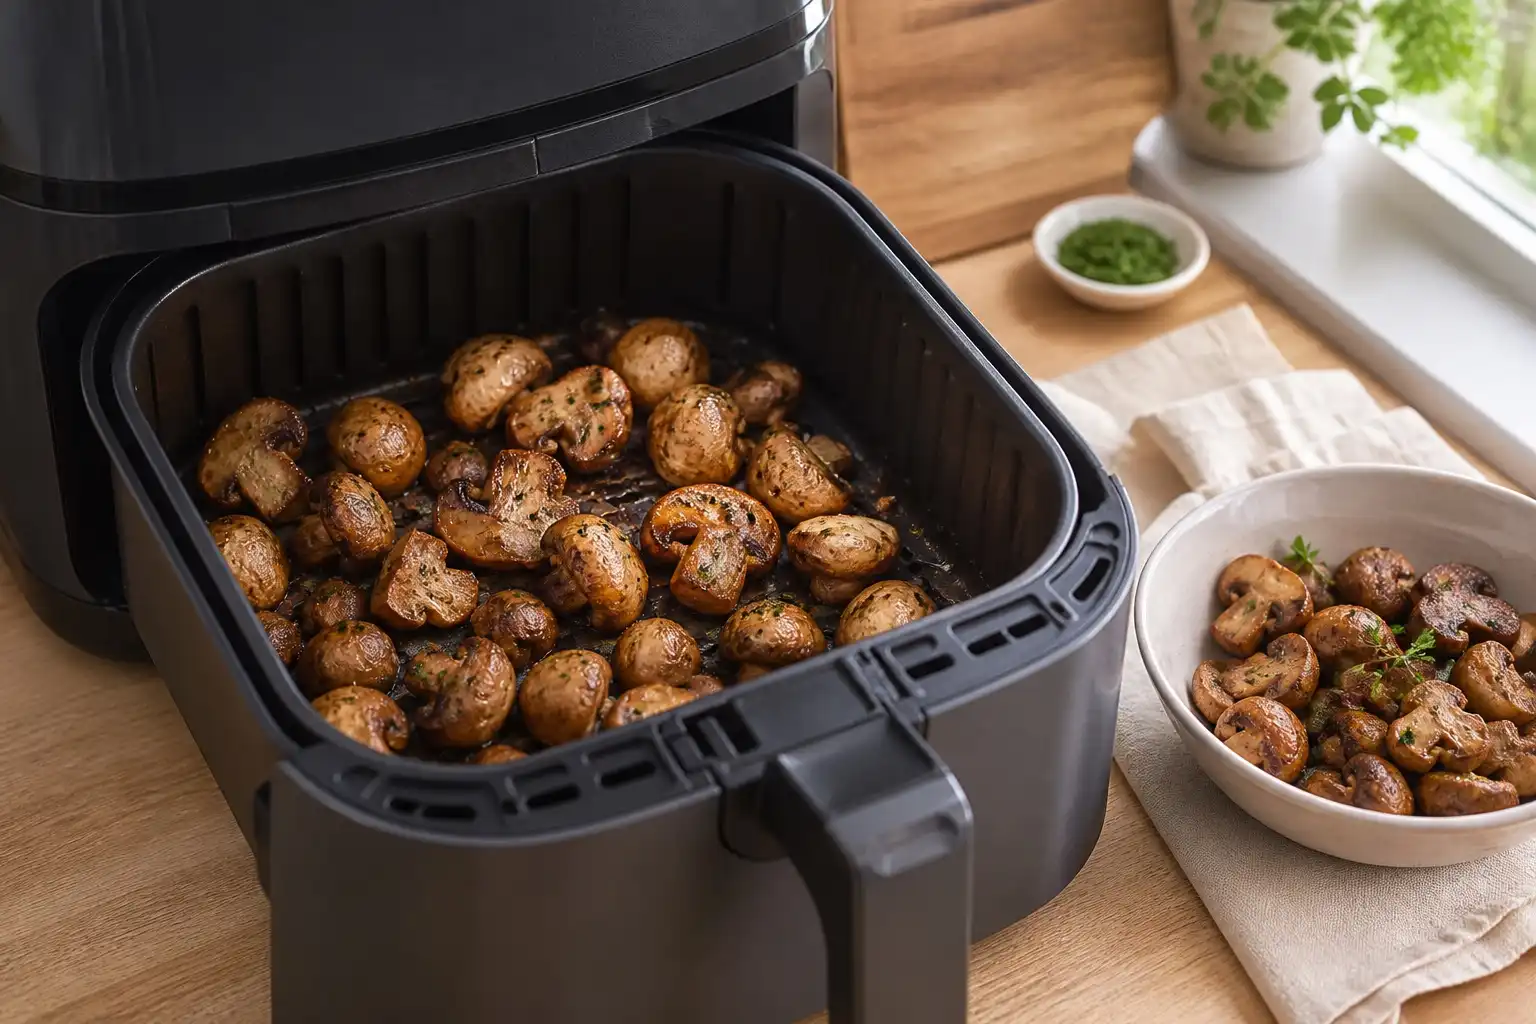
Crispy Air Fryer Mushrooms
Make crispy air fryer mushrooms with cultivated mushrooms, a light coating, timing cues, storage advice, and food-safety guidance.
recipes
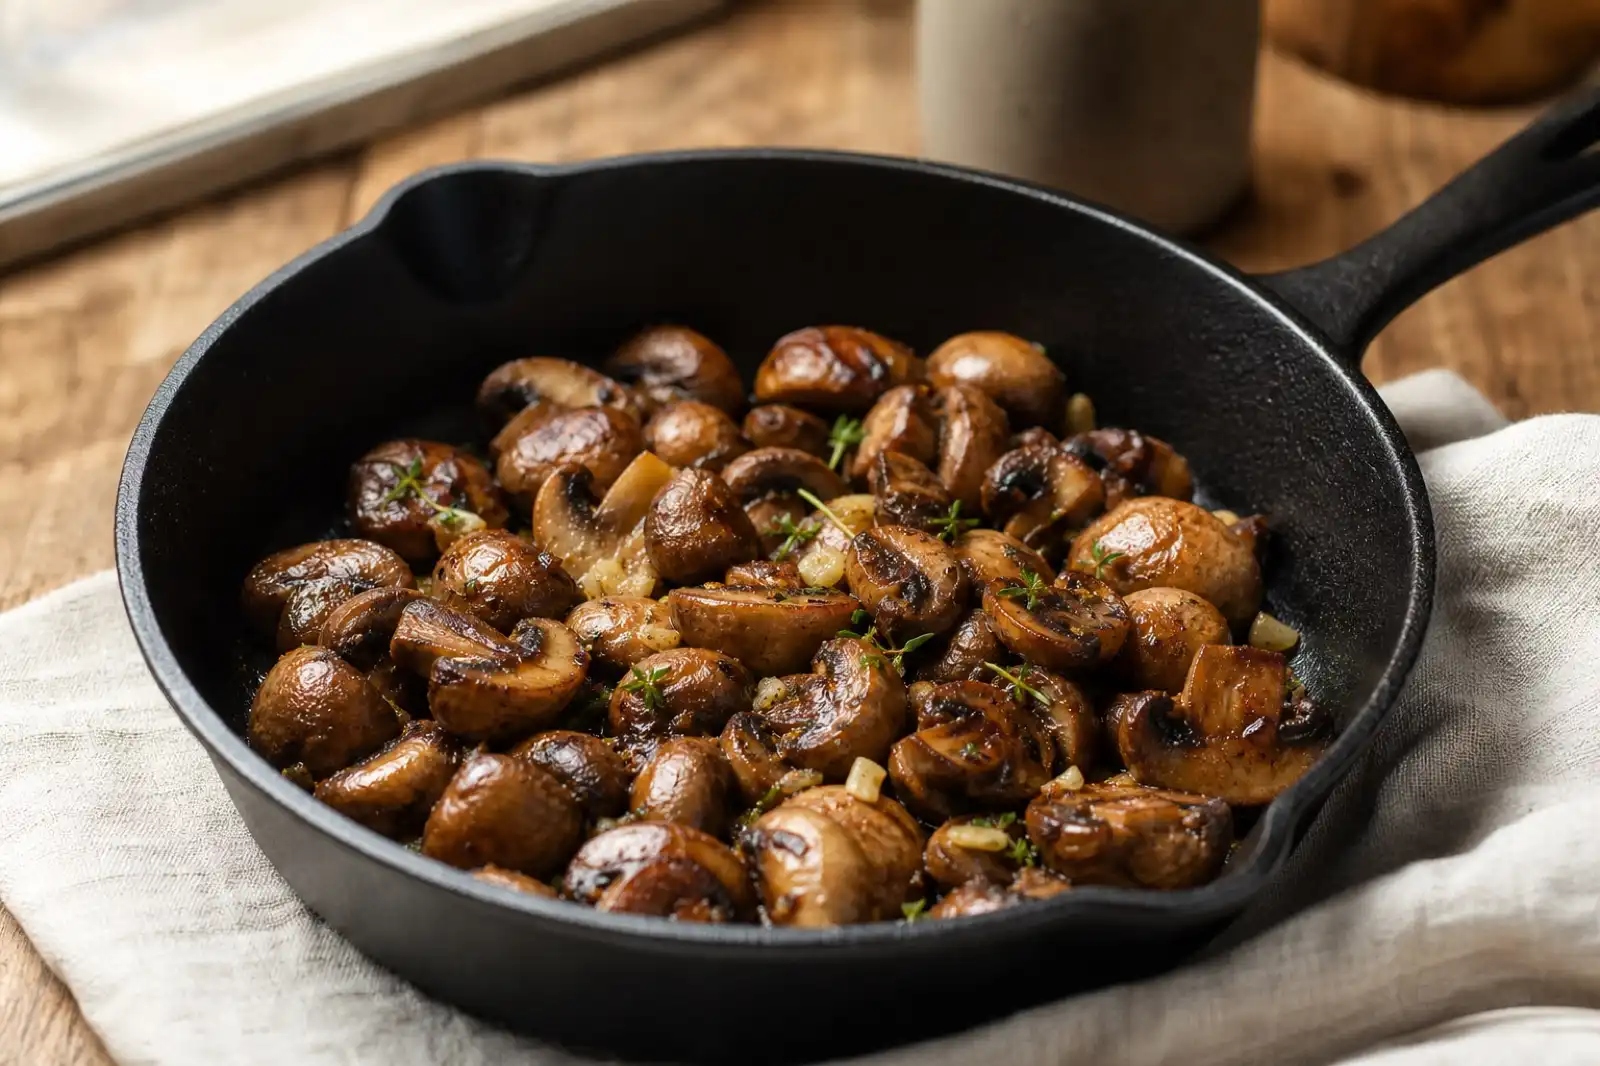
Easy Sautéed Mushrooms with Garlic and Herbs
Sauté cremini mushrooms with garlic and herbs using a wide-pan method, clear batch sizes, realistic timing, and safe storage advice.
Continue exploring
Browse more practical guides in Recipes or visit the mushroom encyclopedia.