Recipes
Easy Sautéed Mushrooms with Garlic and Herbs
Sauté cremini mushrooms with garlic and herbs using a wide-pan method, clear batch sizes, realistic timing, and safe storage advice.
By MushroomScope Editorial Team · · Updated
Food source
Cook identified edible mushrooms
Recipes assume mushrooms sold as food by a reputable supplier, not foraged specimens needing identification.
Open the recipe hub →Kitchen safety
Handle leftovers promptly
Cool leftovers in shallow containers, refrigerate promptly, and discard food held unsafely or showing spoilage.
Review preparation safety →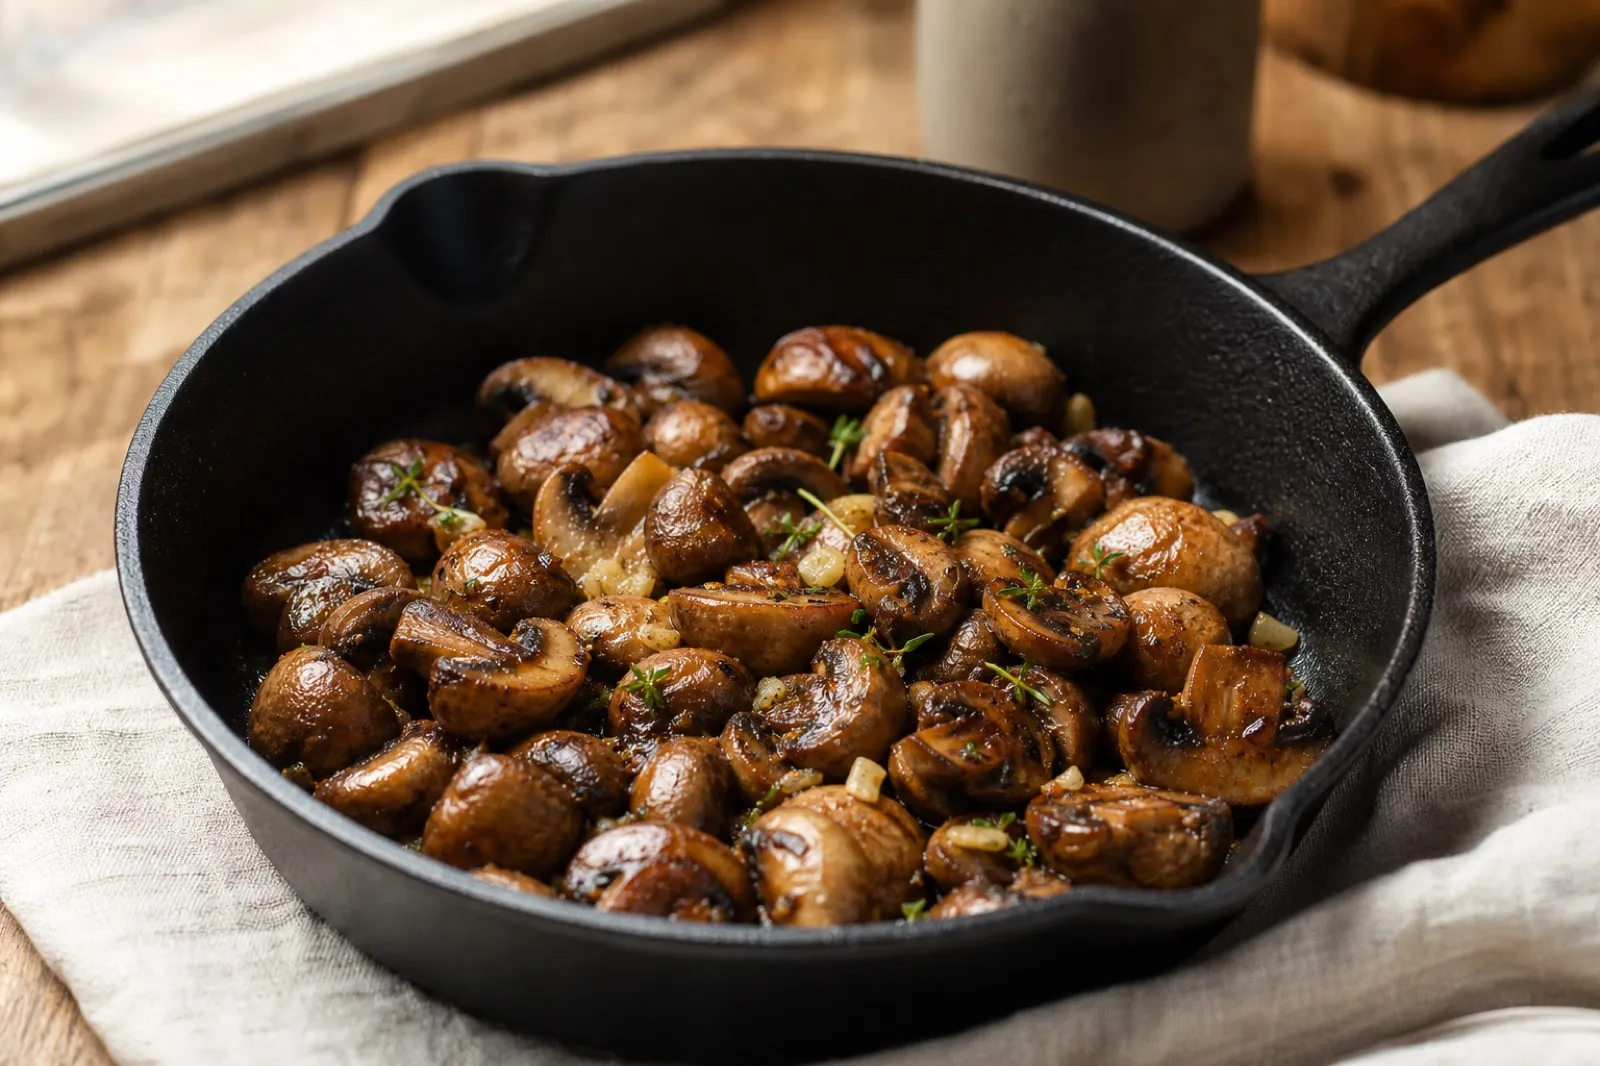
Recipe details
- Prep time
- PT15M
- Cook time
- PT20M
- Yield
- 4 side-dish servings
- Calories
- 75 calories per serving
Ingredients
- 450 g cultivated cremini mushrooms
- 1 1/2 tablespoons olive oil, divided
- 1/2 teaspoon kosher salt, plus more to taste
- 2 garlic cloves, finely minced
- 1 teaspoon fresh thyme leaves or 1/4 teaspoon dried thyme
- 2 tablespoons chopped parsley
- freshly ground black pepper
- 1 teaspoon lemon juice, optional
Instructions
- Choose labeled cultivated mushrooms sold for food and refrigerate them until preparation; keep them separate from raw animal foods.
- Trim only visibly dry stem ends. Brush away debris or rinse briefly under running water, then dry thoroughly and cut into even slices or quarters.
- Heat a 30 cm / 12 inch skillet over medium-high heat. Add 2 teaspoons oil and half the mushrooms in a loose layer; season with a small pinch of salt.
- Leave the mushrooms undisturbed until the first contact surfaces brown, then stir occasionally until tender and their released moisture has cooked away, about 6 to 8 minutes. Transfer to a bowl and repeat.
- Lower to medium. Return all mushrooms, add garlic and thyme, and toss only until fragrant, 30 to 60 seconds. Remove from heat, add parsley, pepper, and optional lemon juice, then adjust salt.
- Serve immediately. For leftovers, divide into shallow covered containers and refrigerate promptly; reheat in a skillet until hot before serving.
August 2026 cooking note: This browning method now supports several quick recipes: garlic mushroom toast, crispy air fryer mushrooms, and homemade mushroom gravy.
Why this recipe works
Make easy sautéed mushrooms with garlic and herbs with cultivated cremini mushrooms, clear steps, practical substitutions, and conservative food-safety guidance. Browning drives off surface moisture and builds savory flavor. Crowding a small pan traps steam, so cook in batches when necessary. The recipe uses olive oil, garlic, and parsley to support rather than hide the mushroom flavor.
Only use mushrooms sold as food by a reputable supplier. A recipe cannot authenticate a wild mushroom, and cooking does not make a poisonous species safe. Check packaging and recall information before cooking.
Ingredients and substitutions
- cremini mushrooms: Choose firm specimens without slime, strong off-odors, or extensive damage.
- olive oil: Provides the main cooking medium or structure. Use a suitable dietary substitute when needed.
- garlic: Add after the mushrooms have begun to brown so it does not scorch.
- parsley: Adjust the amount to balance richness, acidity, or texture.
- Seasoning: Salt gradually and finish with black pepper or fresh herbs.
Method: use pan space deliberately
For 450 g / 1 lb of cremini mushrooms, a 30 cm / 12 inch skillet gives enough surface to cook in two useful batches. If your skillet is smaller, make three batches. Mushrooms naturally release water as they heat; the point of a wide pan is not to stop that release, but to give the liquid room to evaporate rather than pool around the pieces.
- Heat the empty skillet over medium-high heat for a minute or two. Add 2 teaspoons oil; it should move easily but not smoke.
- Add half the mushrooms in a loose layer and season with a small pinch of salt. Leave them alone long enough for the contact surfaces to take color.
- Stir occasionally as liquid appears. Continue until the liquid has mostly cooked away and the pieces are browned at their edges, about 6 to 8 minutes. Transfer to a bowl.
- Repeat with the remaining oil and mushrooms. Return both batches to the skillet and lower the heat to medium.
- Add garlic and thyme only now, tossing for 30 to 60 seconds until fragrant. Remove from heat; add parsley, black pepper, and optional lemon juice, then taste before adding more salt.
This timing keeps garlic from turning bitter while the mushrooms release their moisture. If the pan develops a pale brown film, keep the heat controlled and let it cook down. Remove blackened or acrid bits rather than scraping them into the dish.
Troubleshooting
Mushrooms are pale and watery: The pan was crowded or not hot enough. Cook smaller batches and allow moisture to evaporate.
Garlic or spices taste bitter: Add delicate aromatics later or reduce the heat once browning is established.
The finished dish is heavy: Add measured acidity, fresh herbs, or unsalted stock rather than more salt.
Mushrooms brown outside but stay firm inside: Cut pieces to a more even size and lower the heat slightly after the first contact surfaces color.
The skillet is full of water: Continue cooking rather than adding more oil. Next time, use a wider skillet or split the mushrooms into more batches. Do not add dry mushrooms to correct an already crowded pan.
Control slice size and batch order
Cut cultivated button or cremini mushrooms into similar slices so edges brown before centers become tough. Halve small mushrooms and quarter larger ones when a chunkier texture is wanted. Tear cultivated oyster mushrooms along their natural fans and keep dense stem sections narrower. Do not combine unidentified wild species with a cultivated recipe.
When using several cultivated varieties, start dense pieces first and add delicate ones in a later batch. Keep every batch in a single loose layer. A kilogram of mushrooms needs more pan surface or more rounds than a small side dish; doubling ingredients without expanding surface area converts sautéing into steaming.
Dry the exterior after a brief rinse. Moisture inside the mushroom is expected and will release during cooking, but water clinging to the surface delays browning. Prepare garlic and herbs before heating the pan so the mushrooms are not left to scorch while ingredients are chopped.
Use a two-stage heat strategy
Preheat a wide heavy skillet over medium-high heat, add a measured film of oil, and place the first batch without crowding. Let the pieces contact the pan before stirring. When released water accumulates, maintain controlled heat until it evaporates. Browning resumes only after the pan surface is no longer flooded.
Transfer browned mushrooms to a clean warm plate and repeat. Lower the heat before adding butter or garlic; milk solids and small garlic pieces burn faster than mushrooms cook. Return all batches for a short toss with salt, pepper, and finishing aromatics.
Mushrooms can brown with oil from the beginning or begin in a dry pan suited to the cookware, but the method should be consistent. Continually adding fat to a wet pan produces oily mushrooms rather than faster evaporation.
Choose finishing flavors by use
For a breakfast or toast topping, finish with thyme, black pepper, and a small amount of butter or plant-based alternative. For pasta, add parsley, lemon zest, and reserved pasta water. For tacos, use cumin, oregano, lime, and chile after the main browning step so powdered spices do not scorch.
Soy sauce, miso, cheese, stock, and salted butter all add sodium. Taste after combining before adding more salt. Acidity often corrects flatness: a few drops of lemon or vinegar can brighten a rich pan without making it sour.
Fresh tender herbs go in off heat; woody thyme or rosemary can cook briefly. Garlic should be fragrant but not dark brown. Wine is optional and should be reduced before serving; cooking does not guarantee zero alcohol.
Diagnose texture from the pan evidence
Pale wet mushrooms indicate insufficient surface area, low heat, or frequent stirring. Keep cooking until liquid evaporates, then allow contact. Tough dry edges with a cool center indicate slices that were too thick or heat that was too aggressive. Lower the heat and finish gently.
If browned residue begins to burn, remove the pan briefly and deglaze with a measured spoonful of water or stock. A black acrid layer will not become savory sauce. Clean the pan between batches if necessary.
Salt timing affects water release but is not the only variable. In a crowded pan, early salt makes the visible liquid problem more obvious; in a spacious hot pan, that liquid can evaporate. Standardize pan, batch weight, slice size, and heat before concluding that one minute of salting caused the result.
Scale and serve promptly
For four side portions, weigh the starting mushrooms and note cooked yield; water loss makes the finished volume much smaller. For a crowd, use two skillets or cook batches ahead only through browning, then rewarm together briefly with finishing ingredients.
Serve immediately on warm plates because sautéed mushrooms continue releasing moisture as they stand. Keep toast, pastry, or crisp garnishes separate until plating. Pair with eggs, beans, grains, greens, pasta, or another appropriate component rather than assuming mushrooms replace all nutritional roles of a main protein.
Ingredient choices and serving ideas
Cremini mushrooms are a reliable all-purpose choice because their shape holds up in a skillet. White button mushrooms use the same method. Oyster mushrooms are thinner and cook differently, so use the dedicated garlic-butter oyster mushroom recipe when they are the main ingredient.
Rinse mushrooms briefly under running water or brush away debris, then dry them before they reach the skillet. FDA recommends keeping mushrooms refrigerated at 40°F / 4°C or below, starting with clean hands and surfaces, and separating produce from raw animal foods. Do not use soap, detergent, or produce wash on mushrooms. See FDA’s produce-safety guidance for the underlying handling advice.
Serve these mushrooms as a side, spoon them over toast, or add them to the final simmer of mushroom barley soup. If using soy sauce, broth, or cheese in a later dish, wait for the final taste before adding extra salt.
Storage and reheating
Refrigerate leftovers within two hours—within one hour when ambient temperature is above 90°F / 32°C. Use clean, shallow covered containers and keep the refrigerator at or below 40°F / 4°C. USDA FSIS recommends using refrigerated leftovers within 3 to 4 days. Reheat only the portion needed until hot; discard food held outside the safe time window rather than relying on smell or appearance.
Browse more mushroom recipes or learn about the cultivated species in the mushroom encyclopedia.
Prepare and store leftovers without losing all texture
Cool sautéed mushrooms promptly in a shallow covered container rather than leaving the skillet at room temperature. Refrigerate at or below 40°F (4°C), label the preparation date, and follow local leftover guidance. Keep them separate from crisp toast or pastry.
Reheat only the portion needed in a wide skillet so released liquid can evaporate. A microwave works for convenience, but pause to stir and expect a softer result. Do not keep adding oil to compensate for moisture. Discard leftovers with mold, slime, off odor, or unsafe holding history.
For advance cooking, brown batches until just tender, cool promptly, and add delicate herbs and acid during the final reheat. This preserves aroma better than fully seasoning a batch that will be reheated later.
Calibrate the pan with the first batch
Treat the first half-pound batch as a measurement, not a warm-up to rush through. Record mushroom cut, starting weight, skillet diameter, burner setting, minutes to visible liquid, minutes until the pan looks dry again, and final cooked weight. Those observations reveal whether the next batch needs fewer pieces, a longer undisturbed contact period, or a modest heat adjustment. A clock alone cannot account for a thin aluminum pan, a heavy cast-iron skillet, or mushrooms carrying different surface moisture.
Watch the contact face rather than waiting for every exposed surface to become dark. Quartered cremini develop broad browned planes while their centers remain juicy; thin slices lose water faster and can become leathery if held until both sides are uniformly brown. When the released liquid has evaporated, listen for the pan to return from a simmering sound to a sharper sizzle. That transition is the moment to monitor fond closely and add the final garlic only after the risk of steaming has passed.
If the first batch leaves pale watery residue, pour nothing into the next raw batch. Evaporate it and evaluate the fond, or wipe a scorched pan clean. Return all batches together only long enough to distribute garlic, thyme, pepper, and acid. This short recombination limits carryover cooking and makes the batch method taste like one finished dish.
References
- U.S. Food and Drug Administration. Selecting and Serving Produce Safely. Cleaning and cross-contamination boundaries for the raw cremini preparation step.
- USDA Food Safety and Inspection Service. Leftovers and Food Safety. Cooling window and refrigerated leftover duration used for the cooked skillet batch.
- USDA Food Safety and Inspection Service. Refrigeration and Food Safety. Refrigerator-temperature context for advance preparation and storage.
Source quality notes
MushroomScope cites sources that match the page scope, such as taxonomic databases, extension guidance, food-safety agencies, food-composition databases, and peer-reviewed or institutional health references. Sources support context and uncertainty; they do not turn an online page into specimen identification, medical advice, or a tested recipe record.
Frequently asked questions
Which mushrooms work best for easy sautéed mushrooms with garlic and herbs?
Use cultivated cremini mushrooms from a reputable food supplier. Do not substitute an unidentified wild mushroom.
Can the mushrooms be prepared in advance?
They can be cleaned and cut shortly before cooking. Keep prepared mushrooms refrigerated and prevent cross-contamination with raw animal foods; cook them in batches when the skillet is small.
How should leftovers be stored?
Refrigerate promptly in a clean covered shallow container, keep the refrigerator at or below 40°F (4°C), and use refrigerated leftovers within the USDA-recommended 3-to-4-day window.
Related guides
mushrooms
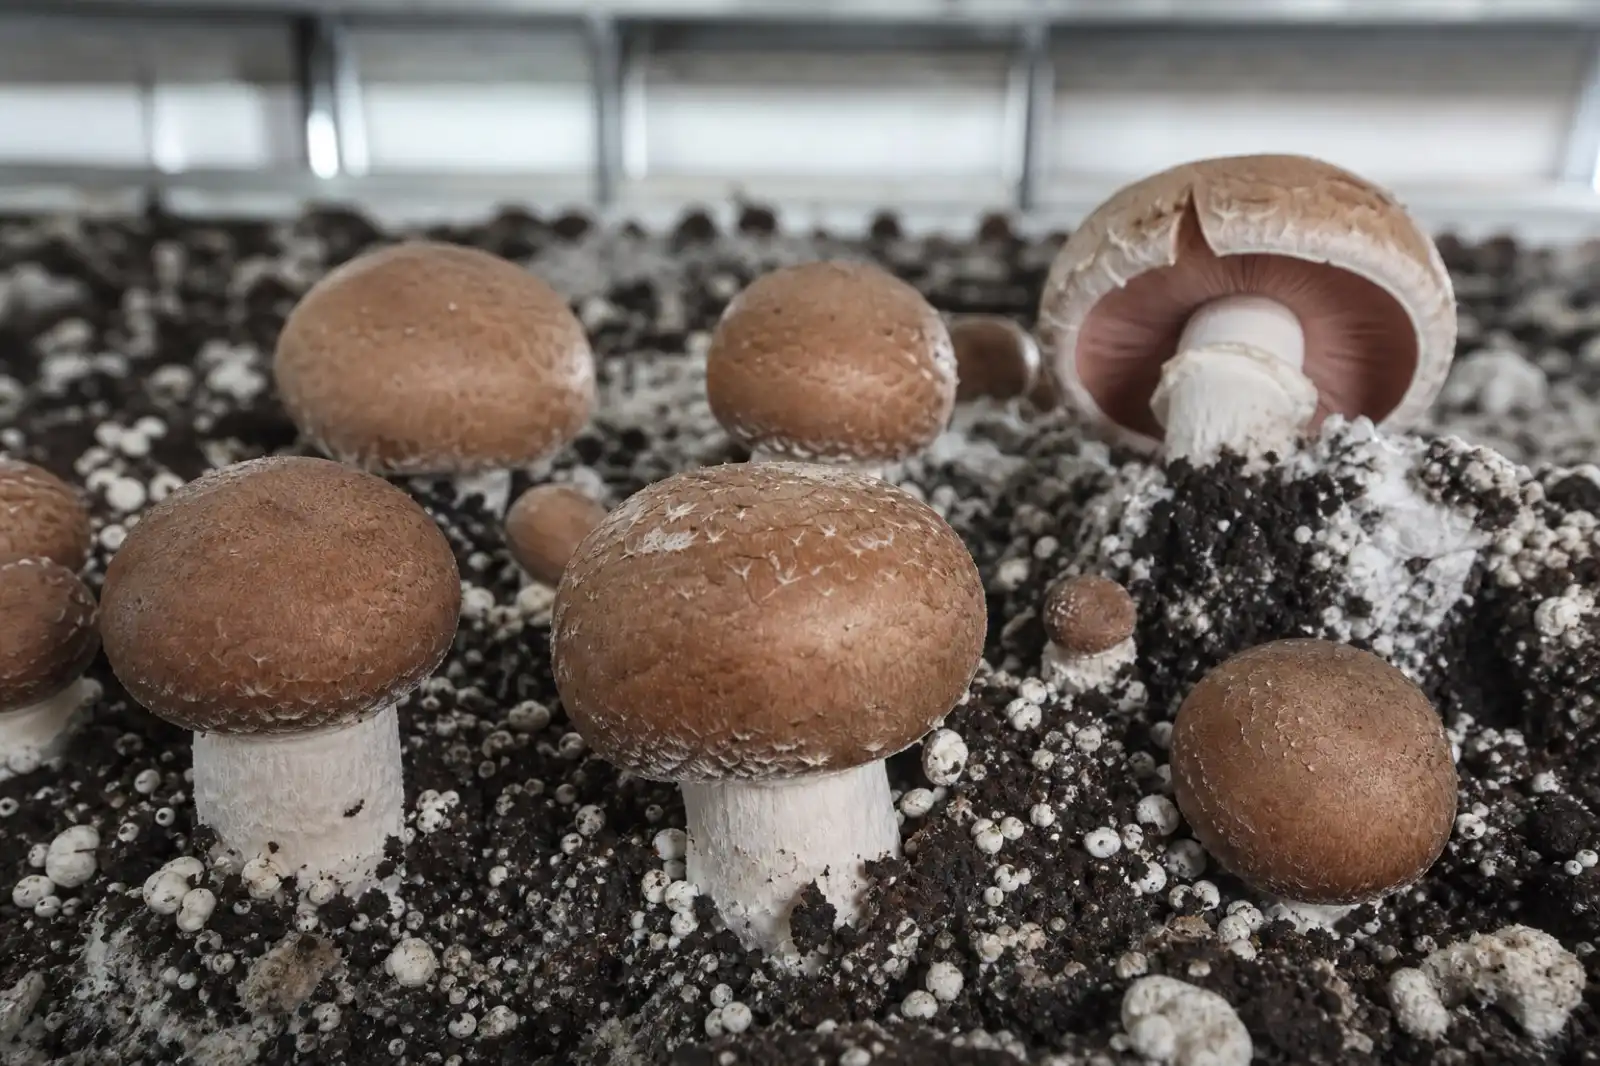
Cremini Mushrooms: Button vs. Portobello, Nutrition, and Uses
Cremini, baby bella, button, and portobello mushrooms are Agaricus bisporus market forms. Compare maturity, cooking uses, nutrition, cultivation, and safety.
recipes
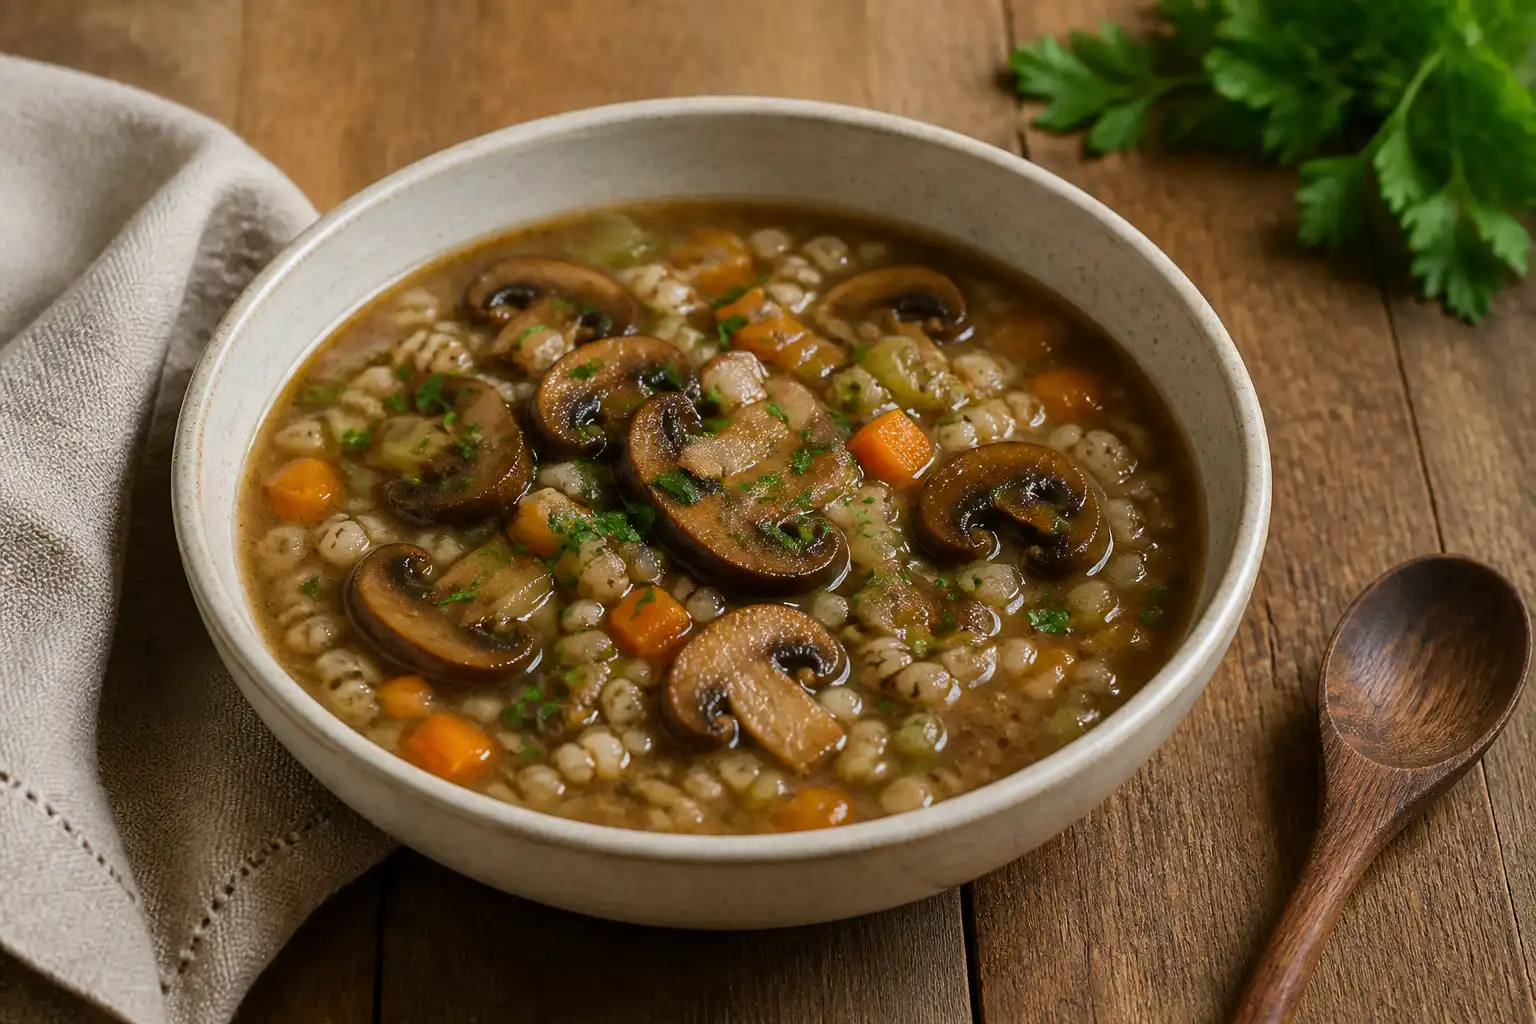
Mushroom Barley Soup with Pearl Barley
Make mushroom barley soup with pearl barley, browned cremini mushrooms, vegetables, and a clear make-ahead and food-safety plan.
recipes
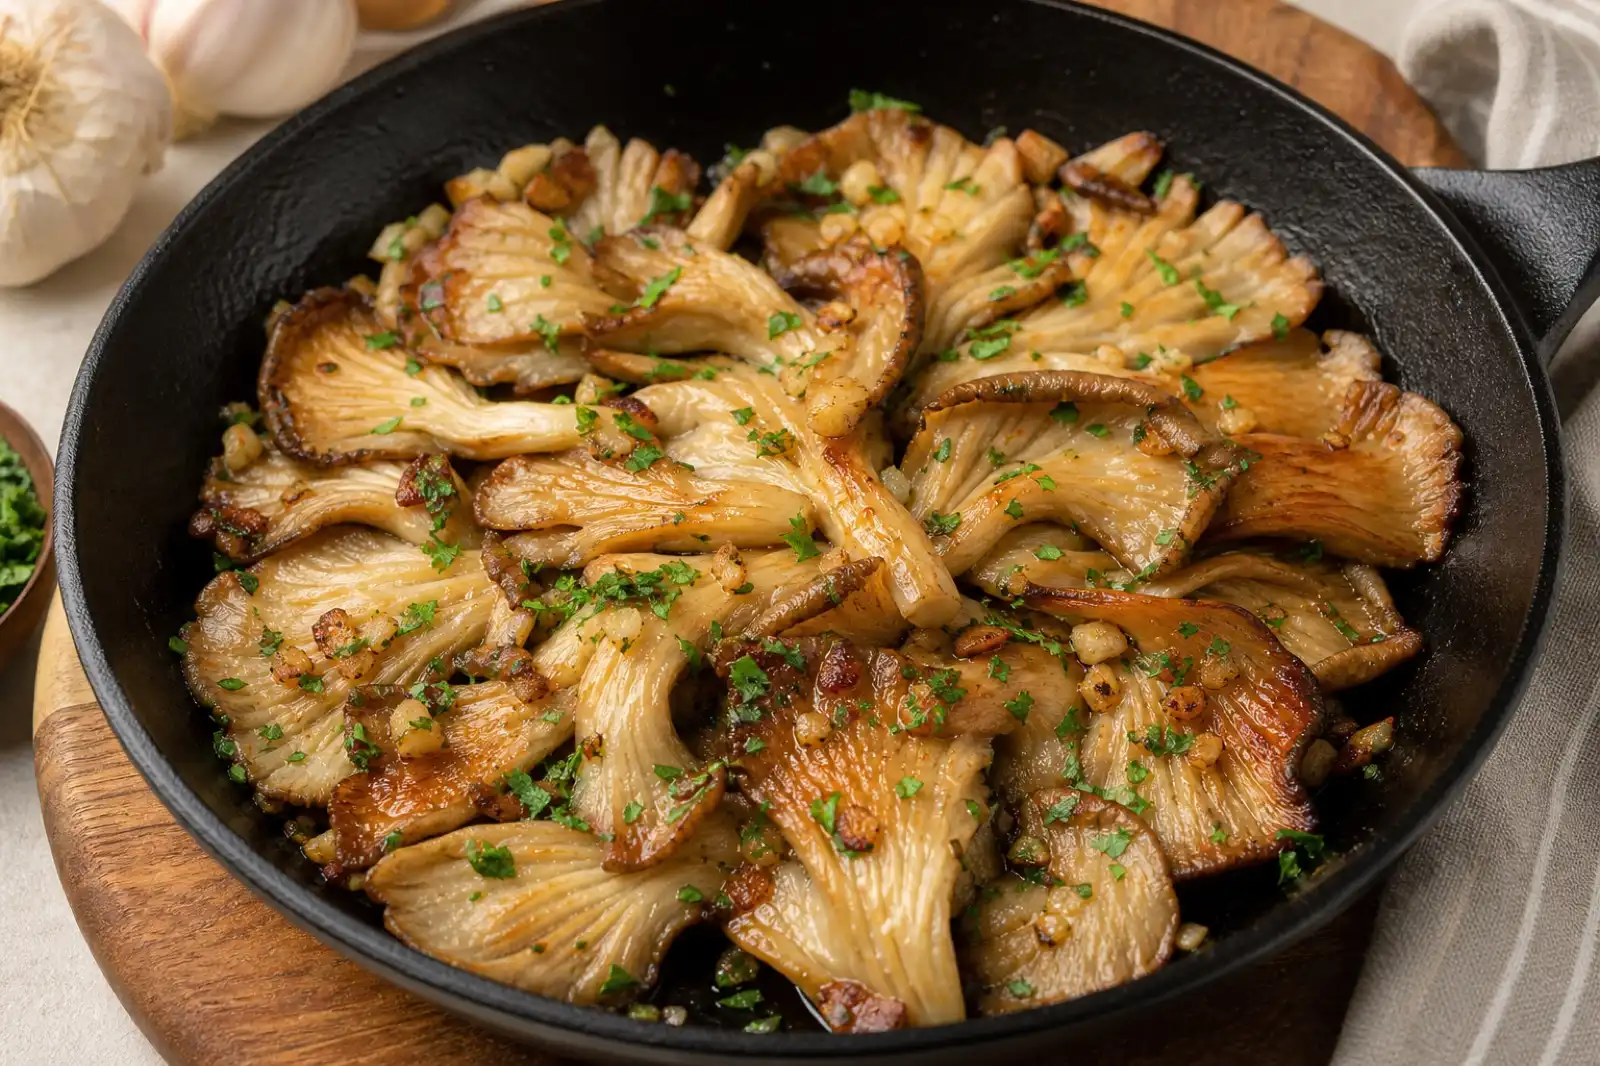
Garlic Butter Oyster Mushrooms
Make garlic butter oyster mushrooms with cultivated oyster mushrooms, clear steps, practical substitutions, and conservative food-safety guidance.
Continue exploring
Browse more practical guides in Recipes or visit the mushroom encyclopedia.