Recipes
Garlic Butter Oyster Mushrooms
Make garlic butter oyster mushrooms with cultivated oyster mushrooms, clear steps, practical substitutions, and conservative food-safety guidance.
By MushroomScope Editorial Team · · Updated
Food source
Cook identified edible mushrooms
Recipes assume mushrooms sold as food by a reputable supplier, not foraged specimens needing identification.
Open the recipe hub →Kitchen safety
Handle leftovers promptly
Cool leftovers in shallow containers, refrigerate promptly, and discard food held unsafely or showing spoilage.
Review preparation safety →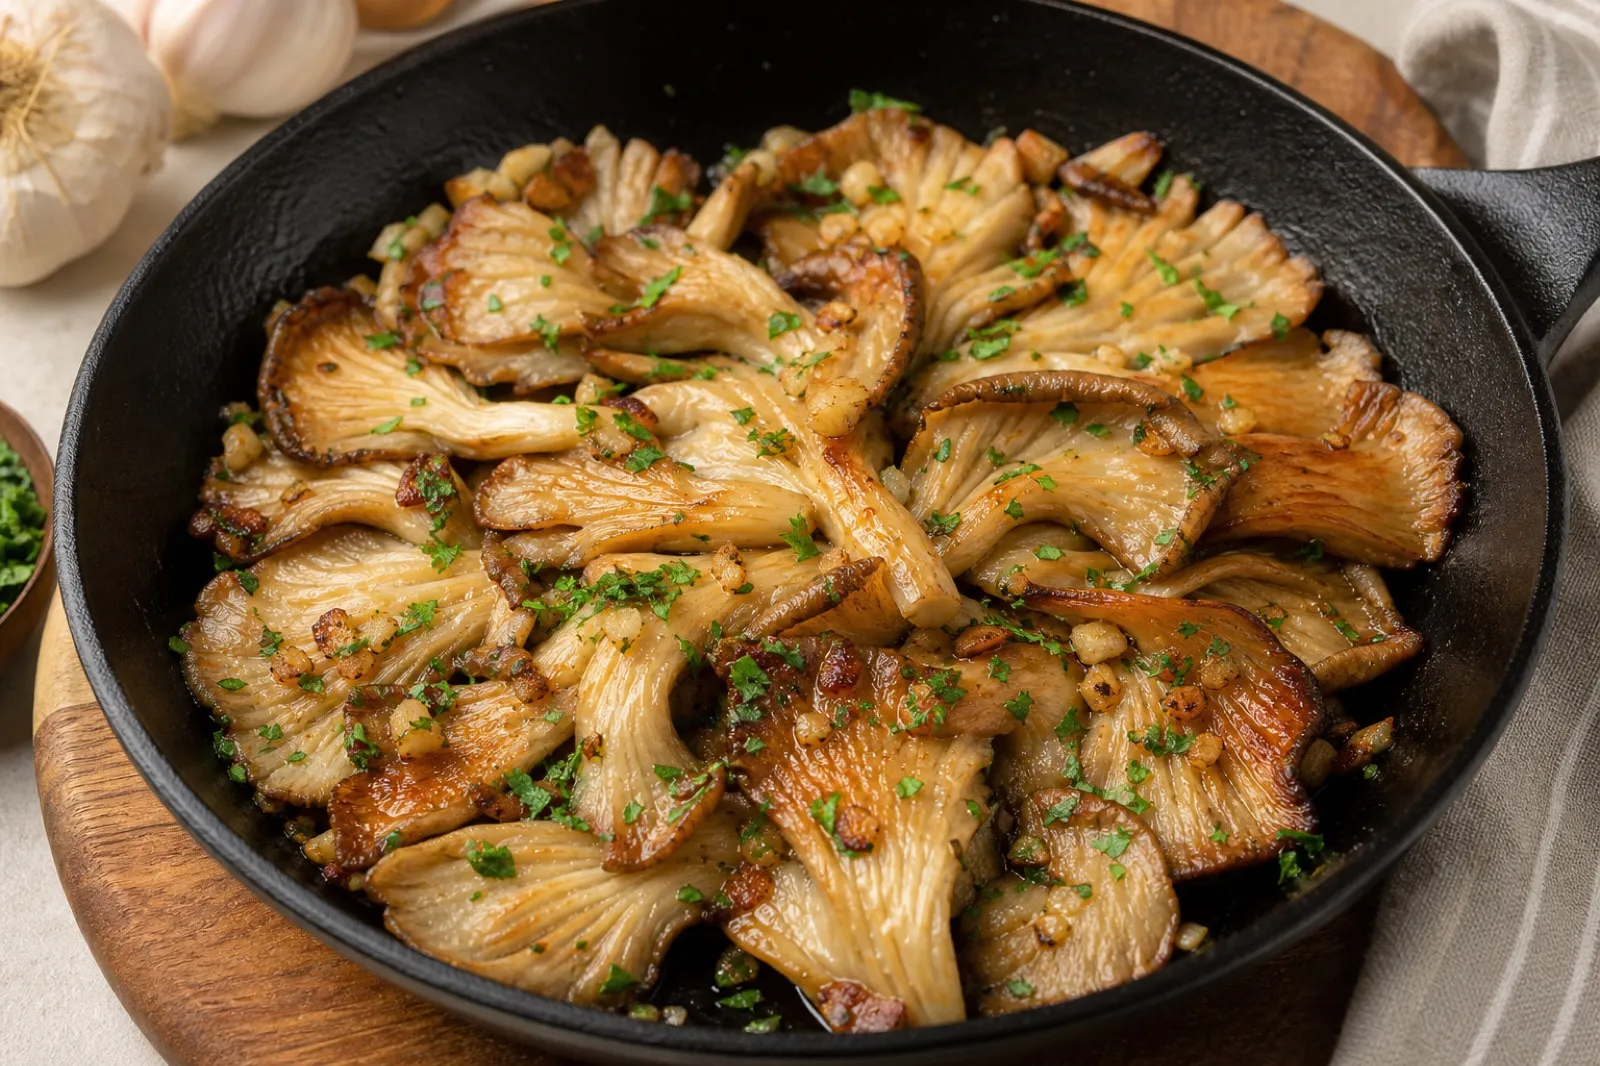
Recipe details
- Prep time
- PT15M
- Cook time
- PT30M
- Yield
- 4 servings
Ingredients
- 450 g oyster mushrooms, torn into even pieces
- 2 tablespoons unsalted butter
- 2 garlic cloves, minced
- 1 tablespoon fresh lemon juice
- salt and black pepper to taste
Instructions
- Buy identified cultivated mushrooms from a reputable food supplier and discard spoiled pieces.
- Clean mushrooms with a soft brush or brief rinse, dry well, and cut into even pieces.
- Sear torn oyster mushrooms in batches, then finish with garlic, butter, and lemon.
- Season to taste and serve while hot.
- Cool leftovers promptly in a shallow covered container and refrigerate.
Why oyster mushrooms suit a fast skillet method
Cultivated oyster mushrooms have broad caps, tender gills, and clustered stems. Tearing them into substantial pieces exposes irregular edges that brown while the interior stays tender. The recipe adds butter and garlic after the initial sear, preventing milk solids and minced garlic from burning before the mushrooms lose their water.
Lemon is a finishing ingredient. Its acidity cuts the richness and brightens the mushroom flavor, but adding it early encourages steaming and slows surface browning. The entire dish can be ready in about 25 minutes even though the general recipe metadata allows extra preparation time.
Use only oyster mushrooms sold as food by a reputable supplier. A webpage or photograph cannot authenticate a wild collection, and cooking does not make a poisonous lookalike safe.
Buy, refrigerate, and inspect the mushrooms
Look for clusters with firm caps and fresh-looking gills. Edges may be delicate, but extensive yellowing, slime, leaking liquid, soft decay, or a strong unpleasant odor indicates deterioration. Check packaging dates and food recalls when applicable.
Refrigerate promptly in breathable packaging according to the supplier. Do not wash before storage. Keep produce and its utensils away from raw meat, poultry, and seafood to reduce cross-contamination.
Gray, blue, tan, and pearl oyster strains can all work when cultivated and sold for food. King oyster mushrooms are thicker and need a different cut and cooking time, so use a recipe designed for their dense stems rather than treating them as a direct visual substitute.
Ingredient choices and substitutions
Cultivated oyster mushrooms
Use 450 g after trimming the tough base that holds each cluster together. Small caps can remain whole; larger caps should be torn into pieces of similar thickness. Avoid shredding them too finely because thin strands dry before broader pieces brown.
Butter and optional cooking oil
Unsalted butter provides flavor and gives control over seasoning. For a hotter initial sear, use a small amount of neutral cooking oil first, then add butter near the end. A plant-based butter can work, but water content and browning behavior vary by brand.
Olive oil can replace butter for a dairy-free version. Choose an oil appropriate for the heat and verify all packaged ingredients when allergies matter.
Garlic, lemon, and seasoning
Two minced garlic cloves flavor the butter without dominating the mushrooms. Thinly sliced garlic gives a different texture and needs close attention. Fresh lemon juice is easier to balance than bottled juice with additives. Salt, black pepper, parsley, chives, or thyme should be added in measured amounts.
Clean without waterlogging delicate gills
Wash hands and clean the board, knife, skillet, and serving utensils. Cut away the dense cluster base and separate the caps. Brush off loose substrate. If rinsing is necessary, use a brief stream of running water and dry immediately with a clean towel.
Do not soak oyster mushrooms. Their layered gills can retain water, making the pan cool and spatter. Inspect inside the cluster for substrate, insects, or damaged tissue.
Tear along the natural grain into pieces roughly 4–6 cm across. Consistent thickness matters more than identical shape. Keep the prepared mushrooms refrigerated if cooking is delayed.
Choose the pan and batch size
A 30 cm heavy skillet is suitable for 450 g only if the mushrooms are cooked in at least two batches. Cast iron and stainless steel retain heat well; nonstick cookware can work at the manufacturer’s recommended temperature but may produce less fond.
Leave visible space between pieces. Crowding converts the skillet into a shallow steaming chamber. If the largest pan is small, cook three batches rather than accepting pale, wet mushrooms.
Have butter, garlic, lemon, seasoning, and a clean plate ready before heating. The finishing stage moves quickly.
Dry-sear or begin with a small amount of oil
Preheat the skillet over medium-high heat. Add a thin film of cooking oil if using it, then place the first batch in a single loose layer. Press broad caps gently for initial contact, but do not flatten them continuously.
Leave the first side undisturbed long enough to color. Turn the pieces and continue until released moisture evaporates and several edges become golden brown. Transfer to the plate and repeat.
A dry-sear method can begin without fat in an appropriate pan, allowing moisture to escape before butter is introduced. Monitor closely because dry pans and cookware vary. The goal is browning, not blackened gills.
Add butter and garlic at the right time
Return all browned mushrooms to the pan and reduce the heat to medium. Add the butter and toss as it foams. Once melted and coating the pieces, add minced garlic and cook briefly—usually 30–60 seconds—until fragrant.
Garlic should not become dark brown. The hot pan retains energy even after the heat is reduced; if it colors too quickly, lift the pan briefly or add a spoonful of water to slow scorching. Do not pour in a large volume of liquid that reverses the sear.
Season lightly with salt and pepper. Butter and later accompaniments may already contain salt, so taste before adding more.
Finish with lemon away from aggressive heat
Remove the skillet from high heat and add about one tablespoon of lemon juice. Toss, taste, and decide whether the dish needs more acidity. Adding lemon incrementally is safer than trying to correct an overly sour batch.
Fresh herbs go in now so they remain bright. If using thyme, add tender leaves; woody stems should be removed. A small amount of lemon zest adds aroma without as much acidity, but wash the fruit and avoid the bitter white pith.
Serve immediately. Oyster mushrooms lose crisp edges as they sit in butter and steam.
A complete step-by-step workflow
- Verify the package contains cultivated food mushrooms and refrigerate until needed.
- Clean hands, tools, work surfaces, and serving plate.
- Trim the cluster base, separate caps, clean briefly, and dry thoroughly.
- Tear into substantial, evenly thick pieces.
- Preheat a wide skillet and sear half the mushrooms in a loose layer.
- Turn after the first side colors; cook until moisture evaporates and edges brown.
- Transfer to a clean plate and repeat with the remaining mushrooms.
- Return all mushrooms to the pan, reduce heat, and add butter.
- Add garlic only after browning; cook until fragrant without darkening.
- Season, remove from aggressive heat, toss with lemon, and serve hot.
This sequence is more reliable than placing mushrooms, butter, garlic, and lemon into a cold pan together.
Control texture for different uses
For crisp-edged mushrooms served as a side, use larger torn pieces, generous pan space, and immediate service. For toast or pasta, allow slightly smaller pieces that distribute evenly, but still brown them before sauce is added.
If using the mushrooms as a sandwich filling, cook until excess moisture is fully gone so bread does not become soggy. For grain bowls, retain larger caps and add dressing only at service.
Do not cover the pan during searing. A lid traps steam and softens the edges.
Flavor variations that preserve the method
For herbs, use parsley, chives, or a small amount of thyme. For gentle heat, add pepper flakes with the butter, watching that they do not burn. A spoonful of low-sodium soy sauce can deepen flavor, but add it late and reduce salt because it introduces water and sodium.
For dairy-free mushrooms, sear with olive or neutral oil, finish with garlic and lemon, and add a small drizzle of flavorful olive oil off heat. For a richer version, browned butter can be made separately and added after the mushrooms are cooked, avoiding burned milk solids in the initial sear.
Avoid combining every variation. Garlic, lemon, herbs, soy sauce, chili, and cheese together can obscure the oyster mushrooms.
Serving ideas
Serve as a side with grains, beans, roasted vegetables, eggs, fish, or poultry prepared safely. Spoon over toast only at the last moment. Toss into pasta after browning rather than simmering raw mushrooms in sauce.
The sautéed mushroom guide compares the broader skillet technique. The oyster species guide explains the cultivated mushroom, while the home-growing guide covers authenticated cultivation rather than wild collection.
When serving guests, disclose butter and any other major allergens or dietary ingredients. A plant-based butter may contain soy or nuts.
Troubleshoot pale, wet, or tough mushrooms
Pale and watery
Dry the next batch more thoroughly, preheat the pan, and leave more space. For the current batch, keep cooking uncovered until liquid evaporates before adding butter.
Garlic tastes bitter
It was added too early or cooked too hot. Severely burned garlic cannot be removed from a butter coating; remaking the finish may be better than masking it.
Mushrooms are greasy
Fat was probably added before water escaped or in a larger quantity than needed. Continue cooking briefly so the mushrooms finish, then balance with lemon. Measure the butter next time.
Texture is rubbery or dry
Very small pieces or prolonged cooking can dry out delicate caps. Use larger pieces and stop when browned and tender. Dense king oyster stems require a separate technique.
The dish tastes flat
Check salt first, then acidity and fresh herbs. Adding more butter rarely fixes missing balance.
Prepare components ahead without losing quality
The mushrooms can be trimmed and torn a few hours ahead, then refrigerated in a clean covered container with a dry towel. Mince garlic shortly before cooking for the freshest flavor. Measure butter and lemon separately.
For the best texture, do not fully cook the dish far ahead. If necessary, sear the mushrooms, cool promptly, refrigerate, and finish once with butter and garlic during reheating. This is less crisp than cooking to order but better than holding the finished dish warm for a long period.
Never leave prepared mushrooms or butter sauce at room temperature beyond safe food-handling limits.
Store and reheat leftovers safely
Refrigerate within two hours, or within one hour when ambient temperature exceeds 90°F (32°C). Use a clean shallow covered container and keep the refrigerator at or below 40°F (4°C). Follow current local guidance for leftover duration.
Reheat in a wide skillet over medium heat so moisture evaporates, stirring until steaming hot throughout. A microwave works but softens browned edges; spread the portion evenly and rotate or stir for uniform heating.
Reheat only what will be eaten. Discard food held unsafely or showing slime, mold, or an unpleasant odor. Never taste leftovers to decide whether they are safe.
Sort oyster clusters by thickness before searing
Oyster clusters combine thin cap margins, thicker cap centers, and dense shared stem tissue. Tear along the natural seams instead of slicing every piece to one cosmetic shape. Put delicate fronds in one group and thick junctions in another. Start the dense pieces first, then add thin caps later or cook them in separate batches; otherwise the margins dry before the centers become tender.
Use the sound of the skillet as a recovery cue. After a piece touches the pan, a strong sizzle should return quickly. If the sound fades and liquid pools, remove part of the load rather than raising the burner until butter scorches. Leave broad faces undisturbed long enough to color, then turn only when they release without tearing.
Add butter after the mushroom surfaces are browned and the pan is no longer watery. Lower the heat, add garlic for a brief fragrant finish, and use a spoonful of water only if needed to emulsify the browned residue into a light glaze. Lemon goes in off heat. This sequence coats the mushrooms without boiling them in butter or burning garlic on a dry high-temperature pan.
References
- U.S. Food and Drug Administration. Selecting and Serving Produce Safely. Cleaning and separation guidance for delicate cultivated clusters.
- U.S. Food and Drug Administration. Are You Storing Food Safely?. Cold-storage context for the butter-finished leftovers.
- USDA. FoodData Central. Ingredient-composition reference; butter pickup and cooked yield determine the serving profile.
Source quality notes
MushroomScope cites sources that match the page scope, such as taxonomic databases, extension guidance, food-safety agencies, food-composition databases, and peer-reviewed or institutional health references. Sources support context and uncertainty; they do not turn an online page into specimen identification, medical advice, or a tested recipe record.
Frequently asked questions
Which mushrooms work best for garlic butter oyster mushrooms?
Use cultivated oyster mushrooms from a reputable food supplier. Do not substitute an unidentified wild mushroom.
Can the mushrooms be prepared in advance?
They can be cleaned and cut shortly before cooking. Keep prepared mushrooms refrigerated and prevent cross-contamination with raw animal foods.
How should leftovers be stored?
Refrigerate promptly in a clean covered shallow container, keep the refrigerator at or below 40°F (4°C), and follow local leftover guidance.
Why did my oyster mushrooms turn watery instead of brown?
The pan was probably crowded, the mushrooms were still wet, or the heat dropped. Cook dry pieces in a single loose layer and let released moisture evaporate before adding butter.
Can olive oil replace the butter?
Yes. Use a cooking oil suited to the pan temperature, then add lemon and herbs at the end. The flavor will differ, but the browning method remains the same.
Related guides
mushrooms
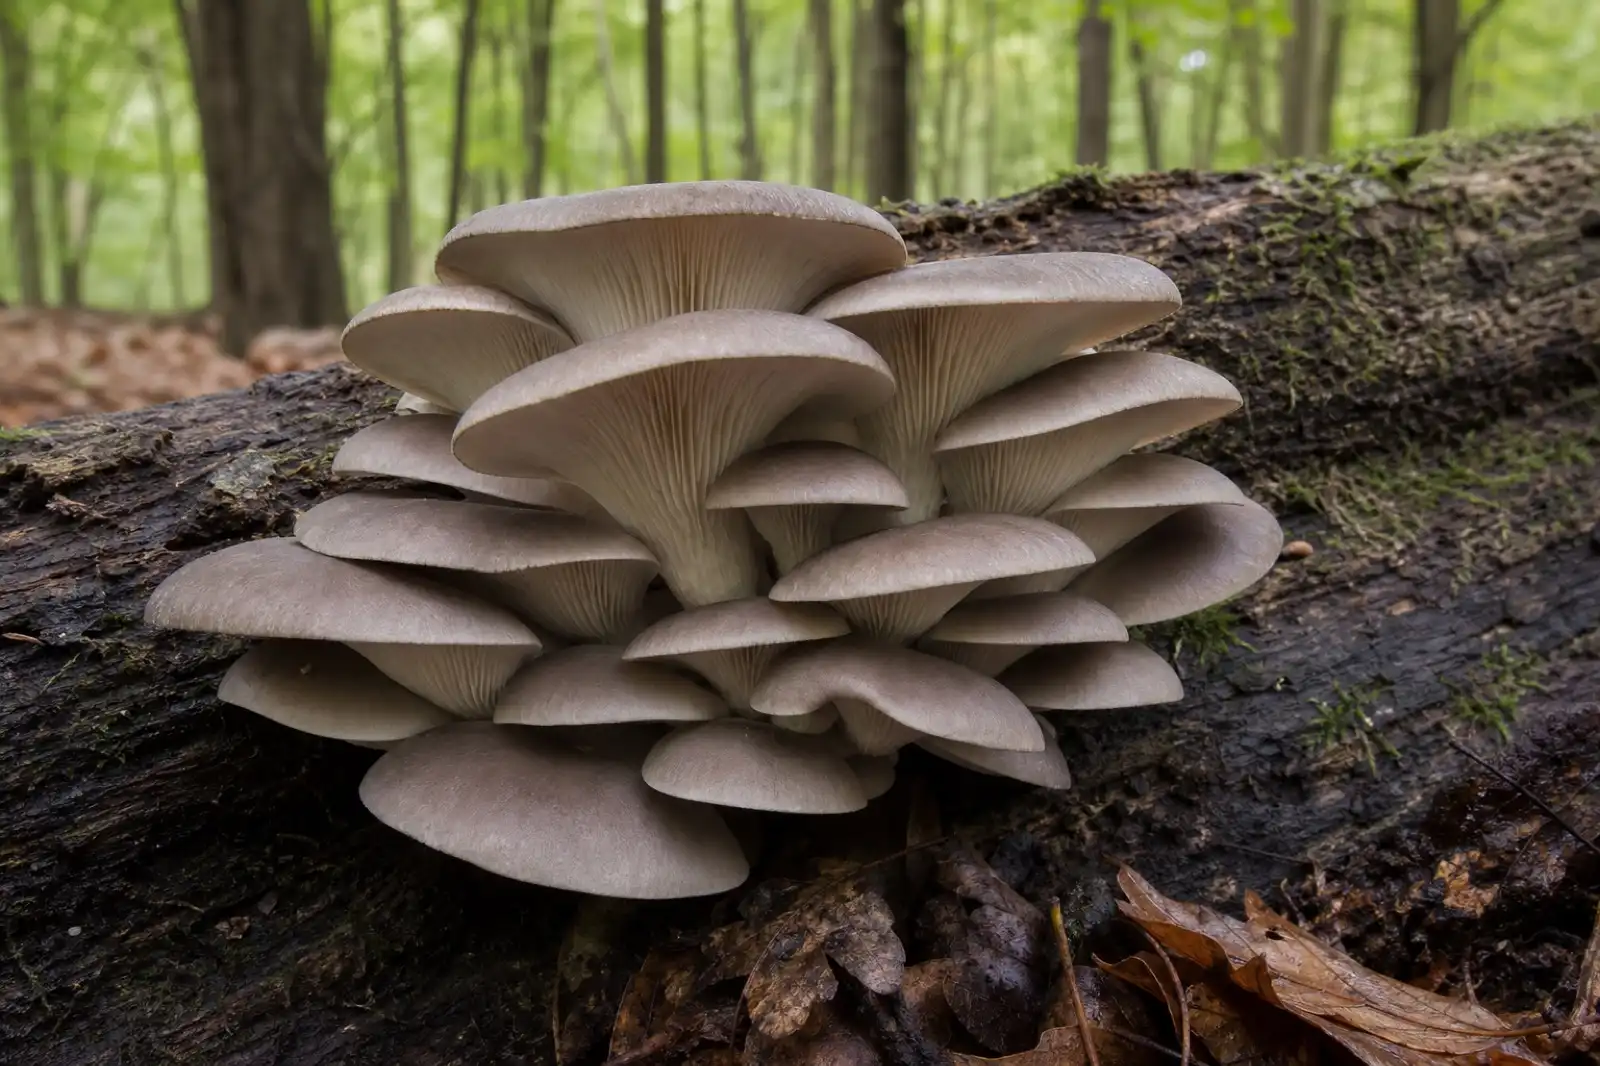
Pleurotus ostreatus: Oyster Mushroom Identification and Growing Guide
A careful guide to Pleurotus ostreatus identification, habitat, home cultivation, nutrition, lookalikes, food safety, and research limitations.
growing
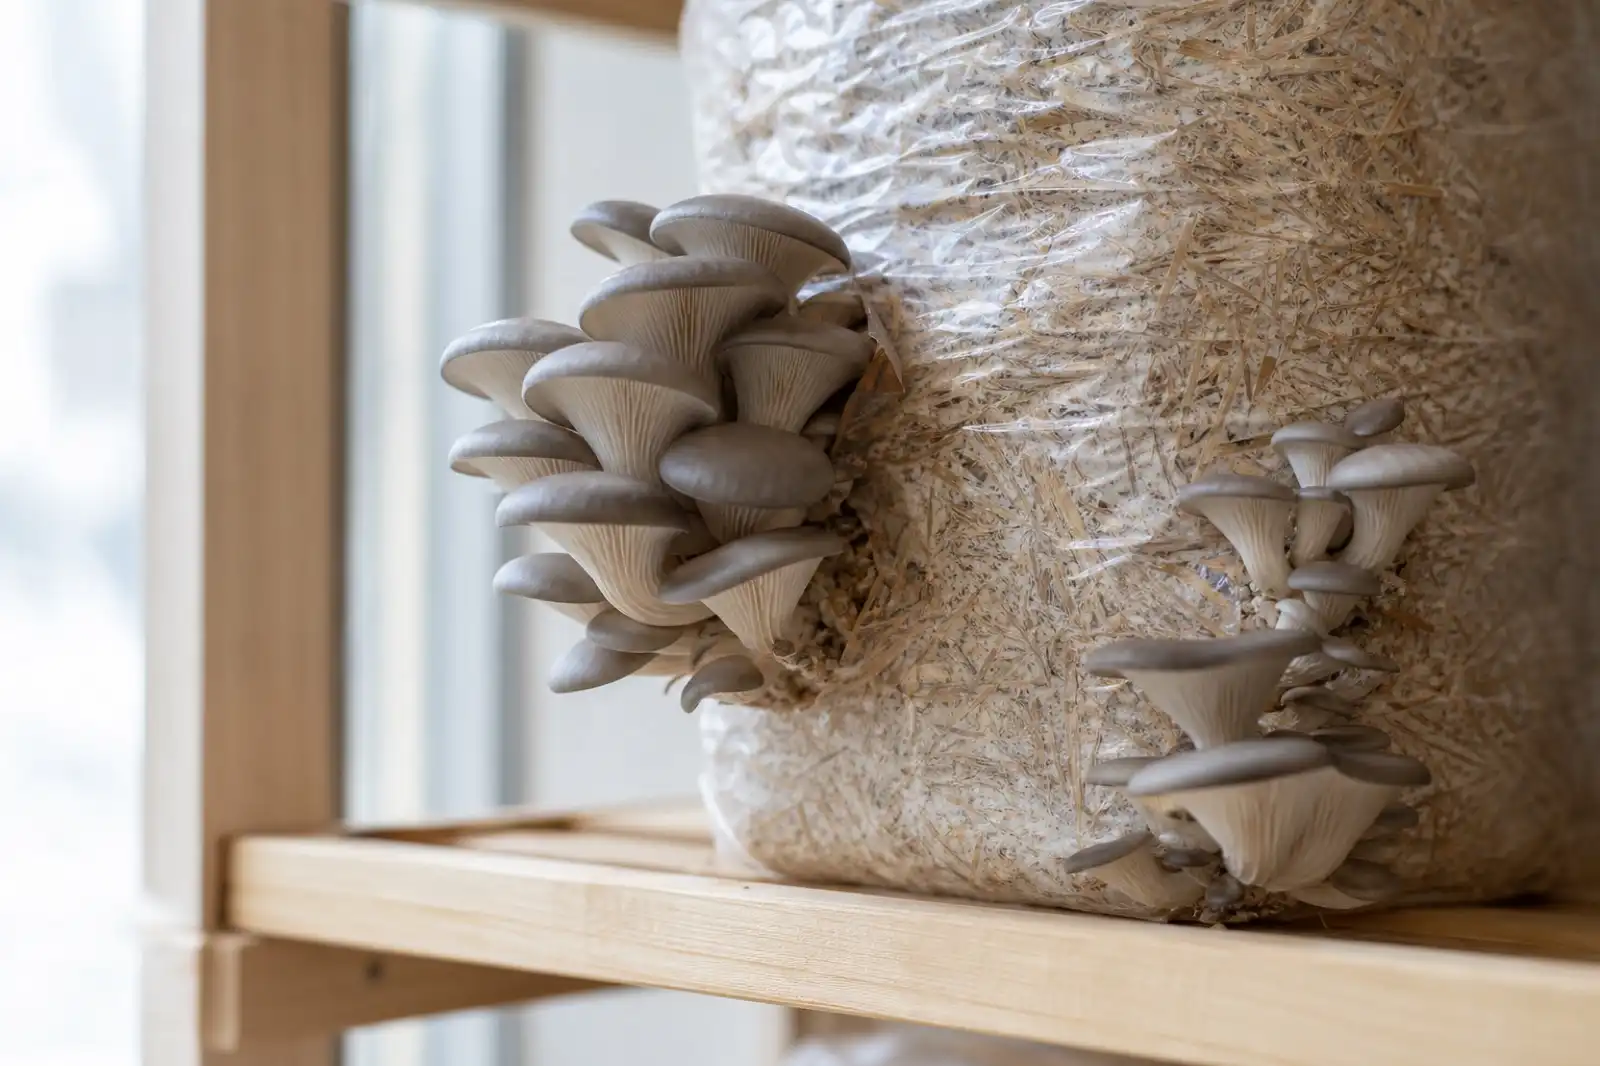
How to Grow Oyster Mushrooms at Home
Grow oyster mushrooms at home with a supplier-provided fruiting block: set up a clean observation routine, follow the culture label, and handle harvests safely.
recipes
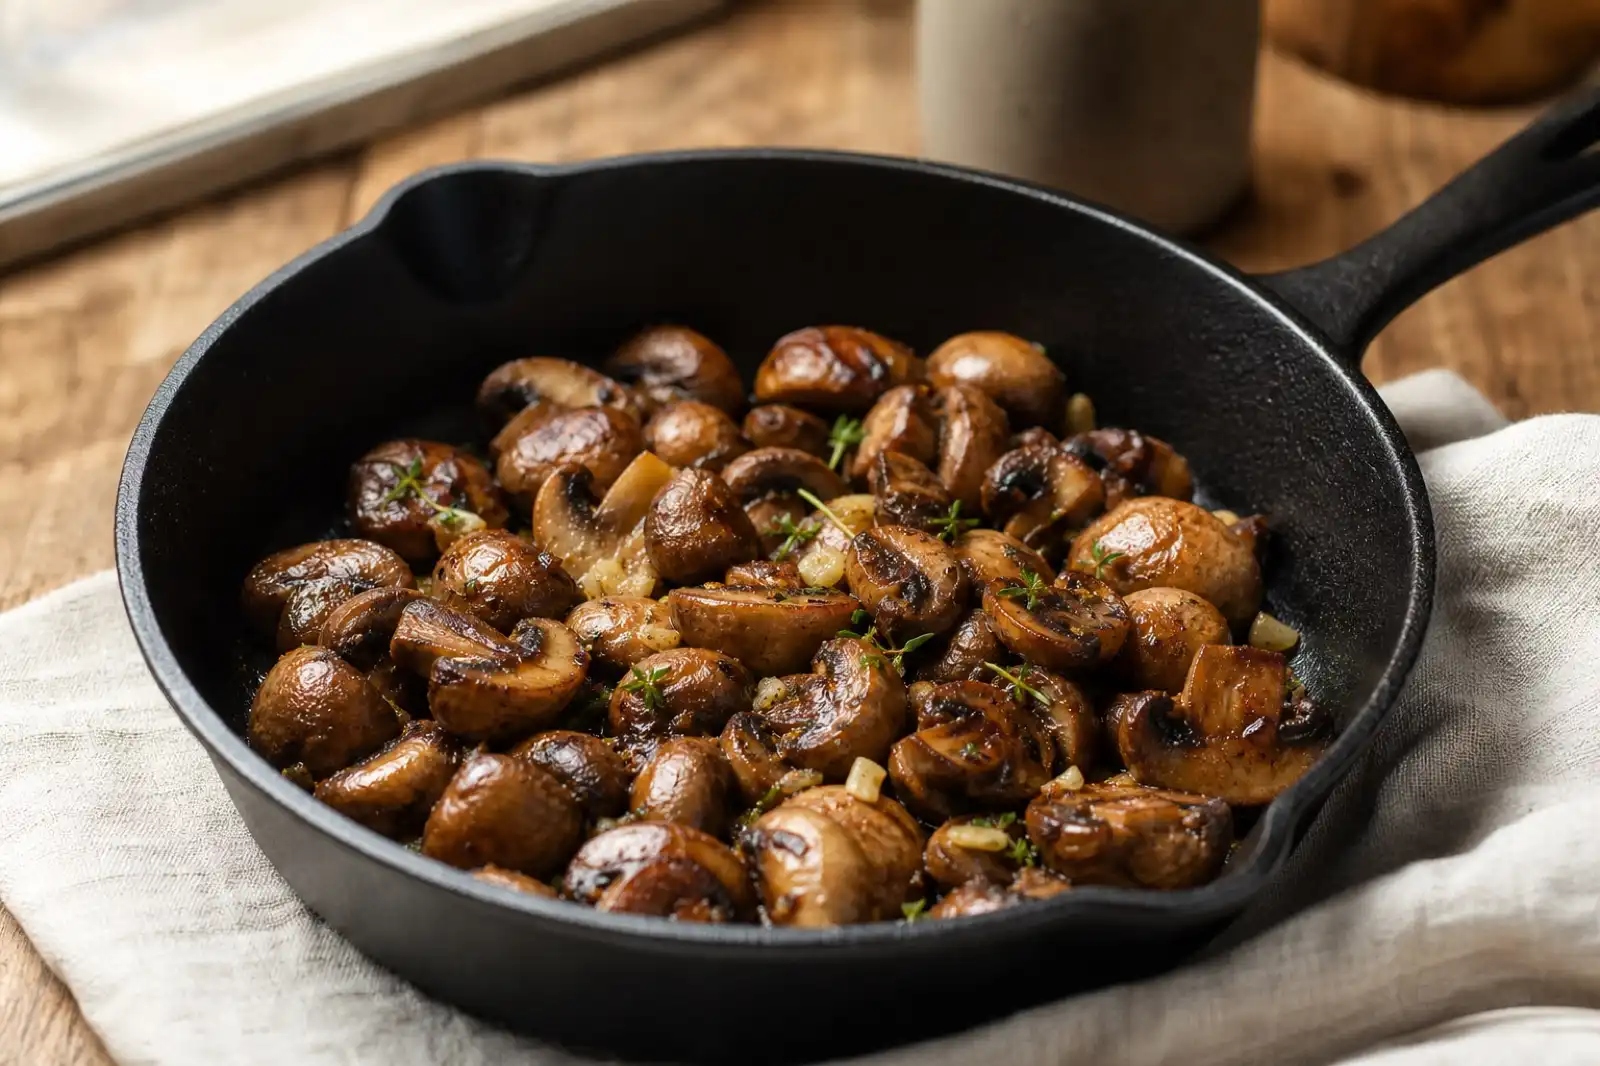
Easy Sautéed Mushrooms with Garlic and Herbs
Sauté cremini mushrooms with garlic and herbs using a wide-pan method, clear batch sizes, realistic timing, and safe storage advice.
Continue exploring
Browse more practical guides in Recipes or visit the mushroom encyclopedia.