Growing
Mushroom Grow-Room Sensors: Placement, Calibration, and Logs
Place and verify temperature, humidity, and carbon-dioxide sensors in a mushroom grow room using reference checks, mapped locations, and useful logs.
By MushroomScope Editorial Team · · Updated
Growing method
Start with authenticated culture
Use supplier-identified spawn or blocks and record substrate, stage, temperature, humidity, and visible changes.
Open the beginner growing hub →Food safety
Discard suspect batches
Unusual colors, slime, insects, or abnormal odor should be treated as a safety concern, not a climate tweak.
Review contamination guidance →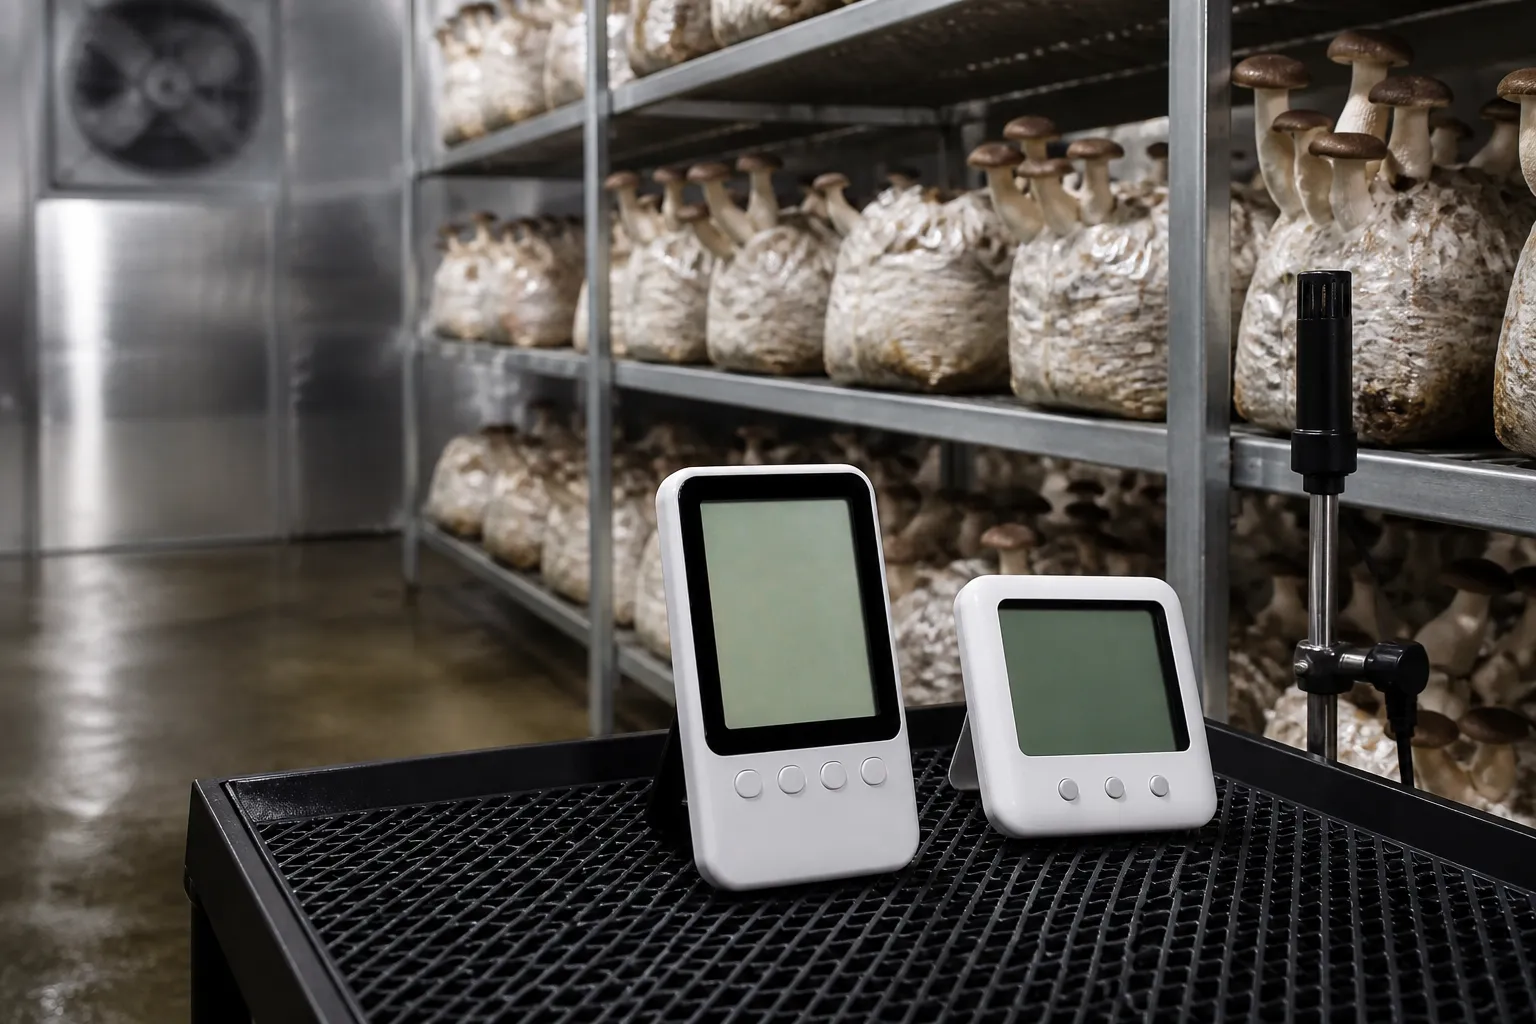
Measure the crop zone, not the room average
A sensor reports conditions at its own sensing element, not everywhere in a grow room. Shelves, crop blocks, fog outlets, doors, lights, fans, and exhaust paths create gradients. The useful reading is tied to crop height, species, growth stage, and a mapped position. A precise display in an unrepresentative location can guide worse decisions than a modest instrument placed and checked carefully.
Build a location code the log can preserve
Name positions by room, rack, shelf height, and rack depth—for example, R1-A3-MID-CENTER—rather than writing “middle sensor.” Attach the code to the device record and every exported column. When a logger moves, close the old location interval and open a new one; never let one time series silently represent two physical positions. A crop observation such as elongated oyster stems becomes useful only when it can be joined to the air measurement beside that cluster.
Map gradients before choosing locations
Begin with a temporary mapping survey. Place checked loggers at upper, middle, and lower shelves; near supply and return air; and at the center and edges of loaded racks. Run the normal humidification and ventilation cycle long enough to capture peaks and recovery. Move only permanent sensors after the pattern is visible. Do not infer uniformity from one handheld walk-through.
Survey both steady operation and disturbances
An empty-room map is only a baseline. Repeat the survey after racks are loaded because blocks obstruct air and add heat and moisture. Mark door openings, harvest work, fog cycles, exhaust starts, and washdown so a short excursion is not mistaken for a persistent dead zone. Compare the same clock interval across locations, then choose a permanent control point and at least one independent verification point where the map shows meaningful contrast.
Humidity sensors need protection and verification
Relative-humidity probes can drift or respond slowly after condensation. Keep them out of direct fog and droplets, allow air around the housing, and follow the manufacturer’s operating range. Compare instruments in the same stable environment before deployment and periodically afterward. A salt-check or reference chamber is useful only when its method, temperature, equilibration time, and expected uncertainty are understood.
Recognize a wetted probe in the data
A humidity trace pinned near its upper limit long after fog stops, especially when neighboring probes recover, may indicate condensation rather than room conditions. Record the wetting event, remove power only as the manufacturer directs, allow the specified recovery period, and verify the probe before returning it to control duty. Do not “correct” the raw values by hand. Flag the affected interval so summaries do not convert a sensor failure into hours of apparent high humidity.
Carbon-dioxide readings depend on airflow
Carbon-dioxide concentration can differ sharply between a breathing cluster, a stagnant corner, and exhaust air. Mount a crop-control sensor where representative air moves past it without receiving a direct jet. Outdoor-air checks can reveal gross offset but are not a complete calibration. Follow the meter’s specified zero and span procedure, gas requirements, warm-up, pressure, humidity, and automatic-baseline limitations.
Test ventilation response instead of trusting one number
During commissioning, record concentration before exhaust starts, the time to respond after airflow begins, the lowest stable reading, and the rebound after exhaust stops. Repeat at a crop-zone point and a suspected stagnant point. A sensor that barely changes may be isolated from moving air, slow, or faulty; a sensor beside the inlet may understate crop exposure. This response test describes the installed system without inventing a universal carbon-dioxide target for every species and stage.
Temperature needs air and substrate context
Air temperature does not equal substrate core temperature. Colonizing blocks generate metabolic heat, and wet-bulb effects near fog can cool a probe. Use a clean dedicated probe for representative substrate measurements without creating contamination pathways. Record whether a value is room air, surface, or core; never mix those fields in one chart or apply a generic species limit to the wrong measurement.
Pair core checks with the same block history
If core temperature is part of the decision, sample a predefined representative subset and record block identifier, recipe, inoculation date, position, depth, probe, and cleaning method. Do not repeatedly puncture every production unit. Plot core-to-air difference rather than treating the two readings as interchangeable. A growing difference across comparable blocks can prompt an airflow or metabolic-heat review, while one hot block requires inspection of that unit and its immediate neighbors.
Calibration, adjustment, and verification differ
Calibration compares an instrument with a traceable reference and may produce a correction; adjustment changes the instrument; verification confirms performance afterward. A two-meter agreement is not traceability when both may share the same bias. Retain certificates, reference uncertainty, date, technician or method, as-found and as-left results, and the acceptable tolerance for the cultivation decision.
Set tolerance from the decision being made
The acceptable error for a broad seasonal survey may be wider than the error allowed for an alarm close to a safety or crop limit. Write the tolerance before seeing the comparison. If a device fails, identify the last known acceptable check, quarantine the affected control interval, evaluate whether product or crop decisions relied on it, and document replacement or adjustment. Never backfill a clean-looking curve from another rack simply because the failed data are inconvenient.
Logging intervals should match the question
A one-minute interval may expose cycling but create unnecessary data for a slow seasonal question. Record enough detail to see humidifier overshoot, exhaust response, door events, and crop-stage changes. Preserve local time zone and clock synchronization. Summaries should retain minima, maxima, duration outside the chosen operating band, and missing-data flags rather than only a daily average.
Keep raw events behind every summary
Daily averages can hide a repeated ten-minute drying event or a fog overshoot. Retain time-stamped raw readings, then calculate duration above or below the chosen operating band, cycle amplitude, recovery time, and missing-data percentage. Store controller state and door events on the same clock. When resampling, state whether the summary uses arithmetic means, extrema, or time-weighted duration so later reviews can reproduce it.
Turn sensor disagreement into a diagnosis
When instruments disagree, colocate them temporarily, inspect condensation and filters, confirm units, wait for response, and compare clocks. Swap positions to separate device bias from location. Change no environmental controller until the discrepancy is characterized. The fruiting conditions guide explains crop responses; this page owns measurement quality and placement.
Before buying extra meters, map the air path and the places where crop blocks actually sit. The fruiting chamber guide provides the enclosure and airflow context; sensor placement should test that physical design rather than substitute for it.
Use a swap test to separate place from device
First colocate the two instruments long enough for their response to settle. Then exchange their original positions without changing the controller. If the difference follows the device, investigate calibration, contamination, response time, or configuration. If it follows the location, investigate airflow, radiant heat, fog, or rack obstruction. If neither pattern is stable, inspect timing and intermittent events. Record each phase; otherwise moving the probes erases the evidence needed to explain the disagreement.
Frequently asked questions
Commission sensors before trusting automation
Before a controller is allowed to switch fog, heat, cooling, or exhaust, observe the room with the controller in manual mode and compare each control sensor with a checked independent logger. Test normal set points, recovery after a door opening, humidifier shutdown, exhaust response, and alarm delivery. Confirm that a failed or disconnected probe produces a safe state rather than continuous heating or fogging.
Document controller deadband, minimum run time, sensor offset, alarm delay, and the physical output each relay controls. Photograph the installed probe location and label the record—not the public image—with its identifier. Recommission after moving racks, changing airflow, replacing fog equipment, updating firmware, or discovering a material drift. Automation can repeat a measurement error with exceptional consistency; commissioning is what connects the reading to the crop zone.
Measure the crop zone, not the room average?
A sensor reports conditions at its own sensing element, not everywhere in a grow room. Shelves, crop blocks, fog outlets, doors, lights, fans, and exhaust paths create gradients.
Map gradients before choosing locations?
Begin with a temporary mapping survey. Place checked loggers at upper, middle, and lower shelves; near supply and return air; and at the center and edges of loaded racks.
Humidity sensors need protection and verification?
Relative-humidity probes can drift or respond slowly after condensation. Keep them out of direct fog and droplets, allow air around the housing, and follow the manufacturer’s operating range.
Carbon-dioxide readings depend on airflow?
Carbon-dioxide concentration can differ sharply between a breathing cluster, a stagnant corner, and exhaust air. Mount a crop-control sensor where representative air moves past it without receiving a direct jet.
Temperature needs air and substrate context?
Air temperature does not equal substrate core temperature. Colonizing blocks generate metabolic heat, and wet-bulb effects near fog can cool a probe.
References
Source quality notes
MushroomScope cites sources that match the page scope, such as taxonomic databases, extension guidance, food-safety agencies, food-composition databases, and peer-reviewed or institutional health references. Sources support context and uncertainty; they do not turn an online page into specimen identification, medical advice, or a tested recipe record.
Frequently asked questions
Measure the crop zone, not the room average?
A sensor reports conditions at its own sensing element, not everywhere in a grow room. Shelves, crop blocks, fog outlets, doors, lights, fans, and exhaust paths create gradients.
Map gradients before choosing locations?
Begin with a temporary mapping survey. Place checked loggers at upper, middle, and lower shelves; near supply and return air; and at the center and edges of loaded racks.
Humidity sensors need protection and verification?
Relative-humidity probes can drift or respond slowly after condensation. Keep them out of direct fog and droplets, allow air around the housing, and follow the manufacturer’s operating range.
Carbon-dioxide readings depend on airflow?
Carbon-dioxide concentration can differ sharply between a breathing cluster, a stagnant corner, and exhaust air. Mount a crop-control sensor where representative air moves past it without receiving a direct jet.
Temperature needs air and substrate context?
Air temperature does not equal substrate core temperature. Colonizing blocks generate metabolic heat, and wet-bulb effects near fog can cool a probe.
Related guides
growing
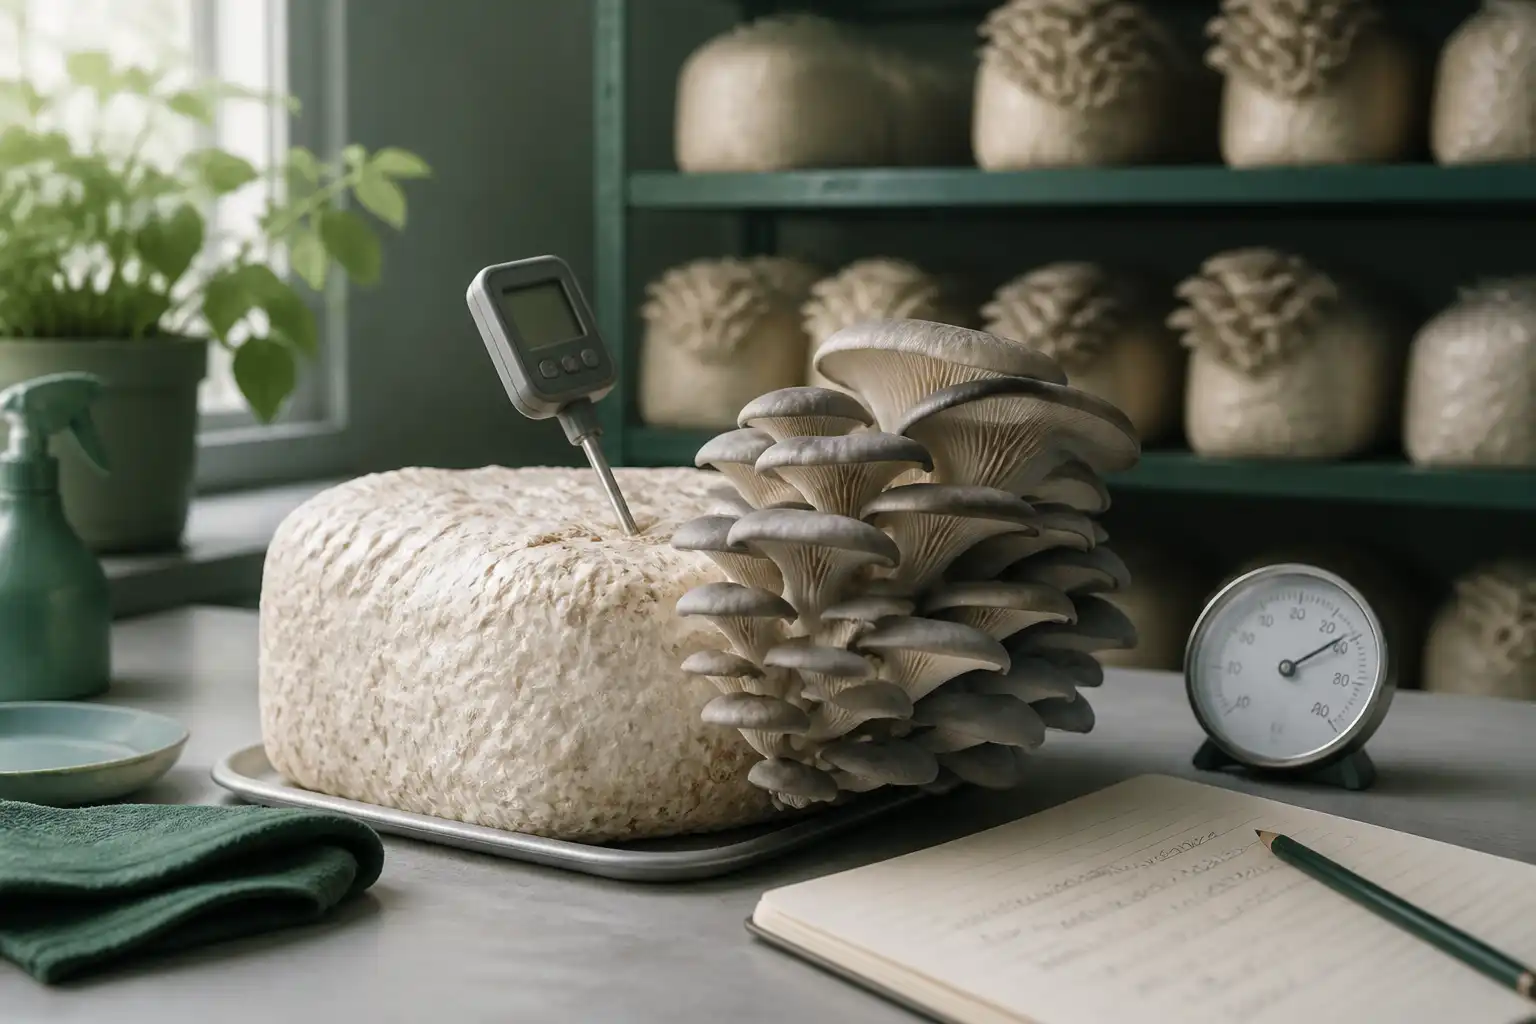
Mushroom Growing Temperatures: Use a Batch Log, Not a Generic Chart
Set and troubleshoot mushroom growing temperatures with a species- and batch-specific log instead of copying universal incubation or fruiting numbers.
growing
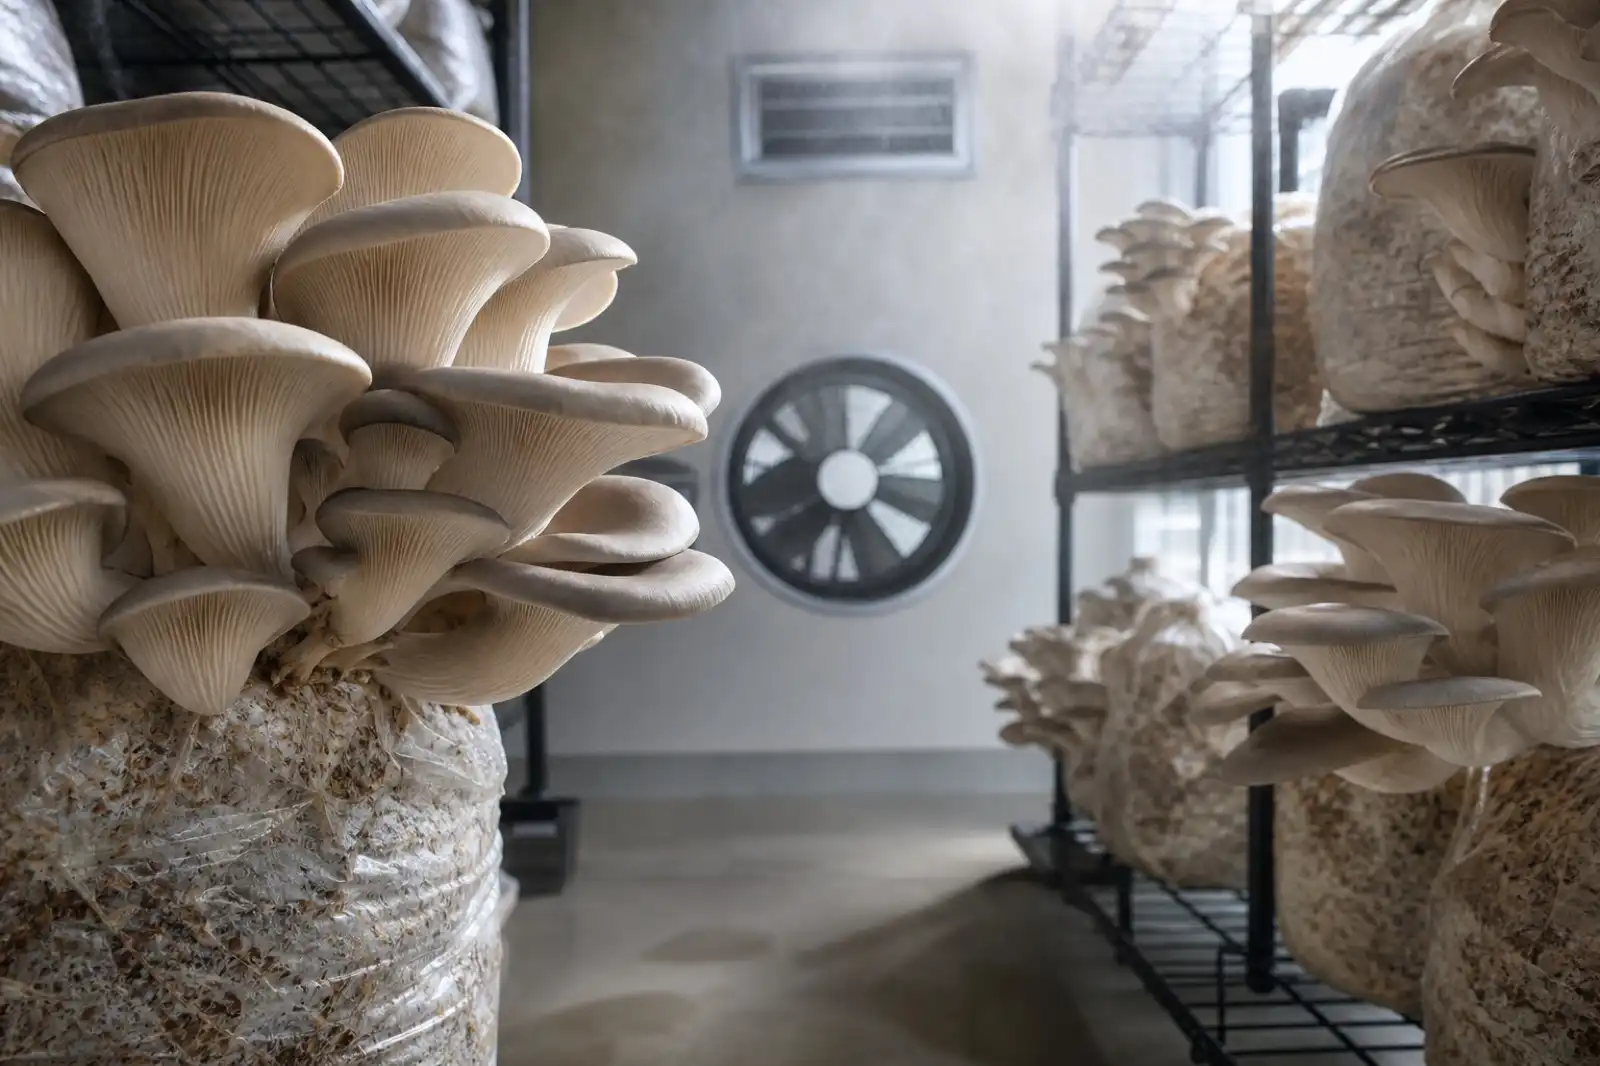
Mushroom Fruiting Conditions: Humidity, Air, Light, and Temperature
Use humidity, fresh air, light, and temperature as a linked observation system for authenticated cultivated mushroom blocks—not a universal settings chart.
growing
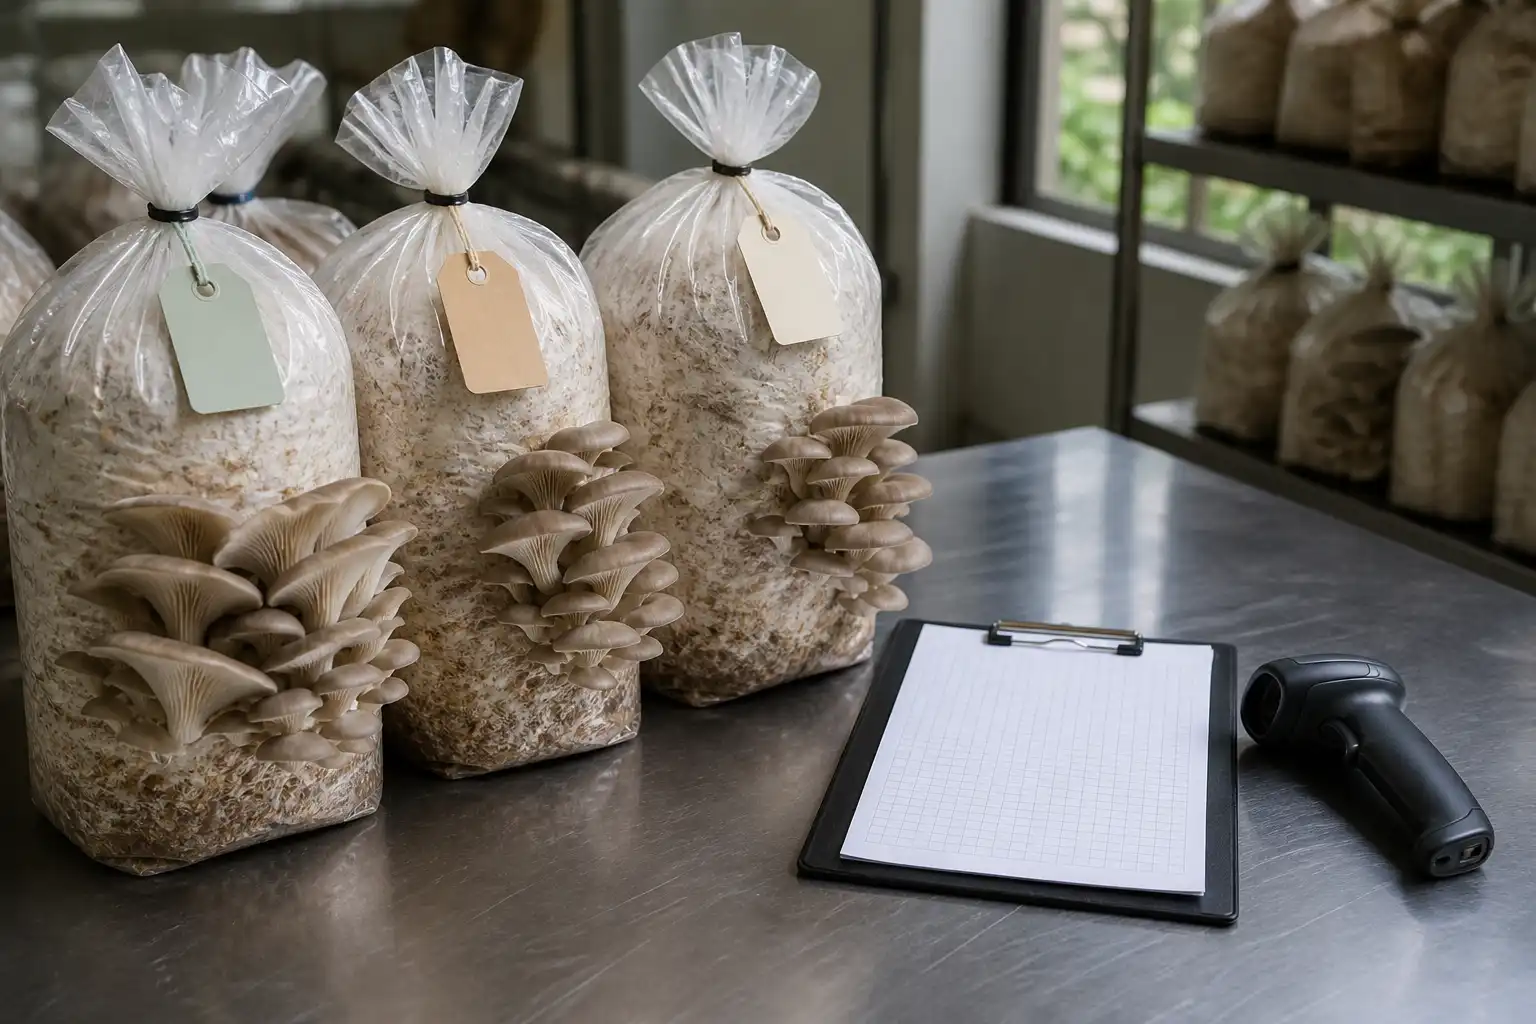
Mushroom Batch Records: Build Traceability From Culture to Harvest
Build mushroom batch records that connect culture, substrate, rooms, observations, harvests, deviations, and corrective actions without false precision.
Continue exploring
Browse more practical guides in Growing or visit the mushroom encyclopedia.