Identification
Mushroom Identification Safety Checklist
Use a conservative checklist before handling, documenting, or discussing any wild mushroom, especially when edibility is being considered.
By MushroomScope Editorial Team · · Updated
Safety first
Use as a field-record guide
Document the whole mushroom, habitat, substrate, and region before comparing names or photographs.
Open the identification safety hub →Decision limit
Do not use this as an edibility verdict
Wild mushroom consumption decisions require qualified local, in-person confirmation of the complete specimen.
Read the safety disclaimer →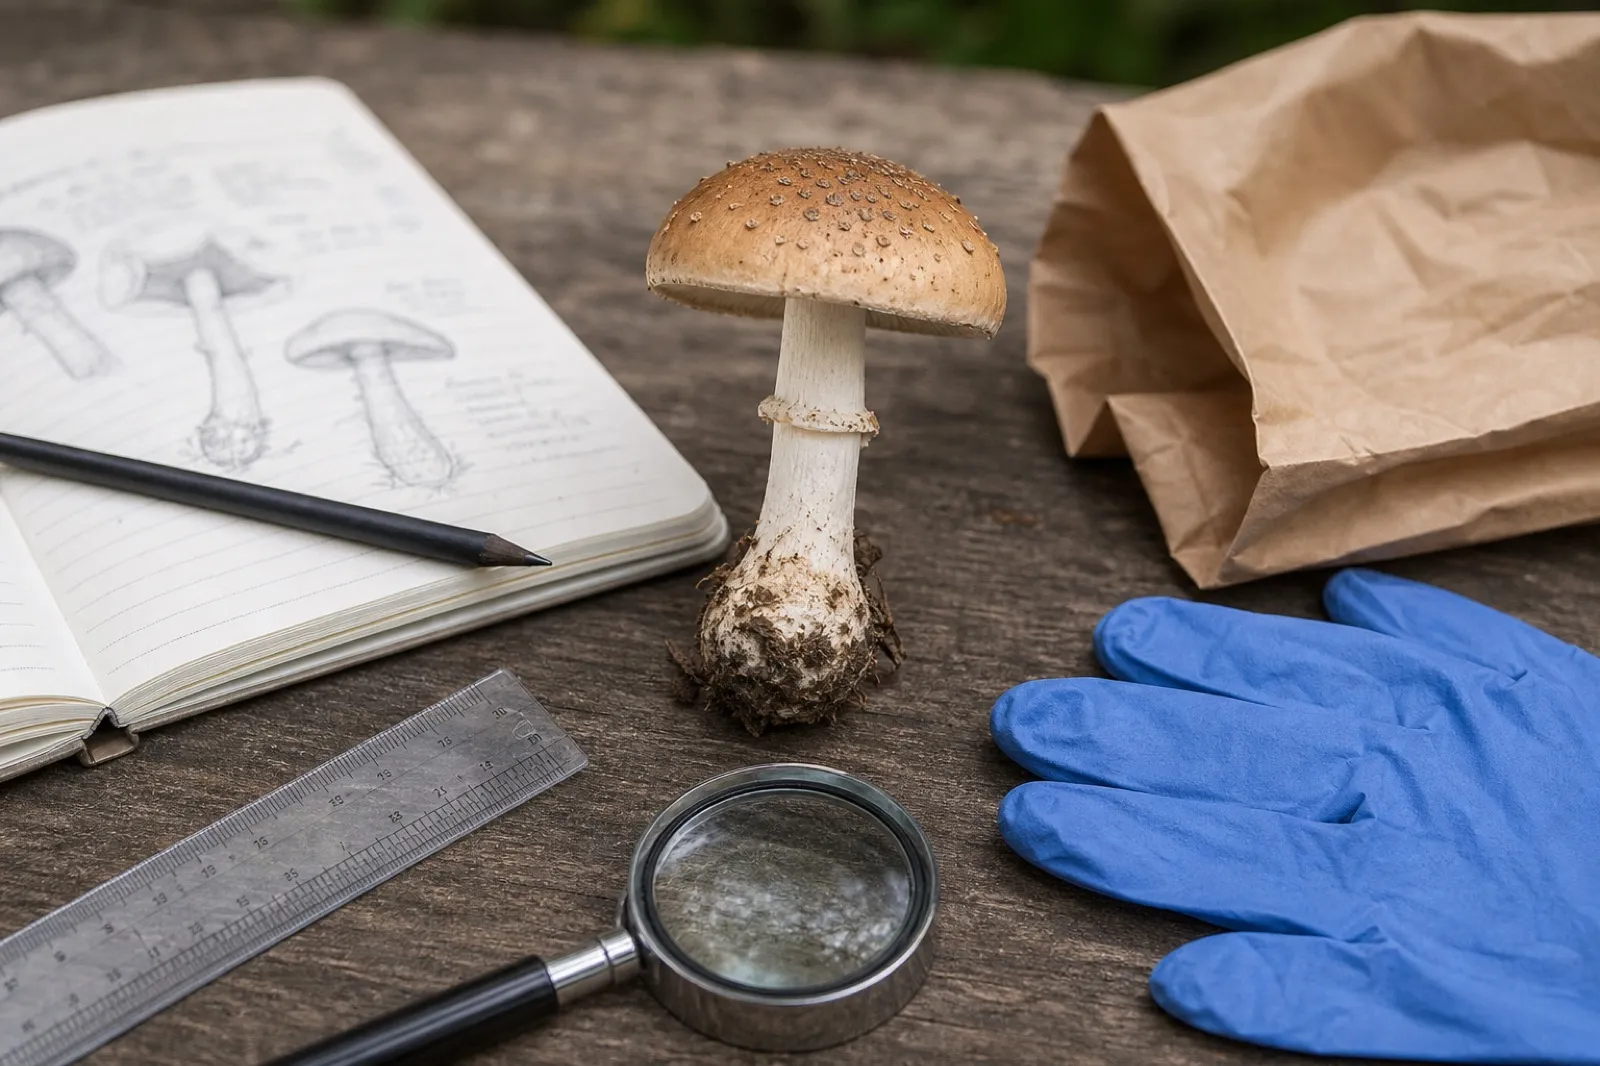
Safety rule: identification for learning and identification for eating are different decisions. A reasonable genus-level observation may be useful for a field note, while a food decision demands much stronger evidence and qualified local, in-person confirmation.
Before leaving home: set limits and prepare
Decide whether the outing is for photography, scientific documentation, or lawful collection. If you lack permission, suitable containers, location-aware references, or a way to keep unknown fungi away from food, restrict the activity to photography.
Carry a regional field guide or current key, notebook, ruler, camera, waxed paper or separate paper bags, labels, and a hand lens. A small knife can expose internal structures when collection is legal. Gloves can be useful around decayed material, but they do not turn an unknown specimen into a safe object for a food basket.
Save the local poison-center number before entering an area with poor reception. In the United States, Poison Control is 1-800-222-1222. Elsewhere, use the official poison center or emergency service for that country. This preparation is not alarmist: CDC analysis of accidental poisonous mushroom ingestions documents that wild-mushroom mistakes can cause serious illness and death.
Keep children and pets close. Teach them not to taste wild fungi. Most handling is less dangerous than ingestion, but hand-to-mouth transfer, allergies, decay, and contamination still justify washing hands and keeping specimens away from snacks and utensils.
Stage 1: document the mushroom before moving it
The first photographs should show the fruit bodies exactly where they grew. Include a wide habitat view, a closer view of the group, and the precise substrate. “In a forest” is not enough; record soil, leaf litter, moss, dung, living wood, dead log, stump, mulch, buried wood, or another material.
Note nearby trees and whether they are living or dead. Tree association can be decisive for some fungi, but roots spread and buried wood can mislead, so describe what you observe rather than asserting a partnership you have not demonstrated. Record date, region, elevation if available, recent rain, slope, and whether specimens are solitary, scattered, clustered, fused, or shelf-forming.
Photograph several ages. Young mushrooms can conceal features such as gill color, a partial veil, or the final cap shape. Old specimens may fade, split, attract insects, or lose a ring. One abnormal fruit body should not define the species.
Stage 2: retain the complete specimen
Where collection is lawful, excavate rather than snapping the stem at ground level. A buried cup, bulb, rooting extension, cords, or colored tissue at the base may be critical. Never trim the base to make the specimen look clean.
Keep unlike specimens separate and label each group at collection time. Mixing two similar species in one basket can defeat an otherwise careful identification. Use breathable paper rather than a sealed plastic bag that accelerates decay. Unknown specimens should never share a container with food.
Do not taste an unidentified mushroom. Older identification traditions sometimes mention taste for narrowly defined expert procedures, but beginners should not use it, and taste never establishes edibility. Avoid deeply inhaling odors or deliberately exposing skin to juices.
Stage 3: record visible structures systematically
Cap and margin
Measure cap width and height in millimeters. Describe shape in plain language, then record color in neutral daylight, surface moisture, texture, scales, fibers, cracks, zones, warts, and margin form. Note whether coverings can be rubbed away and whether the cap changes after handling.
Color is variable. Rain, sunlight, age, camera white balance, and display processing can alter it. A color match is supporting evidence at best; it should never override structural conflicts.
Fertile surface under the cap
Turn the specimen without damaging it and determine whether the fertile surface has gills, pores, teeth, folds, tubes, or a smooth surface. For gills, record attachment to the stem, spacing, thickness, forking, short gills, color in young and mature specimens, and bruising. For pores, record pore shape, density, tube depth, and color changes.
The photo checklist provides the angles needed for remote discussion. An attractive top-down cap photograph is rarely the most diagnostic image.
Stem, veil remnants, and complete base
Measure the stem and describe position, taper, texture, hollowness, internal chambers, bruising, and attachment to the cap. Record any ring, skirt, ring zone, web-like veil, or flakes. A ring can disappear with age, and a volva or cup can remain underground.
Never decide that a mushroom is safe because one “warning sign” is absent. Many toxic mushrooms lack a conspicuous ring or cup, while some nonlethal species have them. Review poisonous mushroom warning signs as reasons for caution, not as a binary test.
Flesh and change over time
Make a clean section through cap, stem, and base when a key requires it. Record flesh color, thickness, chambers, staining sequence, latex, and texture. Photograph immediately and again after a timed interval because some reactions develop slowly.
Avoid applying chemicals unless a trusted key calls for a specific reagent and you know how to handle it. A dramatic color reaction is not meaningful without the correct species group, concentration, procedure, and comparison.
Stage 4: use a spore print appropriately
A spore deposit can narrow possibilities, but print colors overlap across many taxa. Use mature, fresh material. Place part of the cap over both light and dark nonabsorbent surfaces, cover it to limit air movement, label it, and keep the setup away from food-preparation areas.
Distinguish a real deposit from gill fragments, moisture, or cap pigments. Record the massed color rather than the color of individual spores, which may appear nearly transparent without microscopy. The spore-print guide explains collection and limitations.
A missing deposit does not prove a particular spore color; the cap may be immature, old, dry, or damaged. Microscopy may be essential for species that look alike macroscopically, and calibrated measurements require training and suitable equipment.
Stage 5: test a complete hypothesis
Start with a current regional key, not image search. Work through both matching and conflicting characters. The hypothesis should explain cap, fertile surface, stem, base, flesh, spore deposit, ecology, season, and geographic range together.
Create a short evidence table with three columns: observed feature, expected feature, and agreement or conflict. Write “not observed” instead of filling a gap with what the candidate species is supposed to show. One unexplained decisive conflict is more important than ten superficial similarities.
Check current scientific names through taxonomy resources and use GBIF distribution records as supporting context. Database presence does not prove a specimen, and absence may reflect limited recording. Local keys, herbarium resources, and experienced regional identifiers remain essential.
Stage 6: understand what apps and online groups can do
An app can rank visual candidates, and an online community can suggest which key to consult. Neither can inspect a missing base, confirm texture, reconstruct altered colors, perform microscopy, or guarantee that all specimens in a basket are the same species.
Upload the complete observation set rather than asking “edible?” beneath one image. State region, date, habitat, substrate, measurements, spore color, and whether the specimen was sectioned. Treat replies as hypotheses. Popular agreement, confidence percentages, badges, and image similarity are not food clearance.
Remote experts may reasonably refuse an edibility decision. That is a safety boundary, not a failure to help. The general identification workflow shows how to turn suggestions into a better documented record.
Stage 7: apply a separate food-decision gate
Do not eat a wild mushroom unless a qualified local expert has examined the complete specimen in person and confirmed the relevant species and local context. Confirm every specimen, not one representative cap from a mixed collection.
Correct identity is only one gate. Also consider legal collection, pollution or pesticide exposure, spoilage, storage, cooking requirements, medication or health concerns, allergy, and individual intolerance. Some mushrooms considered edible can still cause illness when raw, undercooked, old, contaminated, or eaten by a sensitive person.
Do not serve a foraged mushroom to someone who did not knowingly accept the risk, and do not give it to a child, pregnant person, or medically vulnerable person based on a webpage. Local public-health advice and the in-person expert’s limits take priority.
Stop conditions: keep the record unresolved
Stop the food decision when the base is missing, the underside was not documented, specimens of different ages disagree, habitat conflicts, the spore deposit is ambiguous, a regional toxic lookalike has not been excluded, or the proposed species is outside a credible range.
Also stop when the identification depends on a single character, a common name, a seller’s statement, a family tradition applied to a new region, or a preparation method intended to “remove” unknown toxins. Cooking does not make a misidentified mushroom safe.
Use confidence labels honestly: family candidate, genus candidate, species hypothesis, or verified specimen. “Probably” is not a food category.
If ingestion or poisoning is suspected
Contact a poison center or emergency service immediately; do not wait for symptoms or an online identification. Call emergency services for severe vomiting or diarrhea, fainting, confusion, seizures, breathing difficulty, extreme weakness, or rapidly worsening illness.
Do not induce vomiting and do not give a home remedy unless a poison specialist directs it. If safe, preserve uncooked mushrooms, cooking scraps, leftovers, vomited material requested by clinicians, photographs, and collection notes. Record who ate the food, when, how much, how it was prepared, and when symptoms began.
Keep the original materials separated and refrigerated if instructed. A mycologist working with a poison center may use them to support identification. Symptom timing alone cannot safely identify the toxin, and an apparent early recovery does not rule out delayed organ injury from some mushrooms.
Final checklist
Before closing an observation, confirm that you have habitat photographs, exact substrate, complete bases, cap and fertile-surface views, measurements, several ages, a longitudinal section when relevant, and a regional key comparison. Record every conflict and preserve the original files.
Before any food decision, add qualified local in-person confirmation, separation of every specimen, storage and cooking guidance, and an emergency contact plan. If one of those elements is missing, the safe result is simple: document the mushroom, but do not eat it.
The edible mushroom lookalikes guide applies this stop/go logic to chanterelles, morels, pale gilled fungi, puffballs, boletes, and brackets without offering eating clearance.
References
Source quality notes
MushroomScope cites sources that match the page scope, such as taxonomic databases, extension guidance, food-safety agencies, food-composition databases, and peer-reviewed or institutional health references. Sources support context and uncertainty; they do not turn an online page into specimen identification, medical advice, or a tested recipe record.
Frequently asked questions
Can mushroom identification safety checklist confirm that a mushroom is edible?
No. This guide organizes observations only. Never eat a wild mushroom unless a qualified local expert has examined the complete specimen in person.
Is one photograph enough for identification?
No. Photograph the cap, fertile surface, intact stem base, habitat, substrate, and several developmental stages, and record location and date.
What should I do when features conflict?
Keep the identification unresolved. Recheck local keys and current taxonomy, preserve the original observations, and seek qualified in-person help.
Can an identification app clear a mushroom for eating?
No. An app can suggest candidates, but it cannot reliably inspect the whole specimen, regional variation, hidden structures, microscopy, or toxic lookalikes.
What should be saved after a suspected mushroom poisoning?
If safe, preserve uncooked material, cooked leftovers, cleaning scraps, photographs, location details, and meal timing, then contact a poison center or emergency service immediately.
Related guides
identification
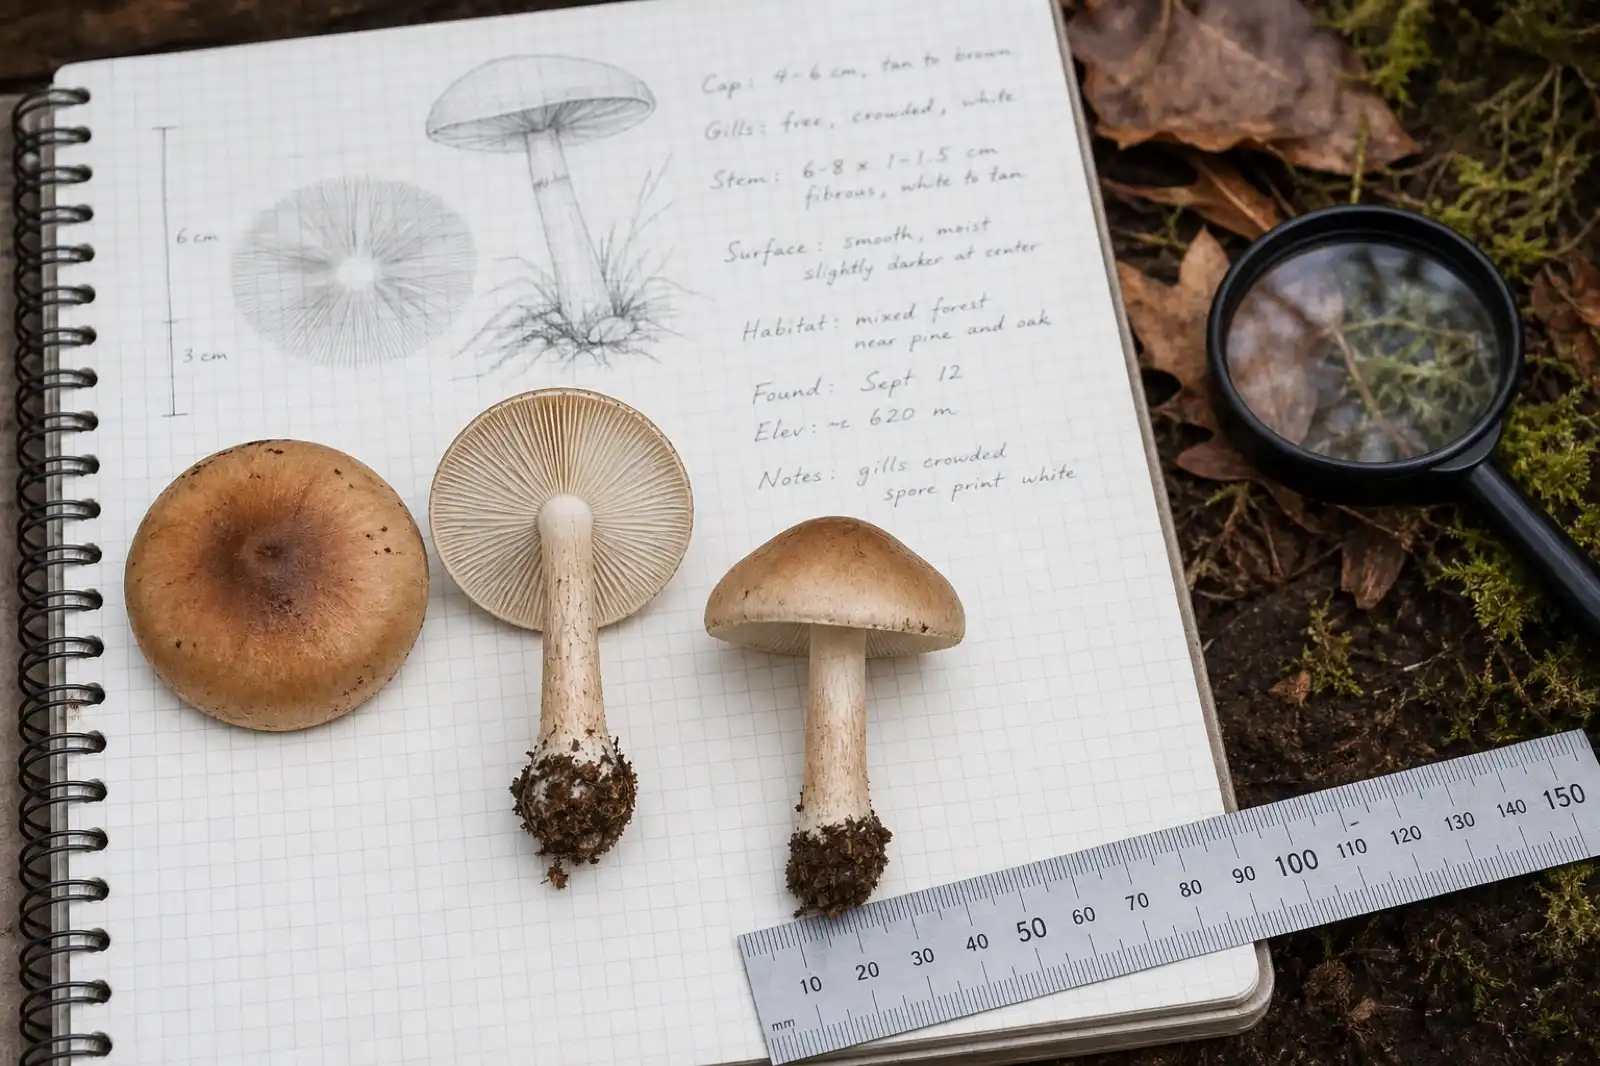
How to Identify Mushrooms: A Beginner's Field Guide
Build an identification from the whole specimen, substrate, habitat, spore deposit, and location—not from a single photograph.
identification
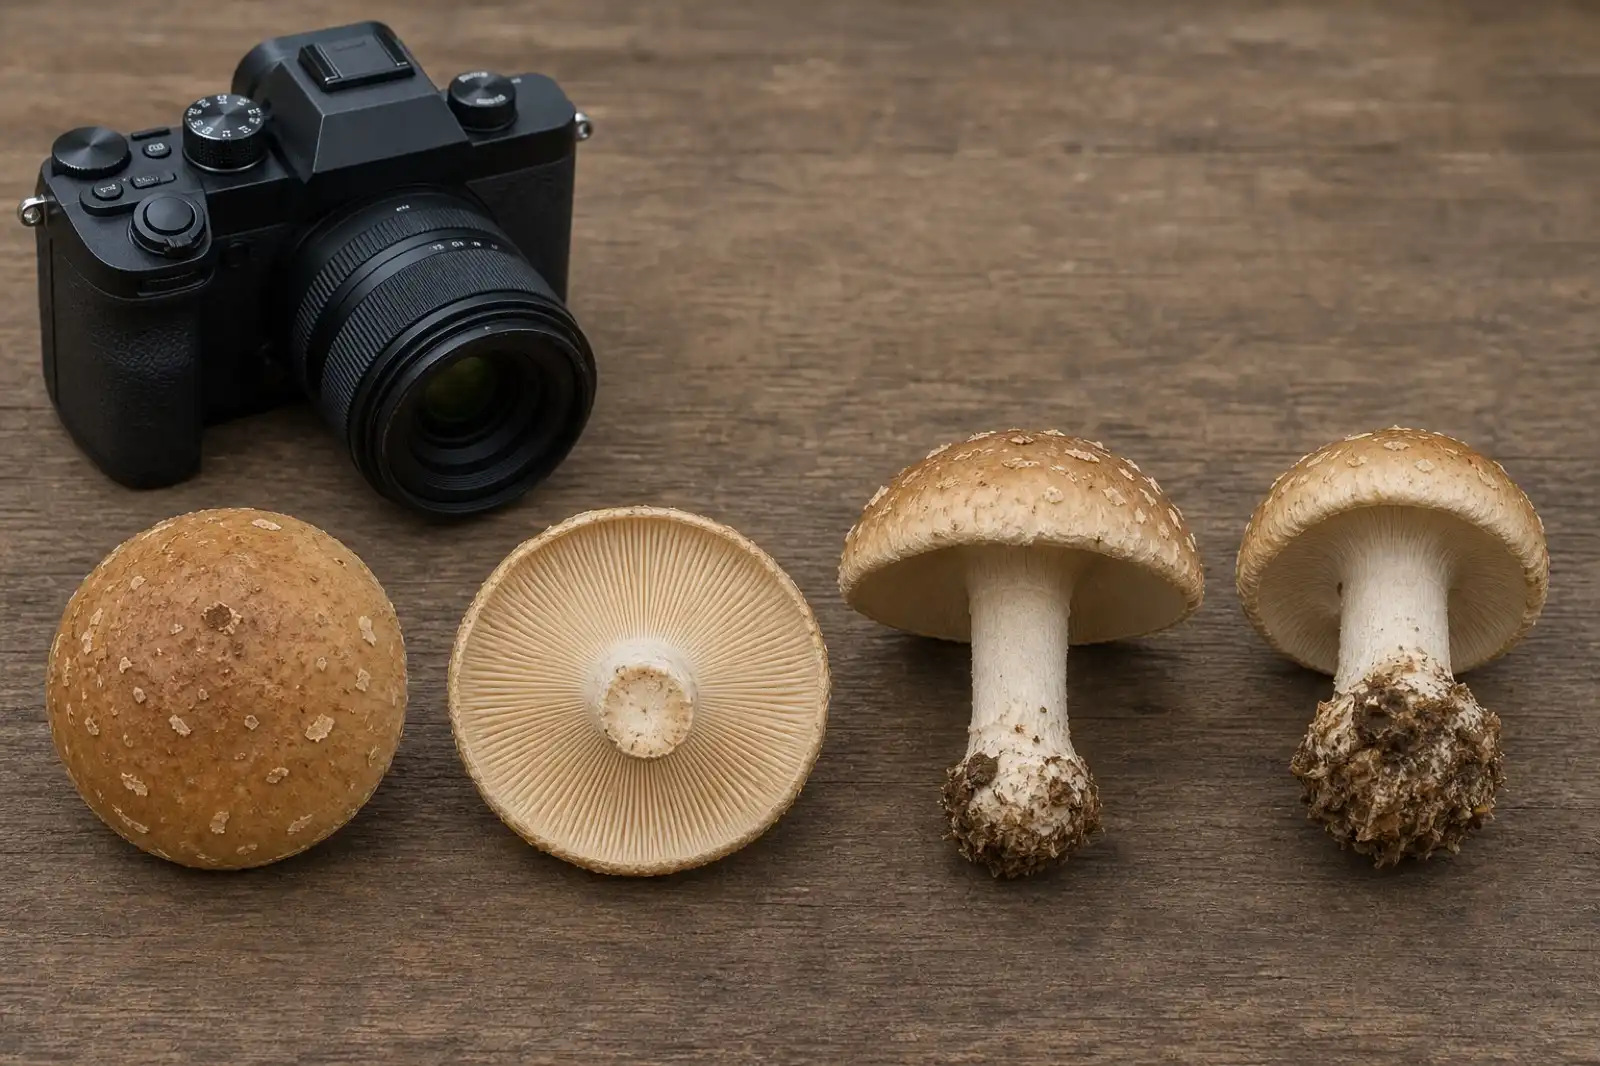
Mushroom Photography Checklist for Identification
Capture the cap, underside, complete stem base, habitat, scale, and specimens at different ages before asking for identification help.
identification
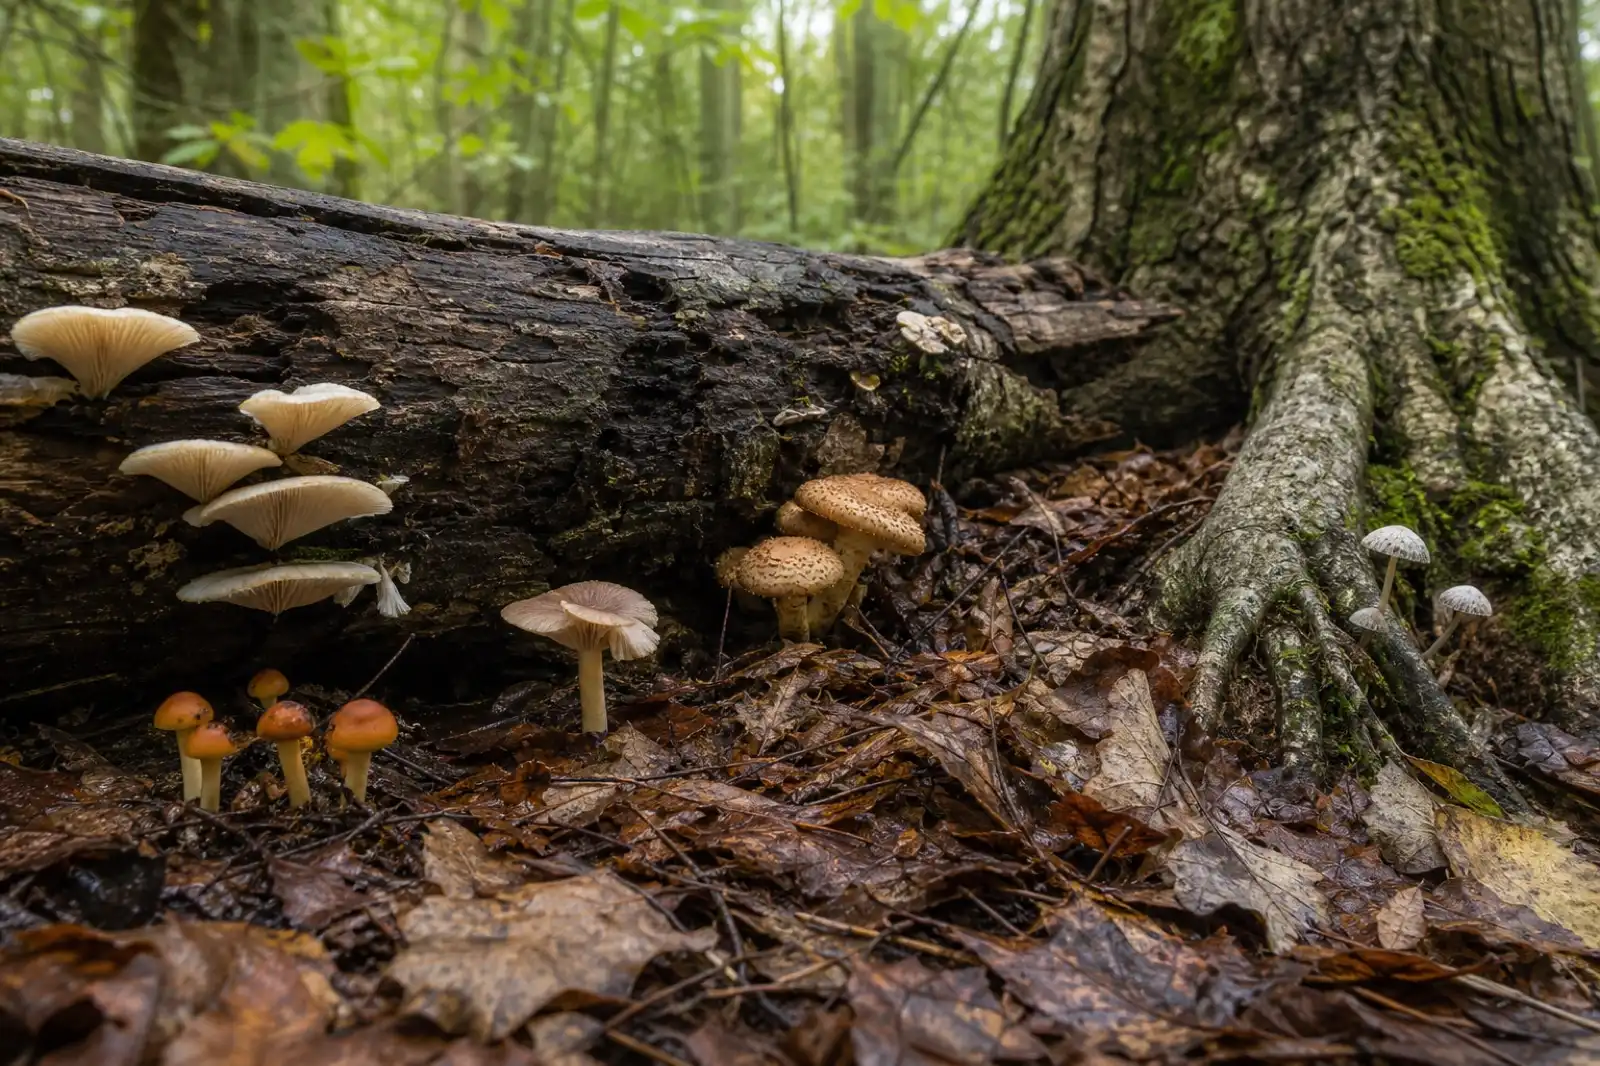
Using Habitat to Identify Mushrooms
Record substrate, associated plants, soil, wood type, moisture, elevation, and fruiting pattern as identification evidence.
Continue exploring
Browse more practical guides in Identification or visit the mushroom encyclopedia.