Identification
Mushroom Photography Checklist for Identification
Capture the cap, underside, complete stem base, habitat, scale, and specimens at different ages before asking for identification help.
By MushroomScope Editorial Team · · Updated
Safety first
Use as a field-record guide
Document the whole mushroom, habitat, substrate, and region before comparing names or photographs.
Open the identification safety hub →Decision limit
Do not use this as an edibility verdict
Wild mushroom consumption decisions require qualified local, in-person confirmation of the complete specimen.
Read the safety disclaimer →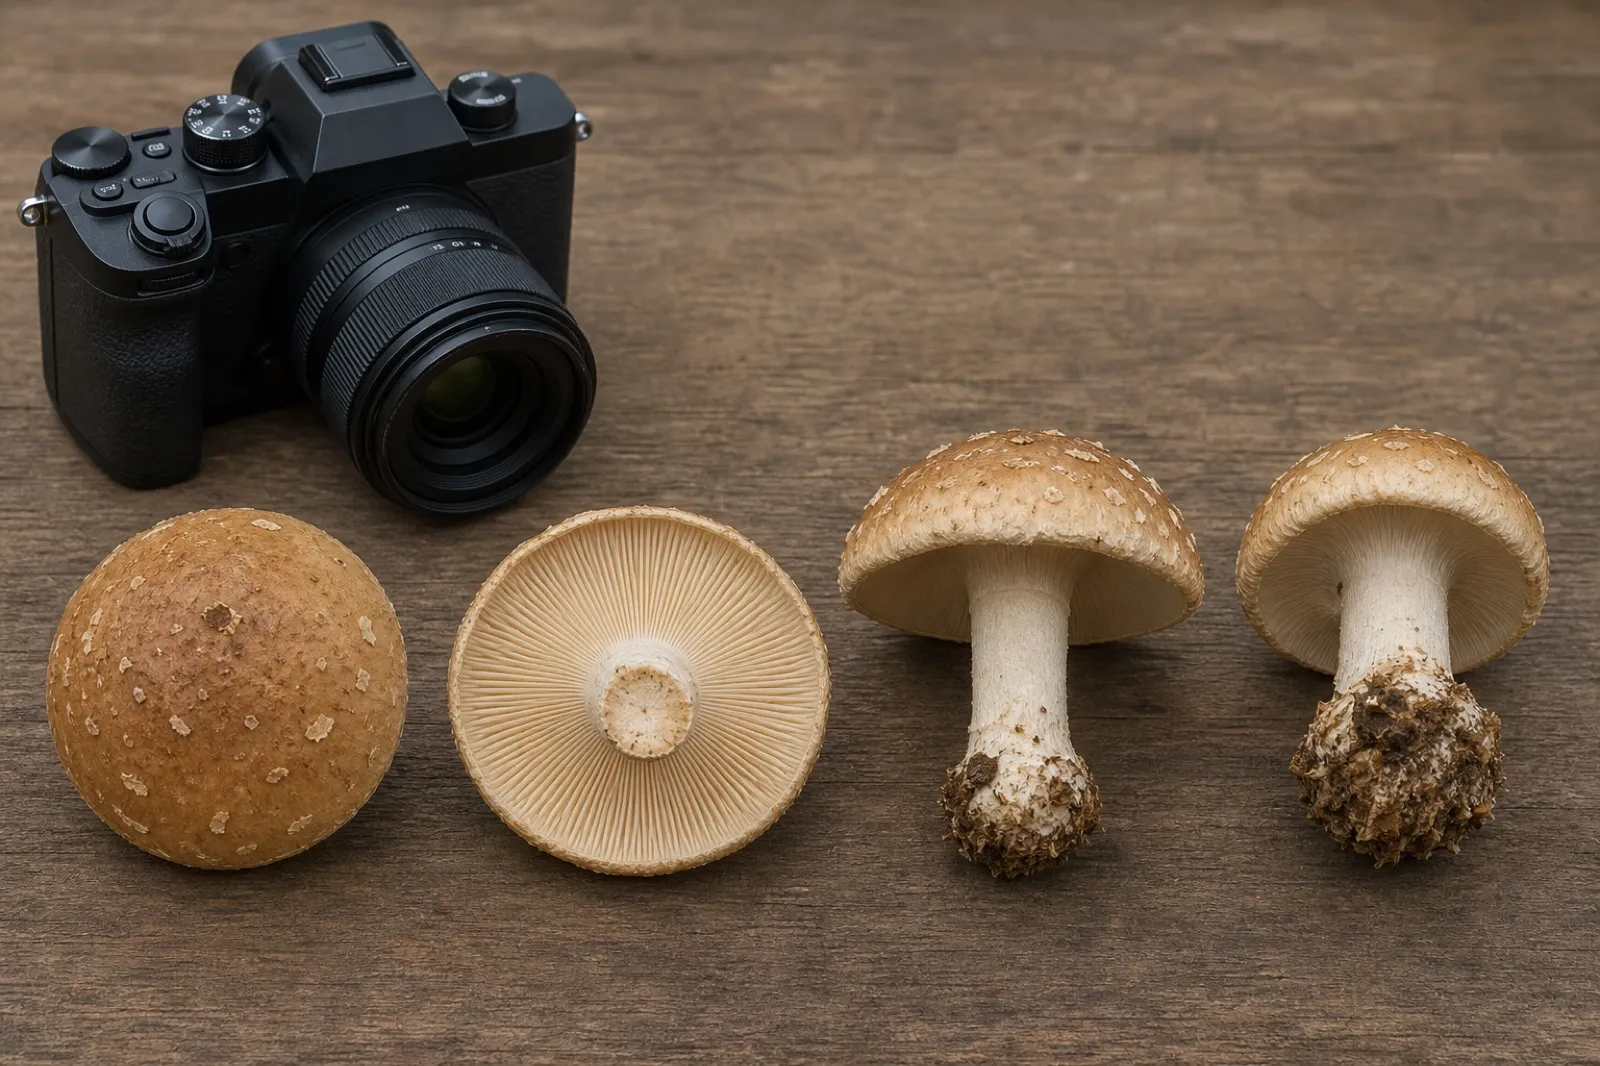
Build a complete photographic record before comparing names
Capture the cap, underside, complete stem base, habitat, scale, and specimens at different ages before asking for identification help. The central task is a complete photographic record. A defensible observation separates what was directly seen from what was inferred. Common names, image-search results, and app suggestions can generate hypotheses, but none establishes identity or edibility.
Start with provenance: location, date, weather, habitat, substrate, nearby plants, and whether fruit bodies were solitary, clustered, or shelf-like. Photograph before collecting. Where collection is legal, retain the entire stem base and multiple ages. Never taste an unidentified mushroom.
What to examine
- overall habit: Record the feature in plain language, add a measurement or photograph, and note variation among specimens.
- cap surface and margin: Record the feature in plain language, add a measurement or photograph, and note variation among specimens.
- underside and attachment: Record the feature in plain language, add a measurement or photograph, and note variation among specimens.
- excavated stem base: Record the feature in plain language, add a measurement or photograph, and note variation among specimens.
- habitat and scale: Record the feature in plain language, add a measurement or photograph, and note variation among specimens.
Color changes with light, moisture, age, and camera processing. Shape changes during expansion. A single “matching” character has little value when ecology, fertile surface, stem base, or spore deposit conflicts. Use current regional keys because possible species differ by continent and habitat.
Prepare the camera and assign a field number
A modern phone is adequate for a useful record when it is held steady, focused deliberately, and paired with measurements and habitat notes. Clean the lens before entering the field; pocket grease can turn fine gill edges and cap texture into haze. Disable beauty filters, artificial background blur, automatic object removal, and color presets. Keep the original files because social platforms often resize images and remove metadata.
Carry a ruler with millimeter markings, a neutral gray or white reference card, a notebook, and a paper packet or rigid container if legal collecting is planned. A coin can suggest scale, but coin sizes vary by country and perspective. A ruler placed in the same plane as the feature is more informative. Never cover the margin or underside with the scale.
Use a simple collection code such as date plus sequence number and put it in the first frame or notes. Every cap, underside, base, cut section, spore deposit, and habitat image from that collection should retain the code. If specimens are several meters apart or grow from different substrate, treat them as separate collections until evidence supports combining them.
Location services can document coordinates, but do not publicly reveal sensitive rare-species sites, private property, or culturally protected locations. Record precise coordinates privately and share a generalized locality when appropriate. Follow land-manager rules; photography does not authorize digging or collection.
Photograph from habitat context to diagnostic detail
Begin with a habitat frame showing the fruit bodies in place. Include the host log, soil surface, leaf litter, moss, grass, or nearby trees without clearing them first. Take a second frame closer to the group so solitary, scattered, fused, clustered, rosette, or shelf-like growth is visible. Only then move to an individual specimen.
Photograph the cap directly from above and from the side at cap level. The side view records profile, margin shape, stem position, and relative proportions that an overhead picture loses. Focus on the nearest diagnostic surface and take a second frame at a slightly different distance in case the first is soft.
Next document the fertile surface. For a gilled mushroom, show the entire underside, the point where gills meet the stem, gill spacing, short gills, and the cap margin. For boletes or polypores, show pore size, shape, color, and attachment. For toothed fungi, folds, cups, puffballs, or smooth surfaces, photograph the actual spore-bearing structure rather than forcing it into a gill template.
Preserve and photograph the complete stem base
A stem cut at soil level can remove a volva, bulb, rooting extension, attached cords, or substrate connection. Where collection is legal and ecologically appropriate, excavate around the base with a small tool and lift the entire specimen. Photograph it before brushing away loose soil, then take a cleaned view that retains tissue.
Do not arrange a detached cap on an unrelated stem for a cleaner picture. Keep parts together under the field number. If the specimen breaks, photograph the break and label the pieces. The stem-features guide explains rings, bases, texture, and attachment in more detail.
Record scale, color, and texture accurately
Place the ruler beside the cap in the same plane and photograph cap width, total height, and stem width. Measure several fruit bodies when available; the largest is not necessarily typical. For shelf fungi, record projection from the wood, width, thickness near attachment, and the dimensions of an individual shelf as well as the whole cluster.
Take at least one color frame in open shade or diffuse daylight with a neutral reference card. Mixed sunlight and shade can make one cap appear two colors. Automatic white balance may shift between photographs, so written color notes made in the field remain valuable. Record whether the surface was wet, frosted, dusty, or drying.
Use raking side light to reveal scales, fibrils, wrinkles, pits, viscid layers, or fine hairs. Direct flash can erase relief and create bright reflections on a slimy cap. If flash is necessary, diffuse it and take a second image without flash for color comparison. Do not digitally sharpen until gill edges or pores acquire false repeated patterns.
Document bruising and cut surfaces with timed images
When a regional key calls for bruising or staining, photograph the untouched feature first. Make a small controlled scratch or cut with a clean tool, note the exact location, and take timed images immediately and after defined intervals. Keep lighting consistent. “Turned blue” without a time, starting color, and tissue location is incomplete; the mushroom bruising guide provides a repeatable field record and group-specific limits.
Cut one representative specimen lengthwise through cap, stem, and base when collection is allowed. Photograph internal chambers, flesh thickness, larval damage, color zones, latex, and any change after exposure. Do not taste an unidentified mushroom. Avoid placing the face close to a specimen to smell it; waft cautiously only when an expert key requires odor and stop if irritation occurs.
Chemical spot tests should be used only by people trained in the method, with reagents handled and disposed of according to their safety documentation. A reagent reaction is not an edibility test, and treated tissue must never enter food.
Capture substrate and nearby plants separately
“In a forest” is rarely enough. Record whether the specimen grows directly from wood, buried wood, soil, dung, litter, cone, moss, lawn, or another substrate. For wood, note standing tree, fallen log, branch, stump, or wood chips; hardness and decay stage; bark; and whether the host can be identified reliably. Do not guess hardwood versus conifer solely from a weathered fragment.
Photograph leaves, bark, needles, cones, and the broader plant community. A tree beside a mushroom is not automatically its biological partner, so list all plausible nearby trees and distances. The habitat identification guide shows how ecology narrows a candidate set without proving identity.
Record recent weather, slope, drainage, elevation when useful, and whether fruit bodies emerged from an irrigated landscape. Date and region determine which taxa are plausible. A name used for a visually similar mushroom on another continent may conceal a distinct species.
A repeatable field method
- Start with a wide habitat frame and a closer growth-pattern frame before touching the collection.
- Assign one field number, place a ruler in the feature plane, and photograph cap profile, fertile surface, attachment, complete base, and a longitudinal section.
- Capture young, mature, and weathered stages separately; do not combine nearby fruit bodies under one number until their shared substrate is established.
- Make a timed series for bruising or latex, keeping angle, light, and white balance stable, and write the elapsed time in the notes.
- Review every diagnostic frame at full size for missed focus before leaving; repeat the underside and base if fine edges are smeared by motion or computational blur.
- Preserve original files and written field notes, then compare the complete record with a current regional key. Leave unresolved or contradictory collections unnamed.
After the field session, duplicate the original files before cropping or annotating. Rename working copies with the field number and view, such as 2026-08-24-03_underside, but retain originals and timestamps. Write a factual description before consulting an app: measured dimensions, fertile surface, stem base, substrate, associated plants, odor if safely recorded, and changes after cutting.
Compare the collection with a current regional key. An image-recognition suggestion can supply candidate names to test, but it should not determine the answer. For each candidate, list both supporting and conflicting characters. A missing decisive view remains missing even if several viewers agree with the photograph.
Make a spore-deposit record only when it adds value
Use the spore print method in a ventilated non-food workspace. Photograph the cap before removal, its arrangement on adjoining light and dark nonabsorbent surfaces, the covered setup, and the deposit in neutral light. Link those images to the field number. A deposit can help distinguish broad color groups but rarely identifies a mushroom by itself.
Keep spores and unidentified specimens away from children, pets, kitchens, and food containers. Wash hands and clean the work area afterward. If the specimen may be dangerous or the collection is unnecessary, leave it in place and rely on non-destructive photographs.
Assemble a useful identification request
Include the habitat frame, group habit, cap top, side profile, complete underside, stem from apex to intact base, scale, and any section or timed stain required by the key. Add location at appropriate precision, date, substrate, nearby trees, measurements, and odor only if safely observed. State which images belong to the same specimen.
Avoid a collage that shrinks every surface until it cannot be enlarged. Upload individual full-resolution files when the platform allows, then add a labeled overview. Do not replace backgrounds with generated scenery or use AI enhancement that invents gills, pores, or texture. Cropping and exposure correction should preserve the original feature.
Ask a bounded question: “Does this collection fit genus X, and which feature separates it from Y?” is more productive than “Can I eat this?” Remote identification should never be used as permission to consume a wild mushroom.
Interpretation limits
Online communities can improve documentation, but remote viewers cannot examine texture, odor, microscopic structures, or hidden tissue. DNA sequences also require specimen vouchers and reliable reference data. An identification confidence label should reflect the weakest missing decisive character, not the number of people who liked a photograph.
Some groups require microscopy, chemical reactions, mating studies, or DNA evidence. Even a sequence is only as reliable as the voucher, laboratory workflow, marker choice, and reference database. Keep a dried voucher only when collection is lawful and you know how to document and store it; a bag of unlabeled dried mushrooms has little scientific value.
Taxonomy changes as studies split or combine names. Record the name used, reference concept when possible, date of determination, identifier, and confidence level. Preserve earlier determinations rather than silently overwriting them; the history shows how the record evolved.
If a complete stem base was never photographed, colors are badly shifted, several collections were mixed, or substrate is unknown, the correct result may be “unidentified.” That is useful data because it prevents false certainty and shows what to capture next time.
For suspected poisoning, contact emergency services or a poison center immediately. Preserve uncooked material, cooked leftovers, packaging, and photographs if it is safe to do so. Do not wait for a social-media identification.
Use the photographs in a conservative identification workflow
Continue with the species encyclopedia and other identification guides. These pages are educational and intentionally conservative.
Before any foraging decision, use the identification safety checklist and seek a qualified local expert who can examine the complete fresh collection. No photograph set, including one that follows this checklist perfectly, confirms edibility.
References
- National Center for Biotechnology Information. Taxonomy Browser. Use it to check the current placement and synonyms of a proposed name, not to identify an image.
- Global Biodiversity Information Facility. Species Search. Use occurrence records with attention to identification quality, geography, and dataset provenance.
- Mushroom Observer. Community observations can show which views and field notes support discussion; individual determinations still require evaluation.
Source quality notes
MushroomScope cites sources that match the page scope, such as taxonomic databases, extension guidance, food-safety agencies, food-composition databases, and peer-reviewed or institutional health references. Sources support context and uncertainty; they do not turn an online page into specimen identification, medical advice, or a tested recipe record.
Frequently asked questions
Can mushroom photography checklist for identification confirm that a mushroom is edible?
No. This guide organizes observations only. Never eat a wild mushroom unless a qualified local expert has examined the complete specimen in person.
Is one photograph enough for identification?
No. Photograph the cap, fertile surface, intact stem base, habitat, substrate, and several developmental stages, and record location and date.
What should I do when features conflict?
Keep the identification unresolved. Recheck local keys and current taxonomy, preserve the original observations, and seek qualified in-person help.
Should I use flash when photographing a mushroom?
Use diffused light when natural light is too dim, but also take a color-reference frame in neutral light. Direct flash can flatten texture and create misleading highlights.
How should photographs from several specimens be organized?
Give each collection a unique field number, keep all views and notes under that number, and never combine images from separate places or dates as though they show one specimen.
Related guides
identification
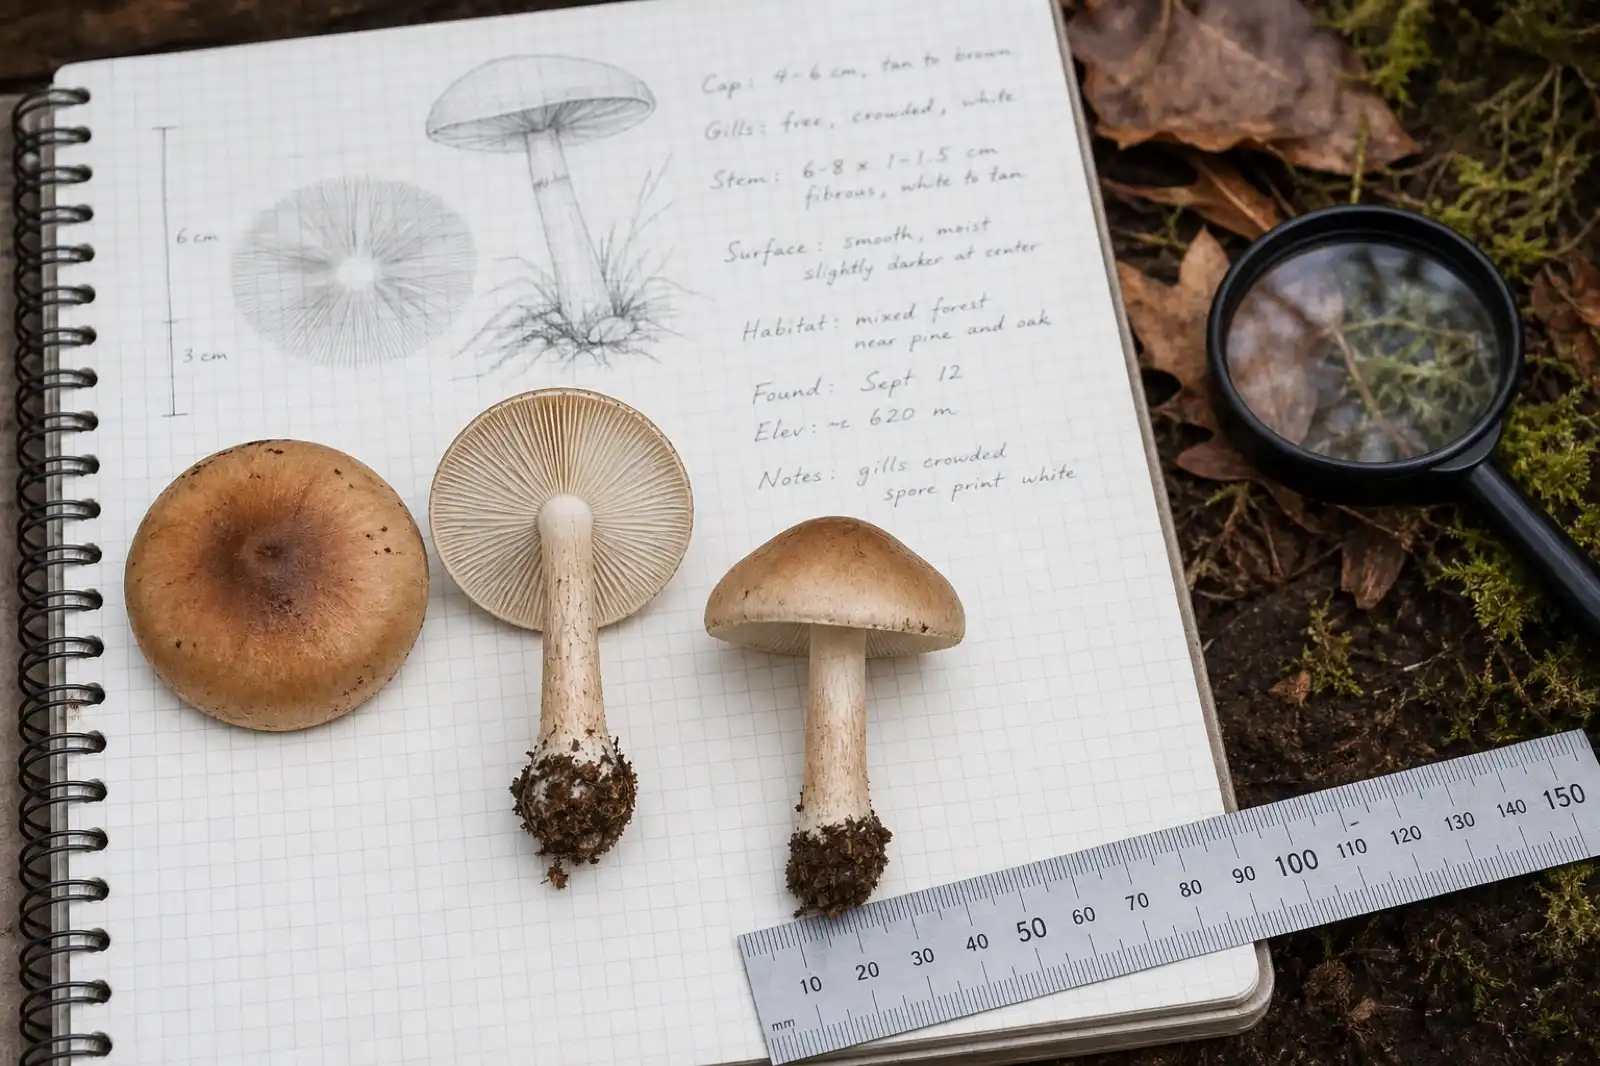
How to Identify Mushrooms: A Beginner's Field Guide
Build an identification from the whole specimen, substrate, habitat, spore deposit, and location—not from a single photograph.
identification
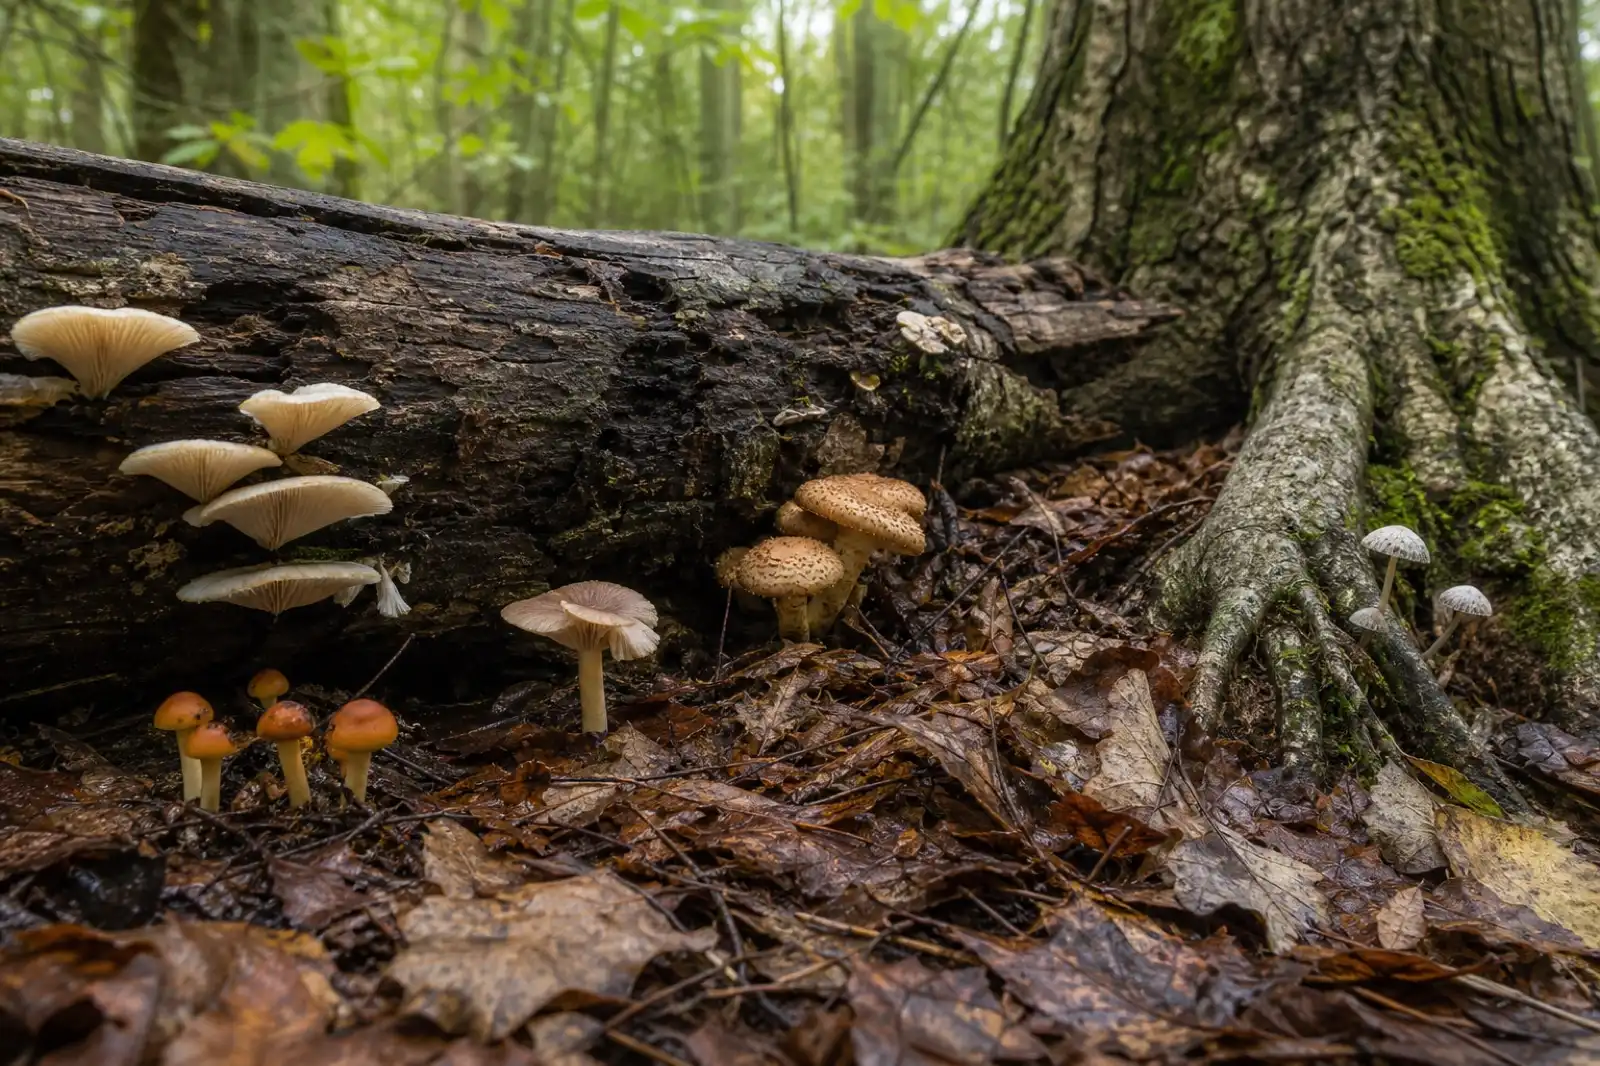
Using Habitat to Identify Mushrooms
Record substrate, associated plants, soil, wood type, moisture, elevation, and fruiting pattern as identification evidence.
identification
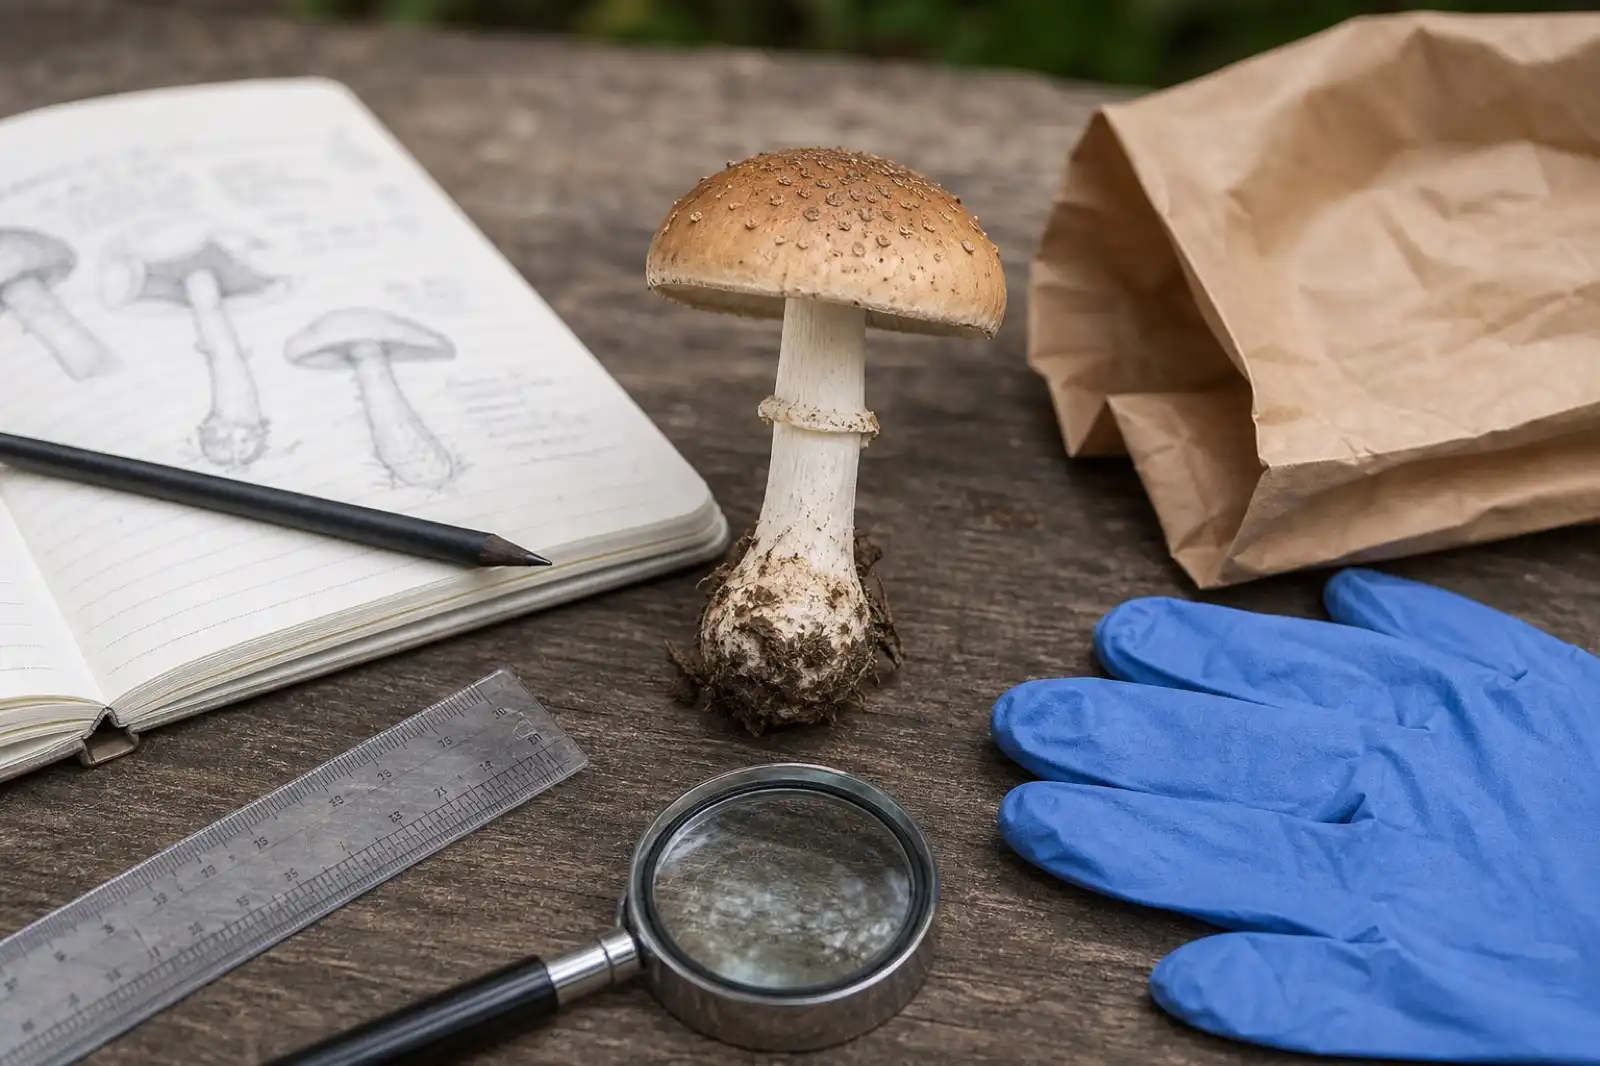
Mushroom Identification Safety Checklist
Use a conservative checklist before handling, documenting, or discussing any wild mushroom, especially when edibility is being considered.
Continue exploring
Browse more practical guides in Identification or visit the mushroom encyclopedia.