Growing
Mushroom Strain Trial Design: Compare Cultures Without Fooling Yourself
Design a mushroom strain trial with a defined question, replicated blocks, controlled variables, blind grading, complete failures, and cautious conclusions.
By MushroomScope Editorial Team · · Updated
Growing method
Start with authenticated culture
Use supplier-identified spawn or blocks and record substrate, stage, temperature, humidity, and visible changes.
Open the beginner growing hub →Food safety
Discard suspect batches
Unusual colors, slime, insects, or abnormal odor should be treated as a safety concern, not a climate tweak.
Review contamination guidance →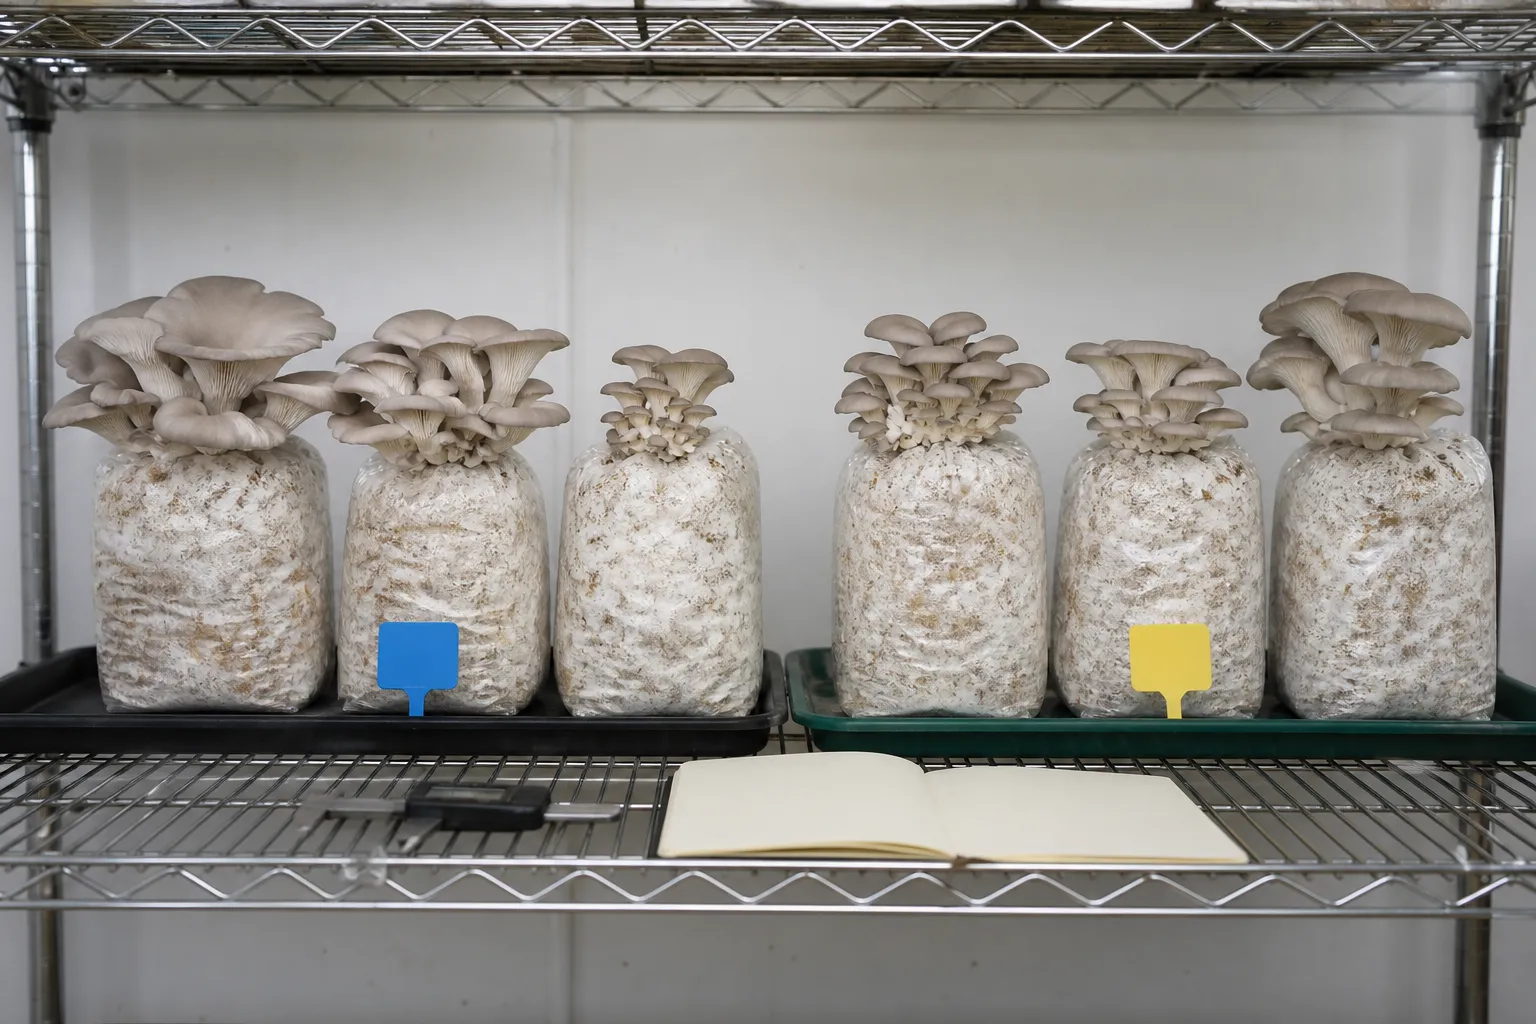
A strain trial asks whether a culture performs differently under a defined production system. It does not ask which strain is universally “best.” A strain that excels on one substrate, bag size, temperature pattern, or harvest standard may behave differently after any of those conditions change. Good trial design makes the local question narrow enough to answer and the record complete enough to reveal alternative explanations.
This guide applies experimental-design principles to practical mushroom cultivation. It does not supply a universal culture, recipe, temperature, or inoculation rate. Use authenticated legal cultures, follow supplier and equipment instructions, and keep food safety and worker safety requirements outside the competition. A trial never justifies selling suspect product or relaxing a validated sanitation control.
Write one decision question before preparing substrate
State the choice the result will support. “Under our current oyster block process, does culture B increase saleable first-flush mass without increasing failure or delaying room turnover compared with culture A?” is testable. “Which strain is best?” is not. Define the primary outcome, important secondary outcomes, trial window, and smallest difference worth acting on before any bags are made.
Predefining the question prevents the result from changing after the data appear. If culture B loses on first-flush mass but wins on total mass, the grower should not quietly redefine the trial unless both outcomes were specified. Exploratory findings can inspire another trial; they should be labeled exploratory.
Confirm culture identity and comparable starting material
Obtain each culture from a traceable source and record its label, supplier, lot, receipt date, storage, passage history, and expansion method. Do not assume two cultures with the same species name are genetically identical, and do not infer identity from fruit-body appearance alone. Create enough inoculum for the planned replication without giving one treatment additional transfers or a different storage interval.
Inspect cultures under the same release criteria. If one is questionable, quarantine it rather than lowering the standard to preserve balance. The grain spawn guide explains source, lot, condition, and expansion boundaries, while the substrate guide shows why the receiving material must also stay constant.
Hold the production system constant
Use the same substrate ingredient lots, hydration method, supplement rate, bag type, fill mass, compression, treatment load strategy, spawn definition, and inoculation rate unless one is deliberately part of the experiment. Measure rather than eyeball inputs. Mix enough substrate for both treatments together when practical, then divide it using a documented method so recipe drift does not align with strain.
If a necessary difference remains, record it and narrow the conclusion. A strain tested with a different spawn age and a different substrate batch cannot be credited for the whole outcome. Cornell’s substrate experiment material is valuable because it demonstrates careful questions and observations, not because one local result becomes a universal recipe.
Use replication to see ordinary variation
Multiple bags per treatment reveal how performance varies within the same nominal process. The appropriate number depends on expected variability, failure rate, available space, and the size of difference that matters. Three bags do not become strong evidence merely because the arithmetic produces a percentage. Before starting, choose an analysis proportionate to the design or consult someone qualified in experimental design.
Treat the bag, not each mushroom in a cluster, as the likely experimental unit when the treatment was assigned by bag. Counting hundreds of caps from one block does not create hundreds of independent replicates. Preserve bag-level results so variation and failures remain visible.
Randomize positions and block known gradients
Shelves differ in airflow, light, humidity, handling, and temperature. Randomly assign strains within each comparable shelf or room block instead of placing every A bag on top and every B bag below. If processing occurs across loads or days, distribute both strains across those blocks when possible. Record the randomization before seeing growth.
Blocking does not remove a gradient; it prevents the gradient from being confused entirely with strain. Mark bags with neutral codes if staff can handle them safely without knowing treatment. Keep the code key protected until scoring is complete, then verify that every label still maps to the correct culture.
Define observations and scoring rules
Choose milestones such as visible colonization, full surface coverage, initiation, first harvest, each flush, and room exit. Describe how each is recognized. For morphology and quality, use specific fields—cluster integrity, cap margin, stem proportion, bruising, trim loss, shelf-life check—rather than “looks good.” Photograph from a consistent distance and angle with a batch identifier and scale where useful.
Environmental readings need time and location. The fruiting conditions guide explains why interacting room variables cannot be reduced to one controller number. Avoid changing settings to favor whichever strain appears stressed unless rescue rules were predefined; otherwise the trial becomes two different management systems.
Measure yield, time, quality, and failure separately
Gross fresh mass, saleable mass, days to harvest, room occupancy, contamination, aborts, labor, and quality answer different questions. Use the same trimming, weighing, and flush window for both strains, following the maturity boundaries in the harvest timing guide.
A culture may produce more total mass but require an extra flush and additional room days. Another may yield less but produce a consistent grade preferred by customers. Keep the dimensions separate until the decision stage rather than combining them into an undocumented “performance score.” Use the yield and biological-efficiency protocol to keep dry-mass denominators, harvest boundaries, and room-day comparisons consistent.
Predefine exclusions and keep every failure visible
Write exclusion criteria before inoculation: for example, a physically torn bag documented before incubation or a scale malfunction affecting a known measurement. Do not exclude a contaminated bag merely because contamination makes the favored strain look worse. Report excluded units, reasons, treatment assignments, and whether conclusions change when they are included.
Missing data are also outcomes. A lost label, missed harvest weight, or sensor outage should remain marked missing with an explanation, not replaced by the treatment average. Selective cleanup makes a small trial look more precise than it is.
Analyze effect size and uncertainty, not only averages
Report each bag, treatment mean or median as appropriate, spread, failures, and the observed difference with units. A statistically significant result can be too small to matter operationally, while a useful-looking difference from a tiny trial may be highly uncertain. Avoid claiming equivalence simply because a test did not detect a difference.
Graphs should show individual units, not only two bars. Examine whether one shelf, load, or date drove the result. If analysis was not planned or assumptions are doubtful, describe the observations plainly and repeat the experiment instead of presenting false mathematical authority.
Repeat before changing the whole operation
A promising result should survive another production cycle, ideally across a relevant seasonal or room condition without changing the core comparison. Confirm availability, culture stability, customer acceptance, labor needs, and supplier continuity. Scale gradually so an unexpected behavior does not occupy the entire fruiting room.
The conclusion must match the tested boundary: these cultures, this substrate, these rooms, these dates, this harvest standard. Publishing complete methods and failures allows another grower to judge transferability. It does not convert a local trial into a promise of yield elsewhere.
Run a small operational pilot after the comparison
A controlled trial answers a biological and process question, but adoption changes scheduling, purchasing, staff habits, and customer supply. After a repeatable result, run a limited pilot that uses normal production records and the intended harvest crew. Predefine how many units may enter the pilot, which current culture remains available as a fallback, and what combination of yield, grade, timing, failure, and labor permits expansion.
Keep pilot results separate from the original experiment. The trial estimates a treatment difference under controlled conditions; the pilot asks whether that difference survives ordinary operations. A culture that performs well only under unusual attention may not improve the farm. Document the decision even when the new strain is rejected, because the rejected result prevents the same unbounded comparison from being repeated later.
Build the randomization before the room is loaded
Give every bag a permanent unit identifier before assigning treatment or position. List the available rack positions, group positions that share a known height, airflow path, or loading time into blocks, then randomize the strains within each block. A simple shuffled assignment is better than alternating labels by eye, which can align one strain with the front of every shelf. Keep the assignment sheet even if bags are later moved.
Movement is another treatment unless it is recorded. If a block is relocated because of condensation, heat, damage, or harvest access, preserve its original and new position with timestamps. Do not move only the weakest bags to a favorable shelf and then analyze final position as though it were assigned at the start. The grow-room sensor guide explains how to map the gradients that the blocking plan should address.
Choose replication from variation and decision size
The question is not merely whether two averages can be calculated. Estimate ordinary bag-to-bag variation from comparable historical batches, define the smallest improvement worth changing production for, and allow for expected contamination or handling loss. These inputs can support a power calculation with statistical help, but even a simple written rationale is better than choosing the number of bags that happen to fit one shelf.
Treat the bag—not each mushroom or each flush measurement—as the experimental unit when the strain was assigned by bag. Ten clusters harvested from one bag do not create ten independent replicates. Likewise, repeated flushes are observations on the same unit and should not be counted as unrelated bags. This distinction prevents an apparently large sample from being created by subdividing the harvest.
Analyze every assigned unit and every decision outcome
Begin with an assignment table containing strain, block, position, inoculation lot, substrate batch, and planned measurements. Add colonization endpoint, first pin, every harvest, saleable grade, contamination disposition, labor, and room-exit date without deleting failed rows. Report an all-assigned summary alongside any predefined per-protocol analysis so readers can see whether exclusions changed the conclusion.
A decision table should show more than yield: median and spread of saleable mass, time to first harvest, room-days, failure proportion, grade distribution, and labor per saleable kilogram. If one strain yields more but occupies the room longer, state both outcomes. The biological-efficiency guide provides denominator rules; the trial should not silently switch between gross harvest, successful bags, and all bags started.
For missing observations, record why the value is absent. Equipment failure, a discarded contaminated bag, an overlooked harvest, and a crop that never pinned are not interchangeable zeros. Decide before analysis which events count as biological failure, measurement failure, or protocol deviation, and show a sensitivity comparison when that choice could reverse the operational decision.
Frequently asked questions
How many bags are needed for a strain trial?
There is no universal number; use replication based on expected variation, practical decision size, and an analysis plan chosen before results are seen.
Can I compare strains grown in different weeks?
Week effects can overwhelm strain effects; run contemporaneous randomized blocks when possible or treat time as a documented blocking factor.
Should the highest-yielding strain always win?
No. Quality, contamination, time, labor, market fit, temperature range, and consistency may matter more than maximum gross yield.
Can one exceptional bag prove a strain is better?
No. Individual bags vary, and selective attention to an exceptional unit is not a reliable comparison.
Should failed bags be excluded?
Report failures and predefined exclusions separately; removing inconvenient outcomes after seeing results biases the comparison.
References
- Cornell Small Farms — The Science of DIY Mushroom Substrates
- NIST/SEMATECH e-Handbook — Design of Experiments
- Penn State Extension — Mushroom production and harvesting
These sources support mushroom-production context and general experimental-design principles; they do not prove that any named culture will outperform another. MushroomScope has not had this trial-design draft reviewed by a named statistician or cultivation professional. Seek qualified design help before making a costly decision from a small experiment, and report exploratory results as exploratory.
Source quality notes
MushroomScope cites sources that match the page scope, such as taxonomic databases, extension guidance, food-safety agencies, food-composition databases, and peer-reviewed or institutional health references. Sources support context and uncertainty; they do not turn an online page into specimen identification, medical advice, or a tested recipe record.
Frequently asked questions
How many bags are needed for a strain trial?
There is no universal number; use replication based on expected variation, practical decision size, and an analysis plan chosen before results are seen.
Can I compare strains grown in different weeks?
Week effects can overwhelm strain effects; run contemporaneous randomized blocks when possible or treat time as a documented blocking factor.
Should the highest-yielding strain always win?
No. Quality, contamination, time, labor, market fit, temperature range, and consistency may matter more than maximum gross yield.
Can one exceptional bag prove a strain is better?
No. Individual bags vary, and selective attention to an exceptional unit is not a reliable comparison.
Should failed bags be excluded?
Report failures and predefined exclusions separately; removing inconvenient outcomes after seeing results biases the comparison.
Related guides
growing
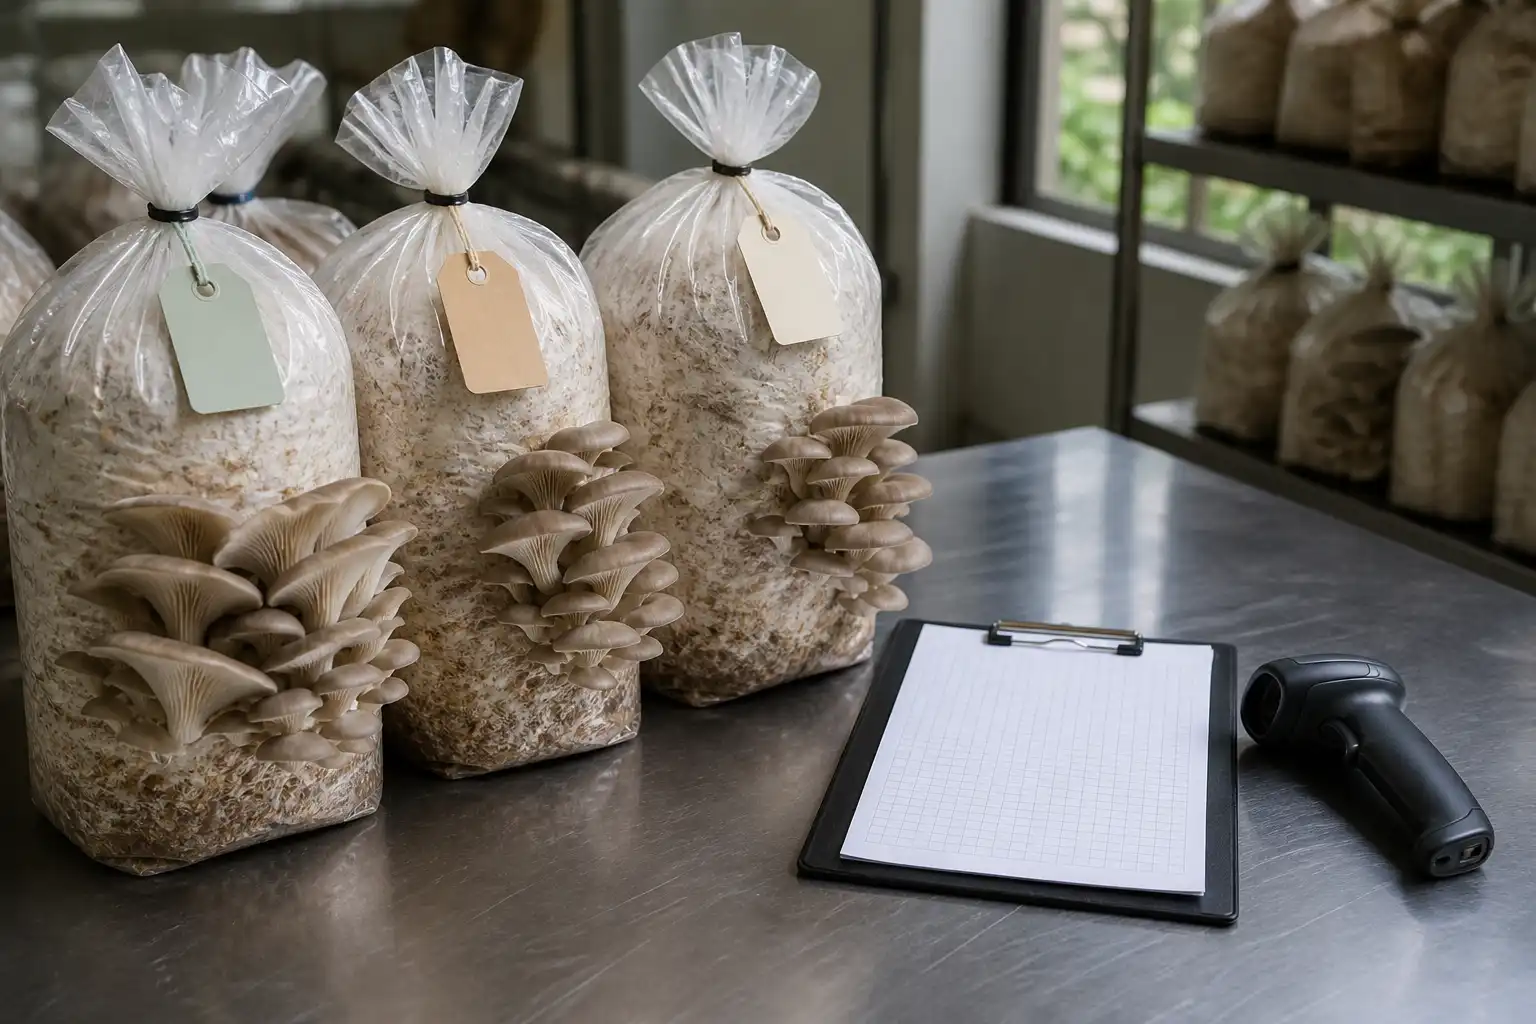
Mushroom Batch Records: Build Traceability From Culture to Harvest
Build mushroom batch records that connect culture, substrate, rooms, observations, harvests, deviations, and corrective actions without false precision.
growing
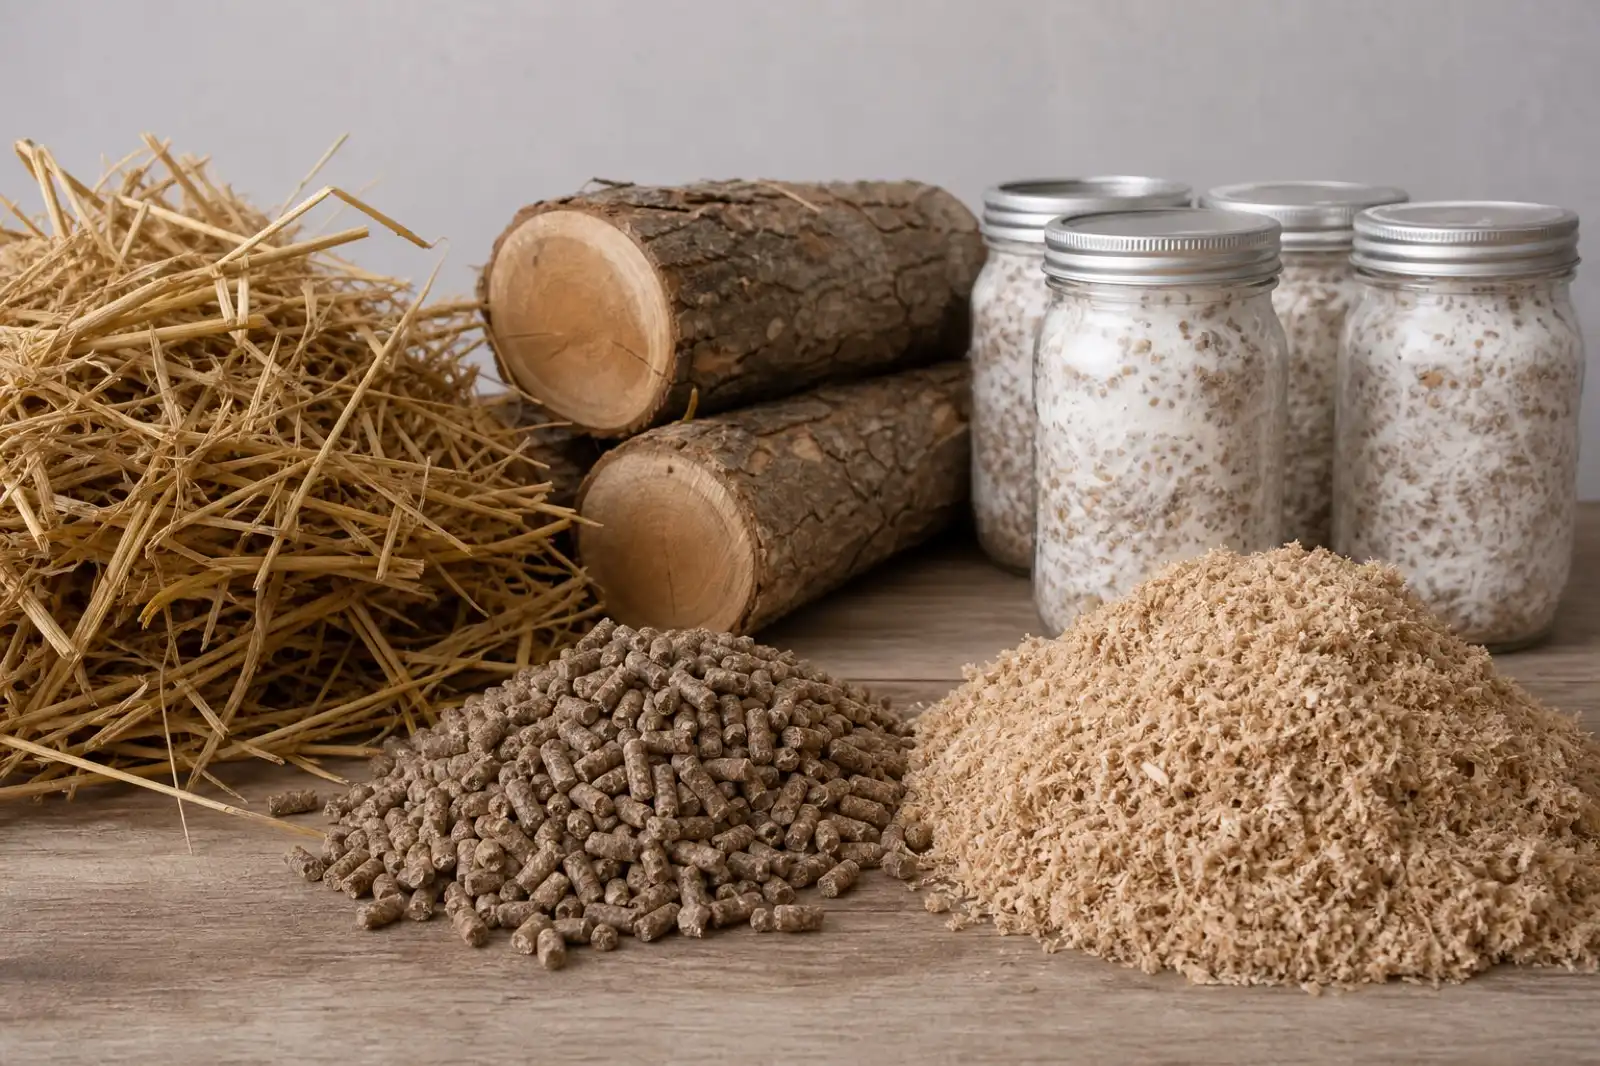
Mushroom Substrate Guide: Match Species to Method
Choose a mushroom-growing substrate by matching a labeled culture to a documented production method, site, and food-safety boundary.
growing
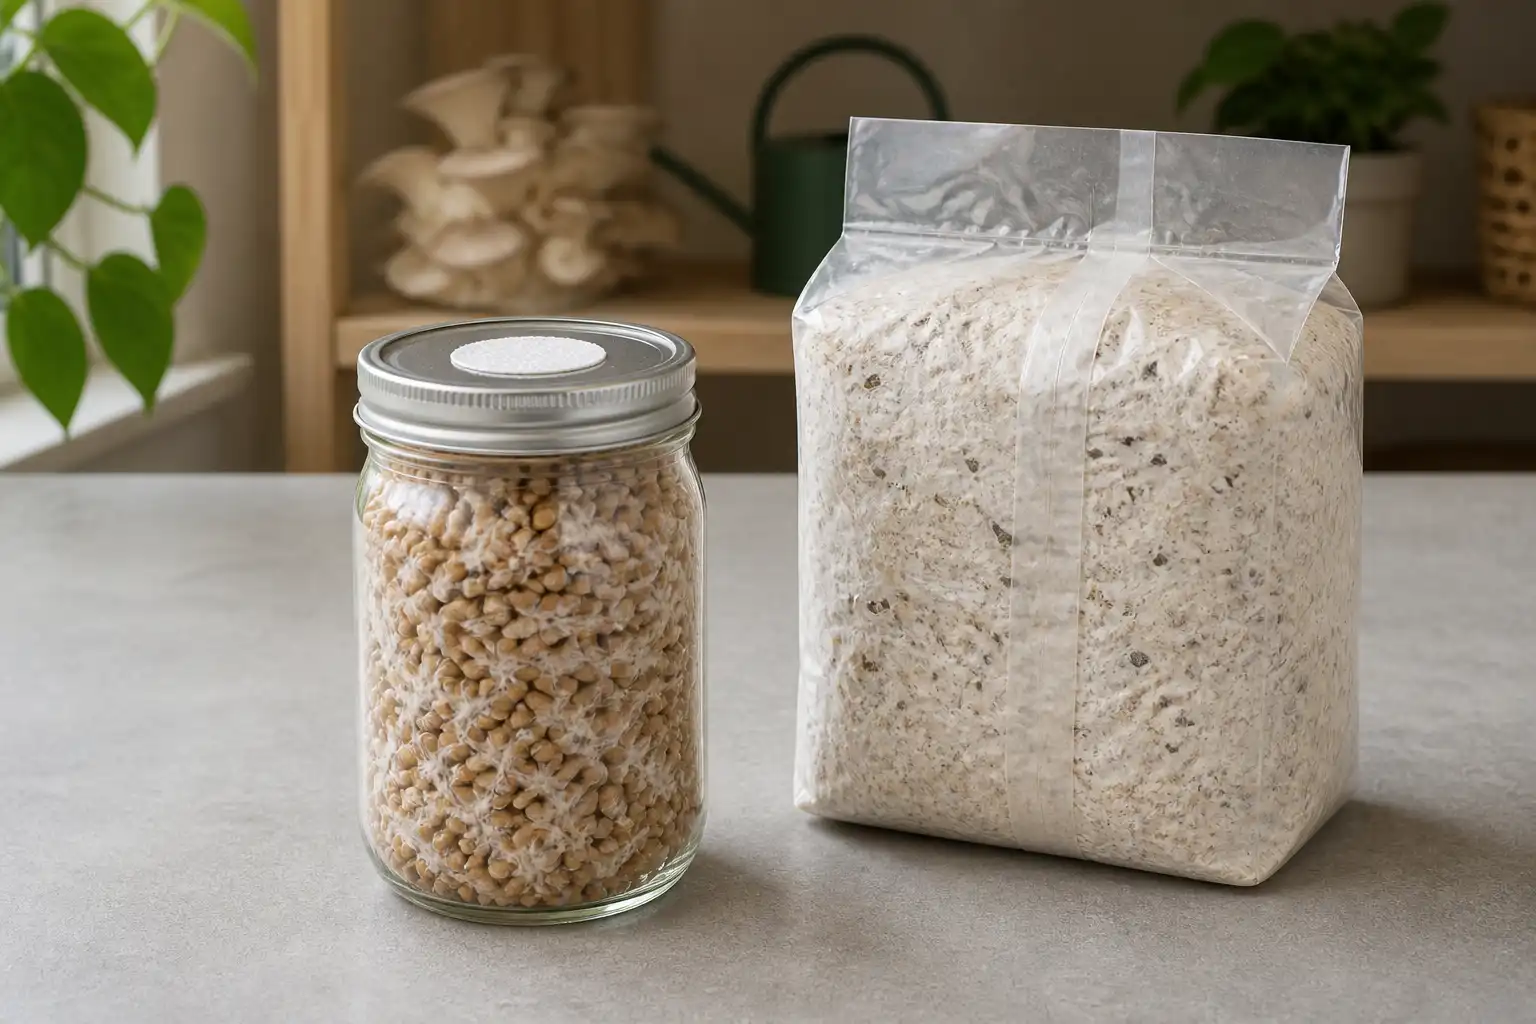
Mushroom Grain Spawn: How to Choose and Use It Safely
Use mushroom grain spawn as a labeled, clean inoculum for a documented growing method; learn what to verify, what to record, and when not to use it.
Continue exploring
Browse more practical guides in Growing or visit the mushroom encyclopedia.